
In this DIY tutorial, I show you how to build garage shelves from 2x4s and plywood.
Most garages are full of clutter on the floor.
In fact, clutter prevents some folks from parking their vehicle in the garage.
So today, I show you how to build garage shelves from 2x4s and plywood for function and simplicity..
Here are some jump links to the main sections of this post to help you find the information you need quickly.
Video Tutorial
DIY Project Plans
Tools Needed
Step-by-Step Instructions
Video Tutorial
There are several things which are difficult to fully explain with words and images, so be sure to check out the video tutorial below.
DIY Garage Storage Shelves Plans
Download the DIY wall mounted garage shelves plans to get started today.
These DIY Plans include:
- 25 Page PDF with photo illustrations for each step
- Tool List and Alternate Tool List
- 3D drawing of each piece with measurements
- Detailed cut list
Tools I Used
DIY Plans for Download1.75″ Screws
3″ Deck Screws
Laguna Bandsaw
Jig Saw (Alternate to Bandsaw)
Circular Saw (2nd Alternative to Bandsaw)
Wood Glue
Brad Nailer
Nails for Brad Nailer
Air Compressor
Hose Reel for Compressor
Clamp
Leveler
Neodimium Magnet
Step-by-Step Instructions
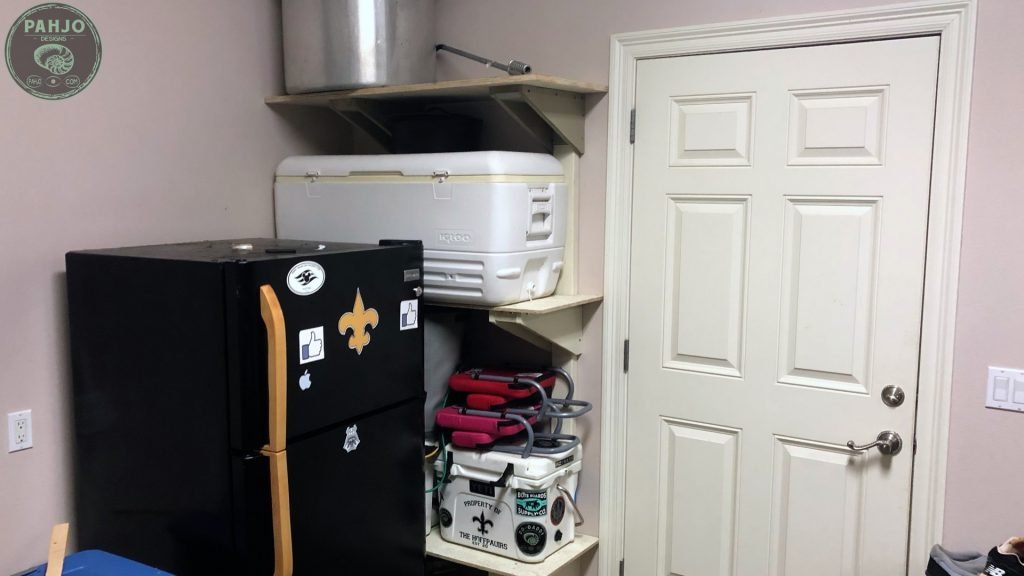
In order to organize a garage, everything needs a home.
And, this ‘home’ should not be on the floor.
So, I decided to build sturdy garage shelves from 2x4s in order to hold my ice chests and outdoor cooking items.
Also, I used scrap plywood and particle board for the wall mounted garage shelves.
This sturdy DIY garage shelving solution is strong, versatile, and expandable.
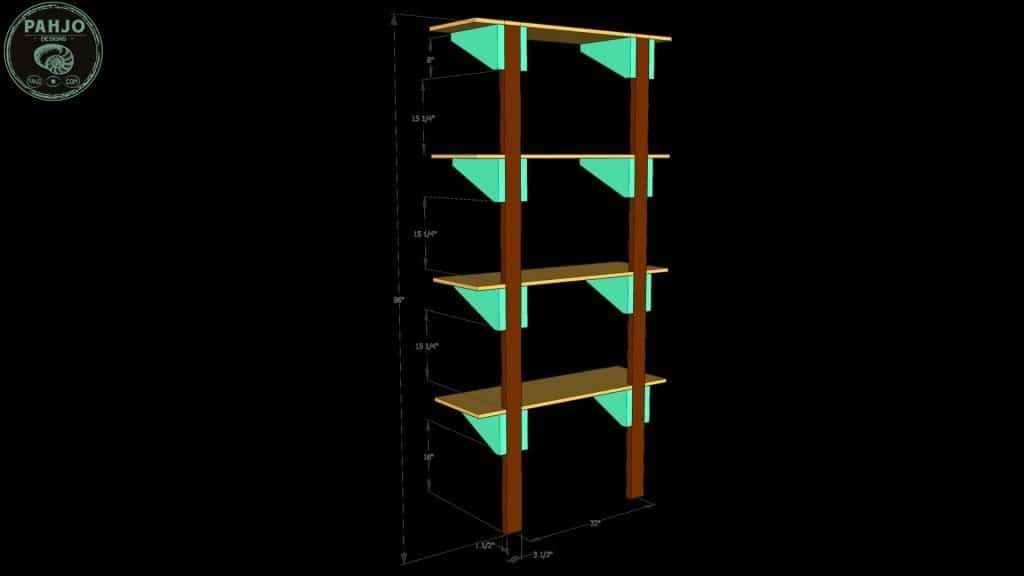
1 – Garage Shelf Brackets
I built the shelf brackets according to the measurements in the picture below.

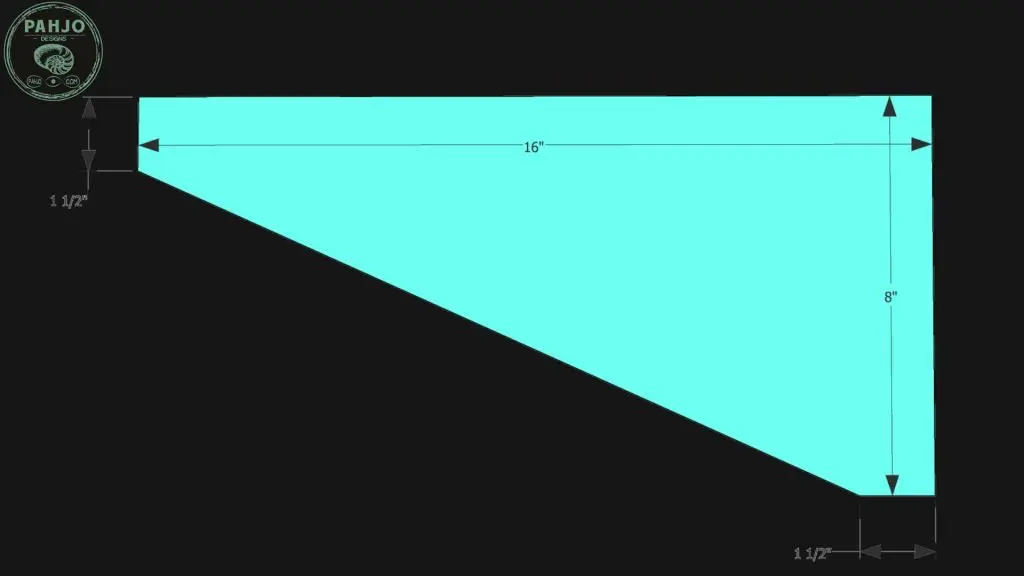
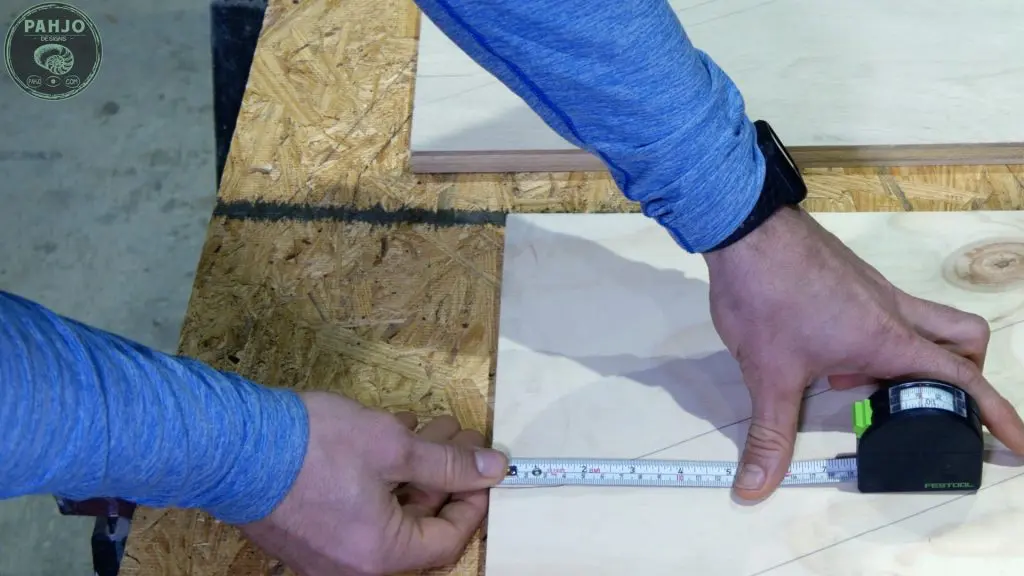
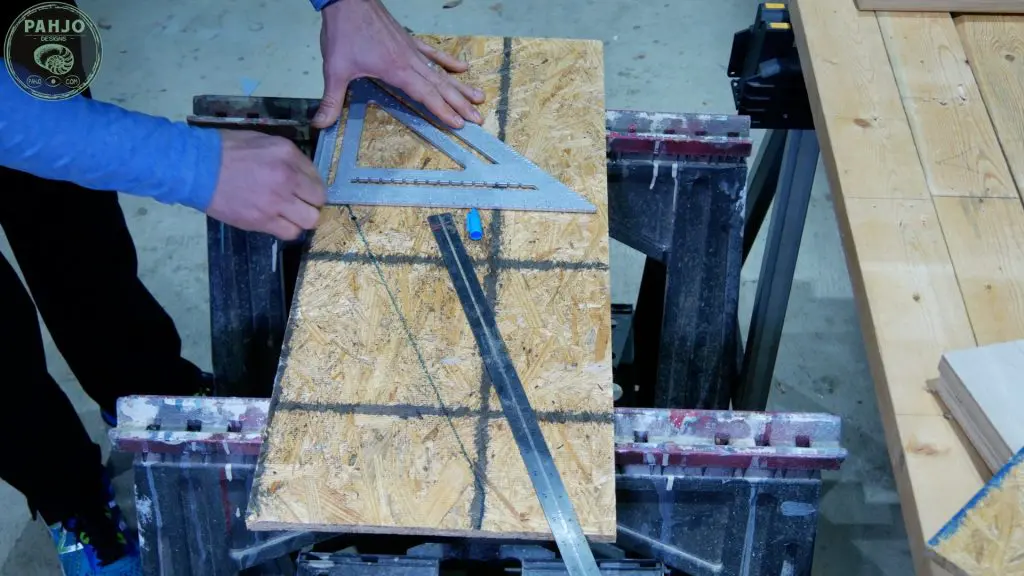
2 – Sketch Bracket
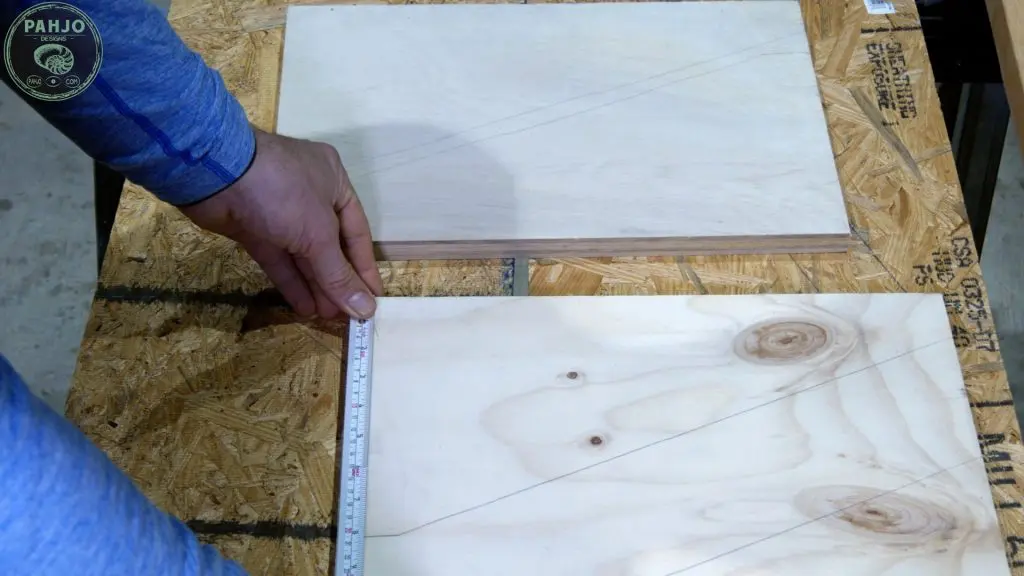
First, use a square scrap piece of 3/4″ plywood for the garage shelving brackets.
Next, cut the plywood to be 16″ wide.
Then, use a tape measure to mark a line 8″ down from the top corner, 1.5″ across from the previous mark, and finally 1.5″ down from the top of the opposite side.


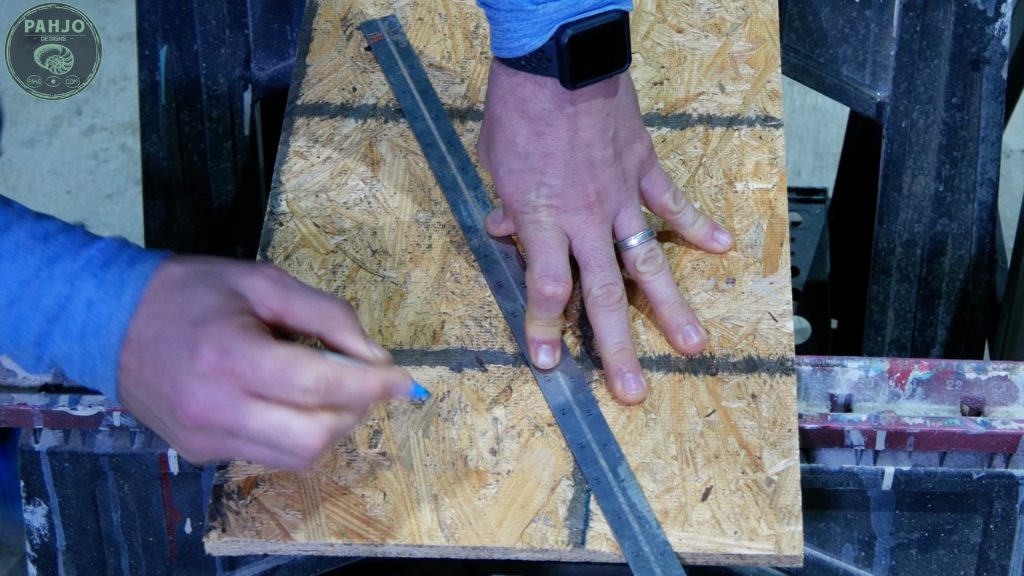
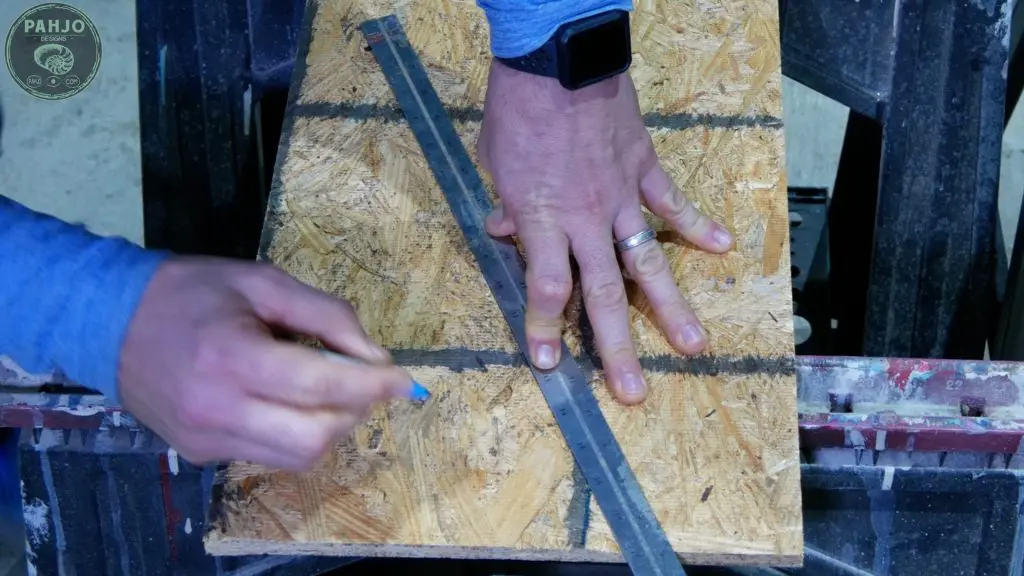
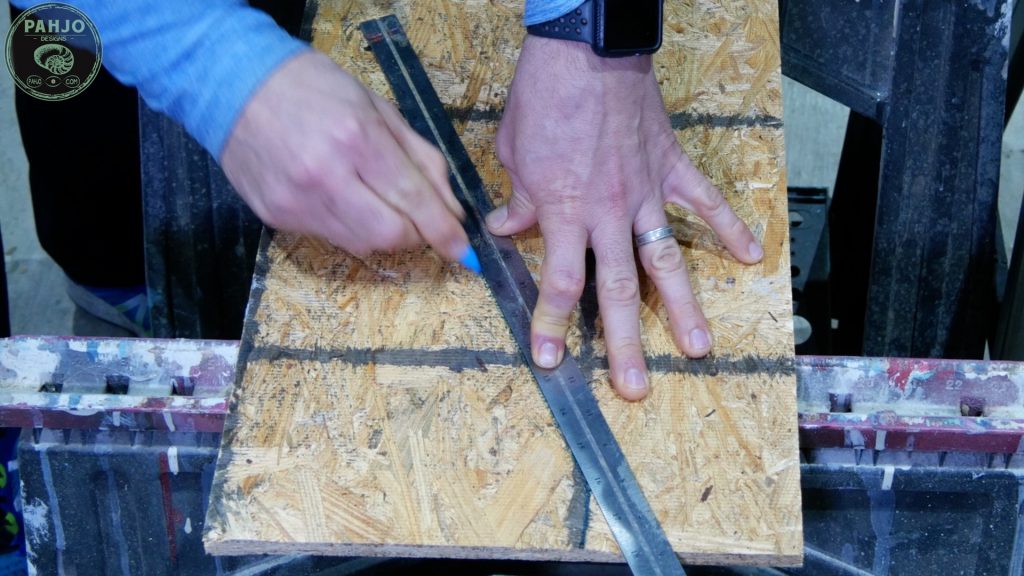
Use a marker, ruler, and combination square to connect the lines.


As a side note, I made a few brackets from scrap 1/2″ particle board because I ran out of 3/4″ plywood.
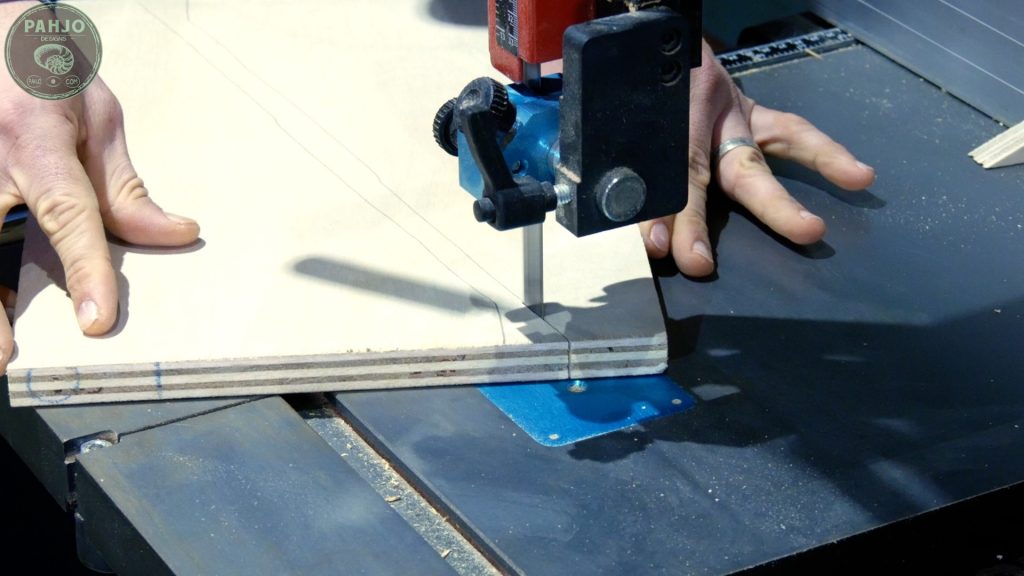
3 – Cut Out Garage Shelving Brackets
First, use a jig saw or bandsaw to cut out the DIY garage shelves.
Keep in mind, you need two side brackets to make 1 shelving bracket.


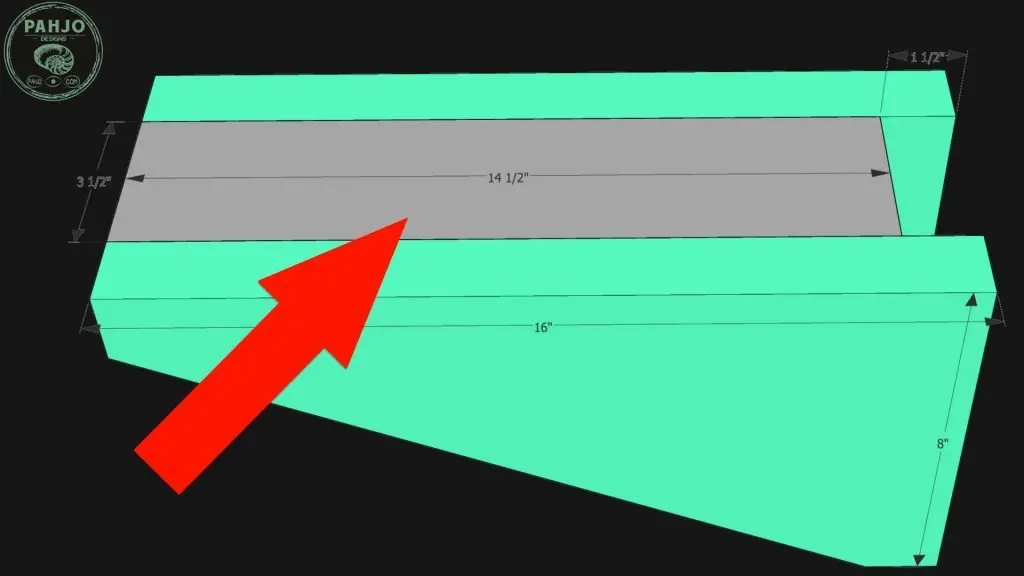
4 – Middle Shelf Support Bracket
The middle support bracket for the garage shelves stabilizes the bracket and creates a flat surface for the shelf.
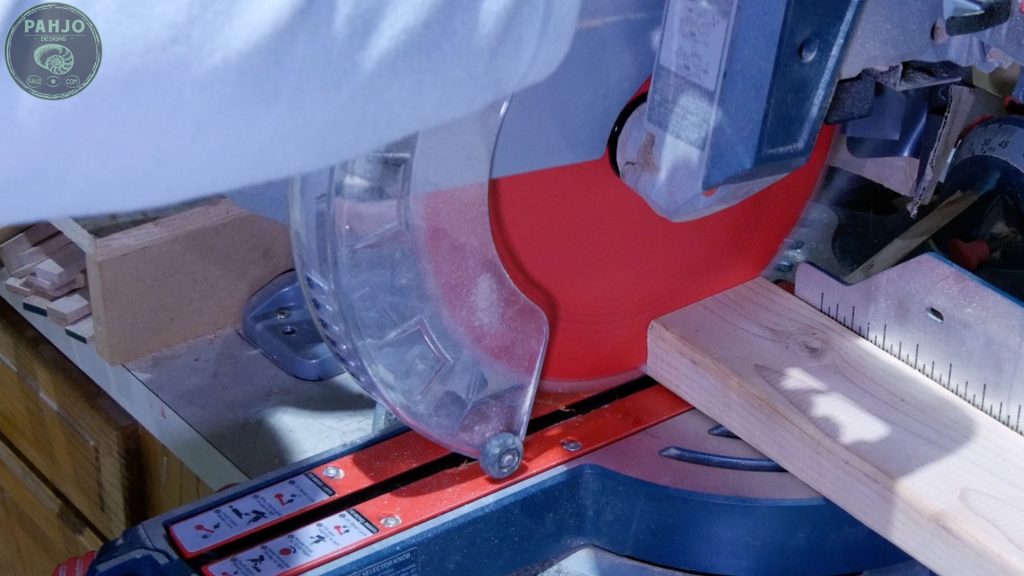
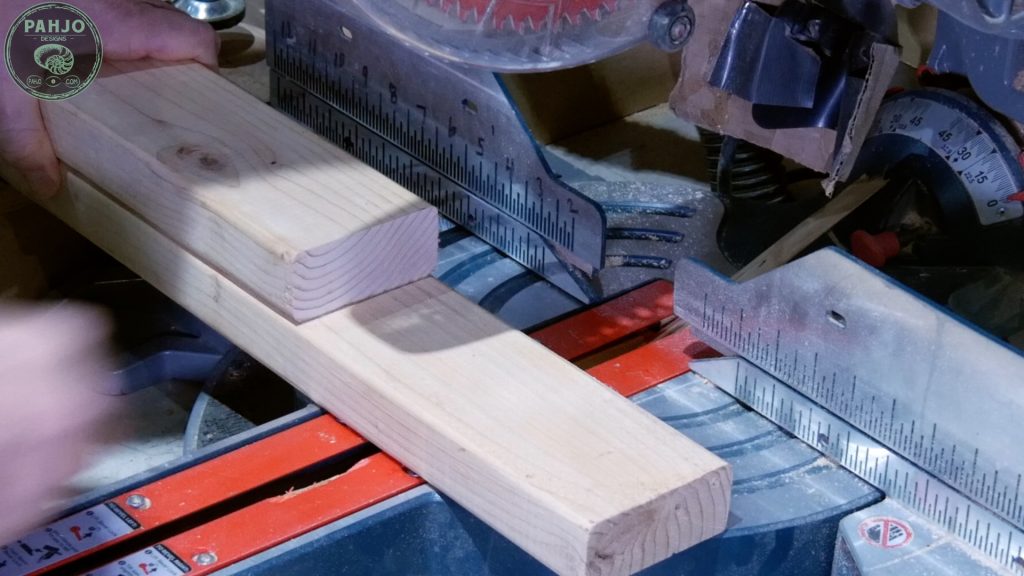
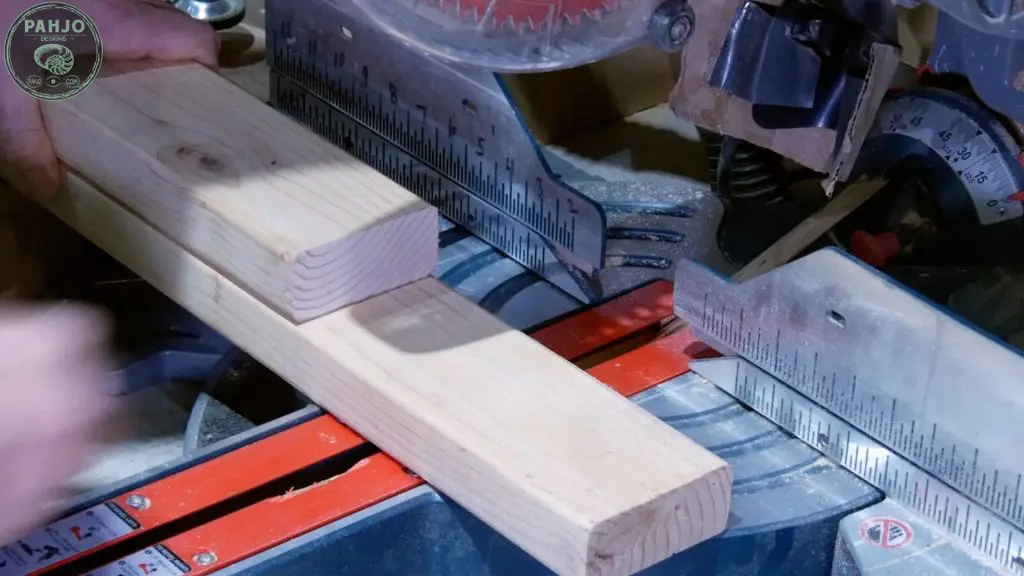
To start, measure and cut a 2×4 at 14.5″ long.
Next, use this 2×4 as a template to cut the other 2x4s. Obviously, this helps keep things consistent and speeds up the process.


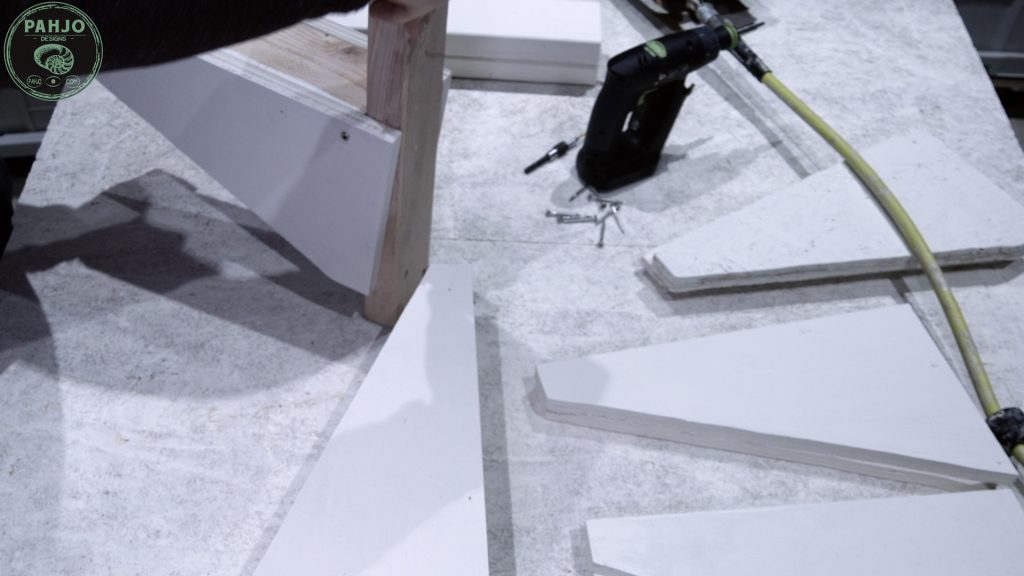
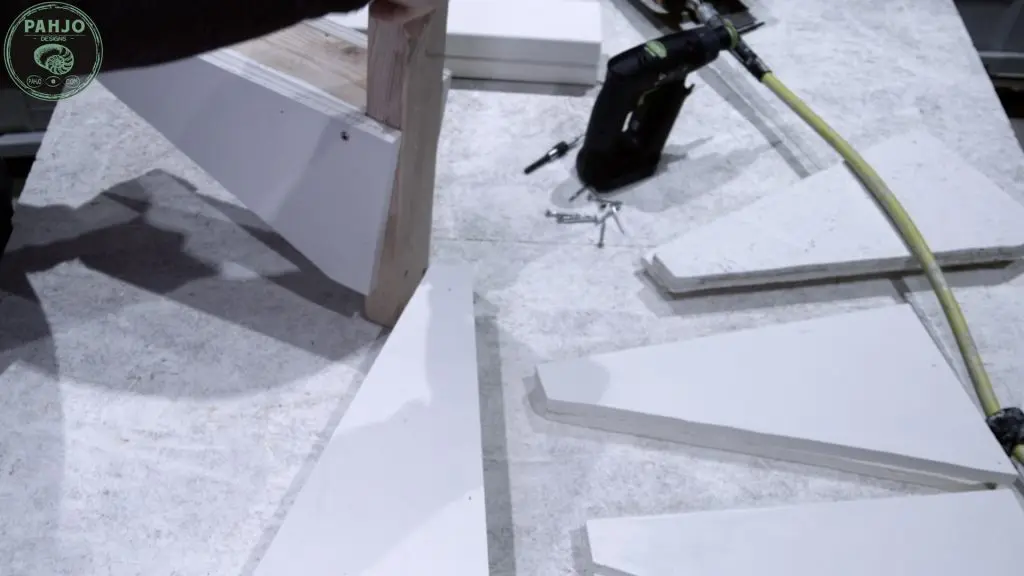
5 – Bracket Assembly
As a quick note, I painted the garage shelving side brackets and middle support with leftover paint in my workshop.
Obviously, this is not necessary.
Use a scrap piece of 2×4 to serve as reference during the bracket assembly.
This allows you to get the proper amount of space behind the bracket.
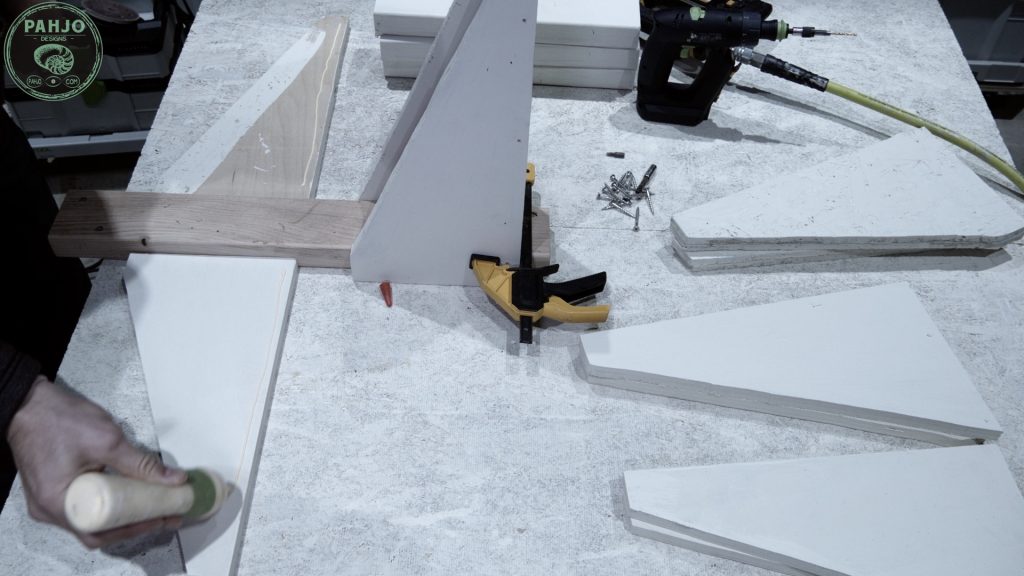

First, place the 2 side brackets on opposite sides of the reference 2×4 with the inside of the bracket facing up.
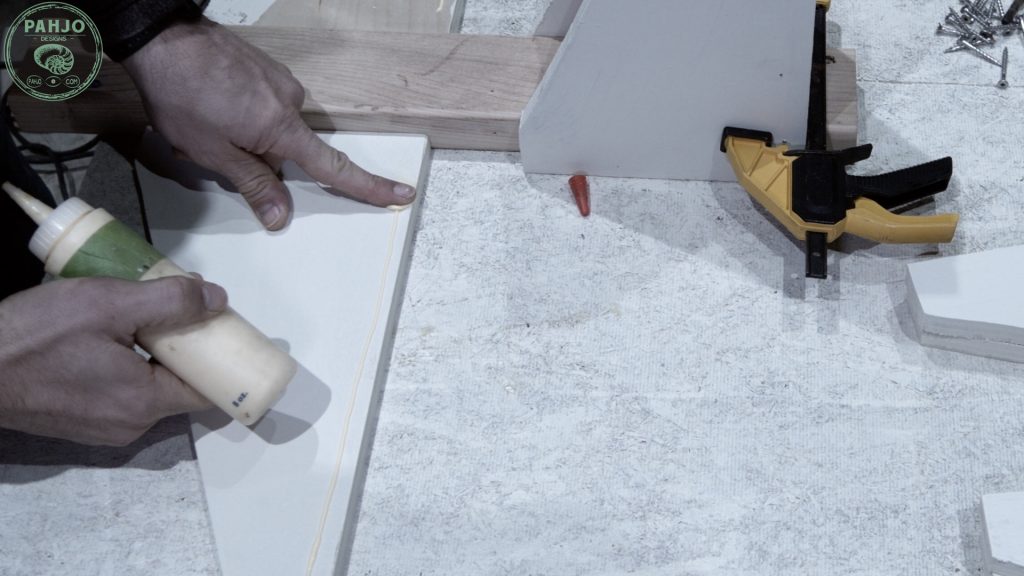
Next, I ran a line of glue along each bracket.
Keep in mind, start each line of glue 1.5″ in from the back of the bracket.

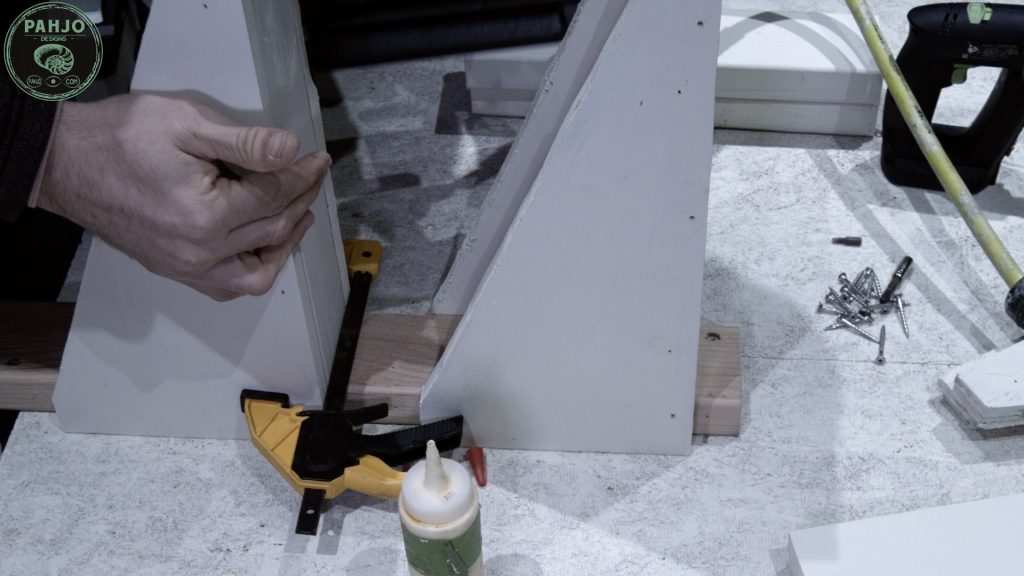
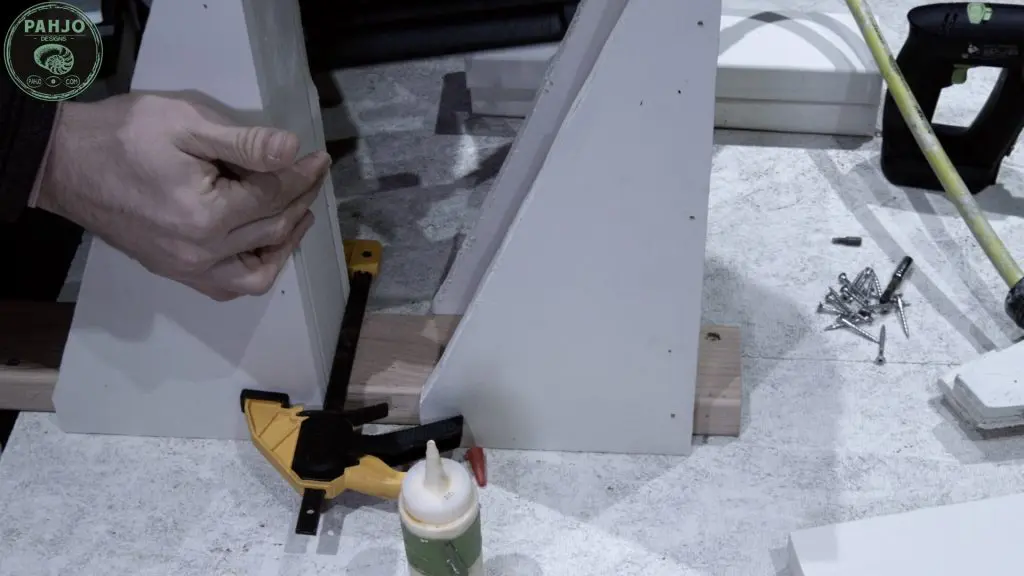
Then, place the middle support 2×4 on top of the reference 2×4 and closed the side brackets on them.
Use a clamp to hold it in place to make certain the top remained flush.
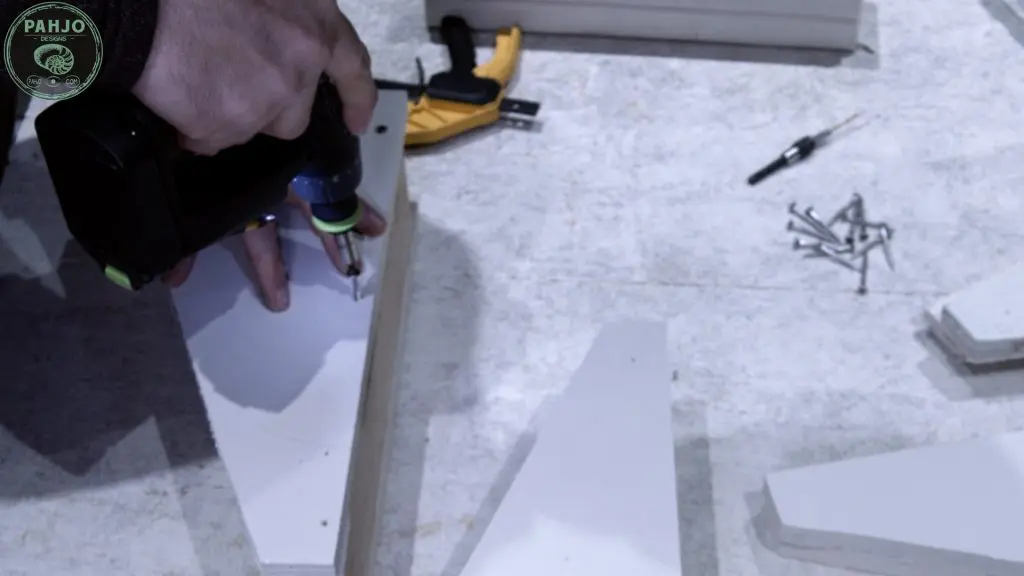
6 – Secure Garage Shelves to 2×4
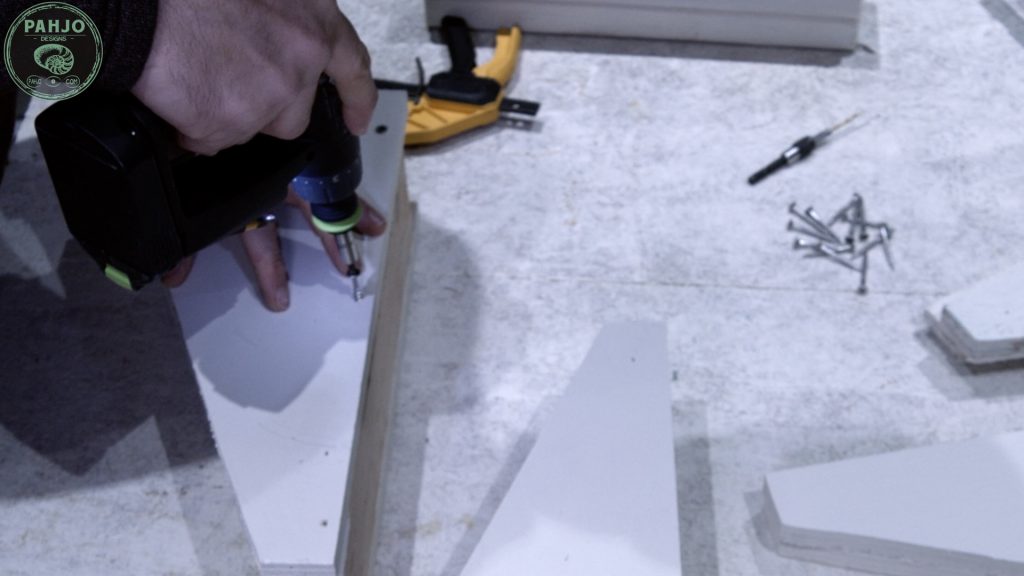
While the clamps secured the side brackets, drive a few brad nails into the bracket and 2×4.
Then, loosen the clamp and remove the bracket from the reference 2×4.
Verify you have 1.5″ of space between the back of the middle support 2×4 and the back of the side brackets.
Next, drill 3 pilot holes per side and secured it with screws.
Then, verify the brackets fit nice and snug on a reference 2×4.
I repeated this process until I had 8 brackets.
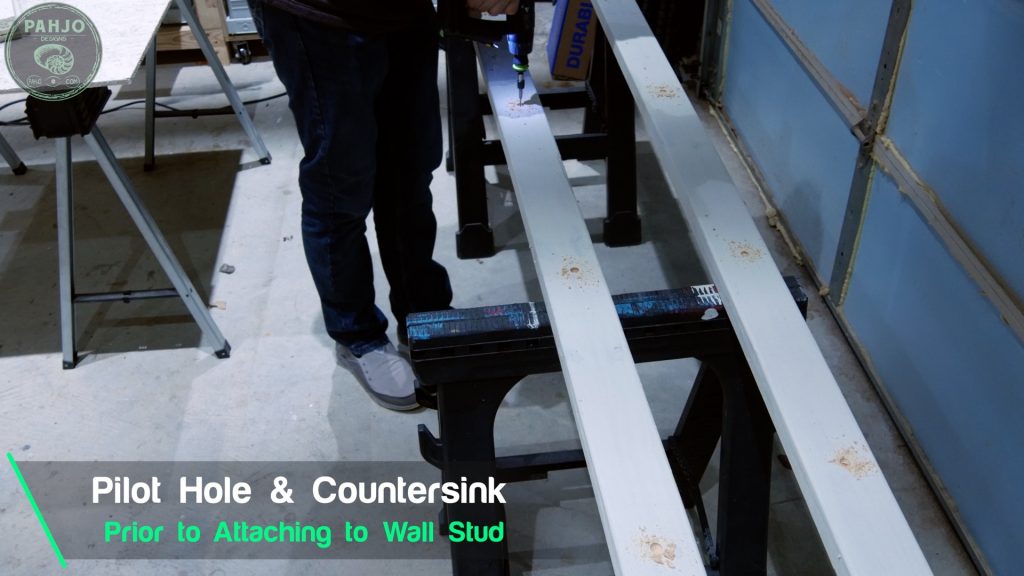
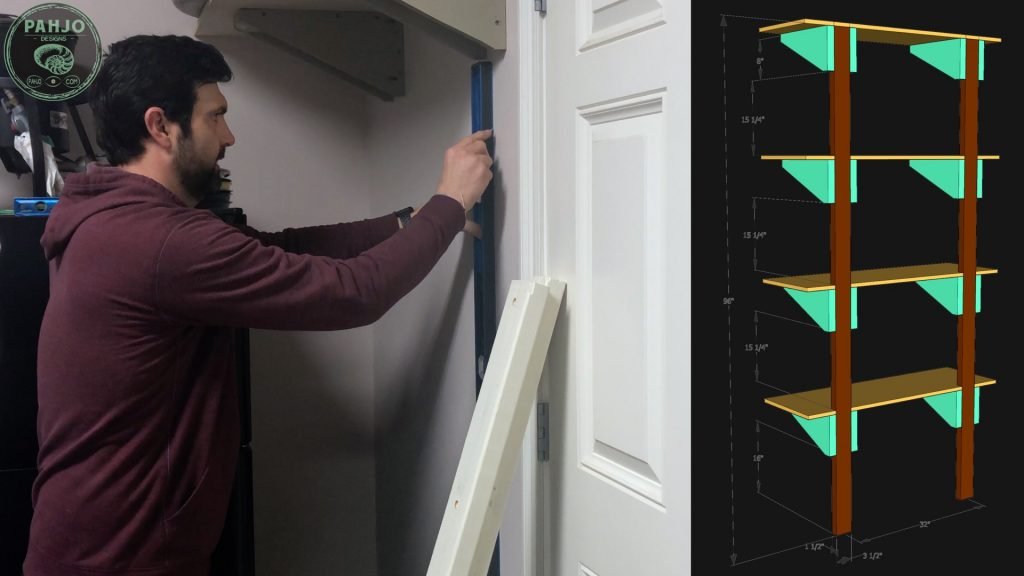
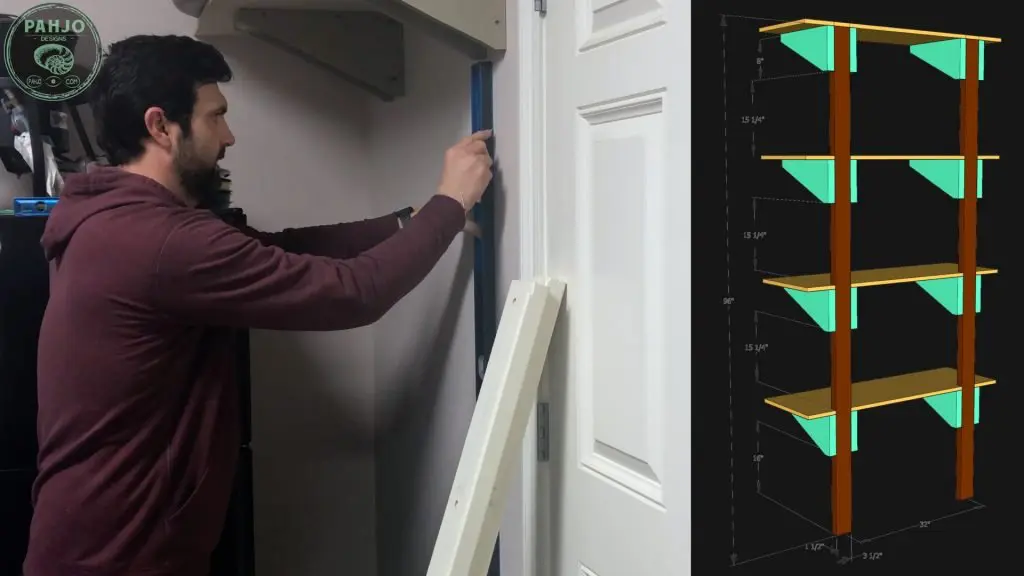
7 – Prepare Wall Support 2x4s
First, the wall support 2x4s must be attached directly to a wall stud. You only needed 2 8′ 2x4s to vertically attach to the wall at 32″ apart.
As a side note, wall studs are spaced 16″ on center behind sheetrock. It is more than sufficient to space the wall support 2x4s 32″ apart.
First, use a 1/8″ drill bit to drill 4 pilot holes spaced around 2′ apart. The spacing doesn’t need to be exact.
Next, use a countersink bit so the screw does not protrude the surface as this may cause the shelf bracket to be uneven.

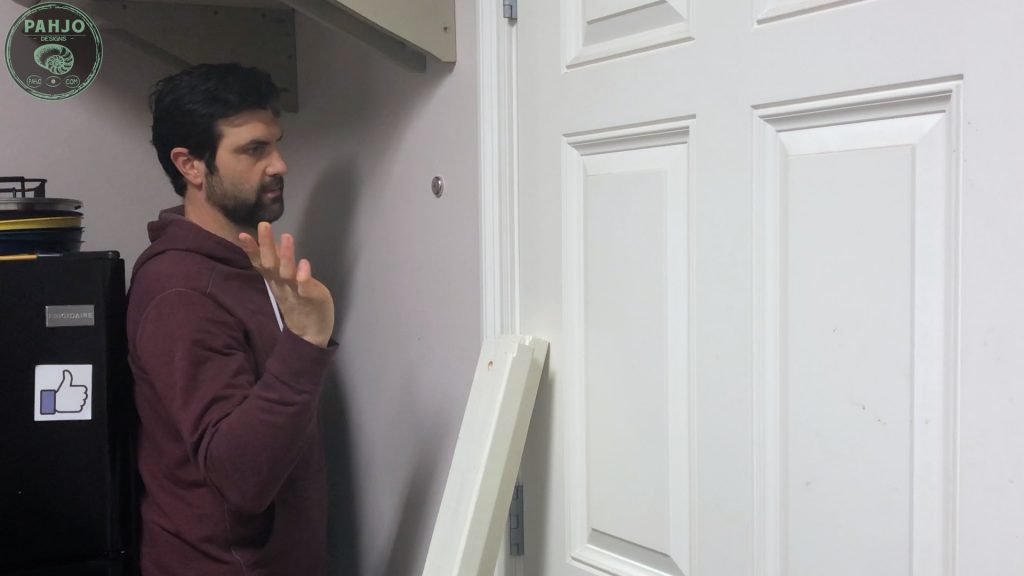
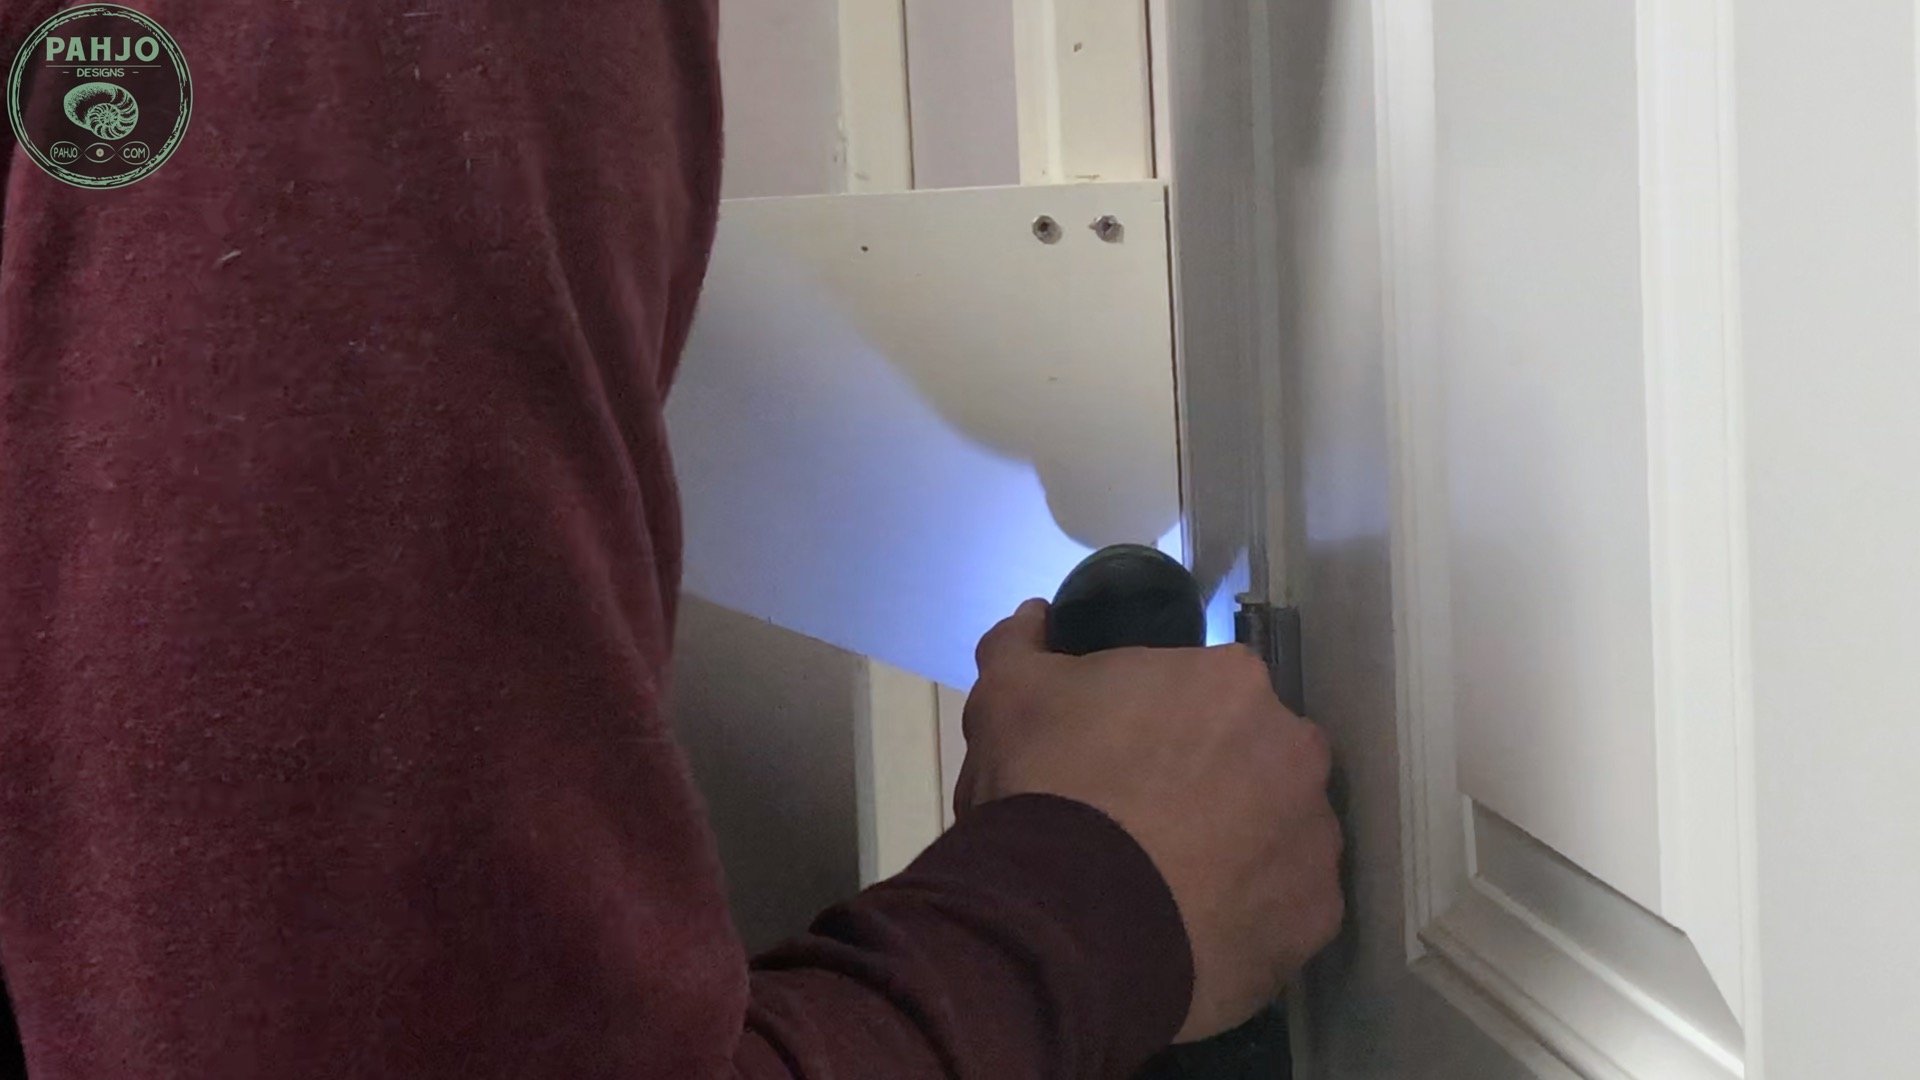
8 – Find Wall Studs with a Magnet
As I mentioned previously, the 2x4s must be attached to the wall studs.
In order to find wall studs without a stud finder, I used a neodymium magnet to locate the sheetrock screws.
Neodymium magnets lock on sheetrock screws which makes finding studs very easy.
First, run the neodymium magnet horizontally on the wall. Slowly work your way down with each pass.

Next, use a nail to mark the location of the stud through the center hole in the magnet.
Then, repeat the process further down the stud to get at least one more reference nail.
As a last step, use my 4′ leveler to mark a line down the center of the stud.
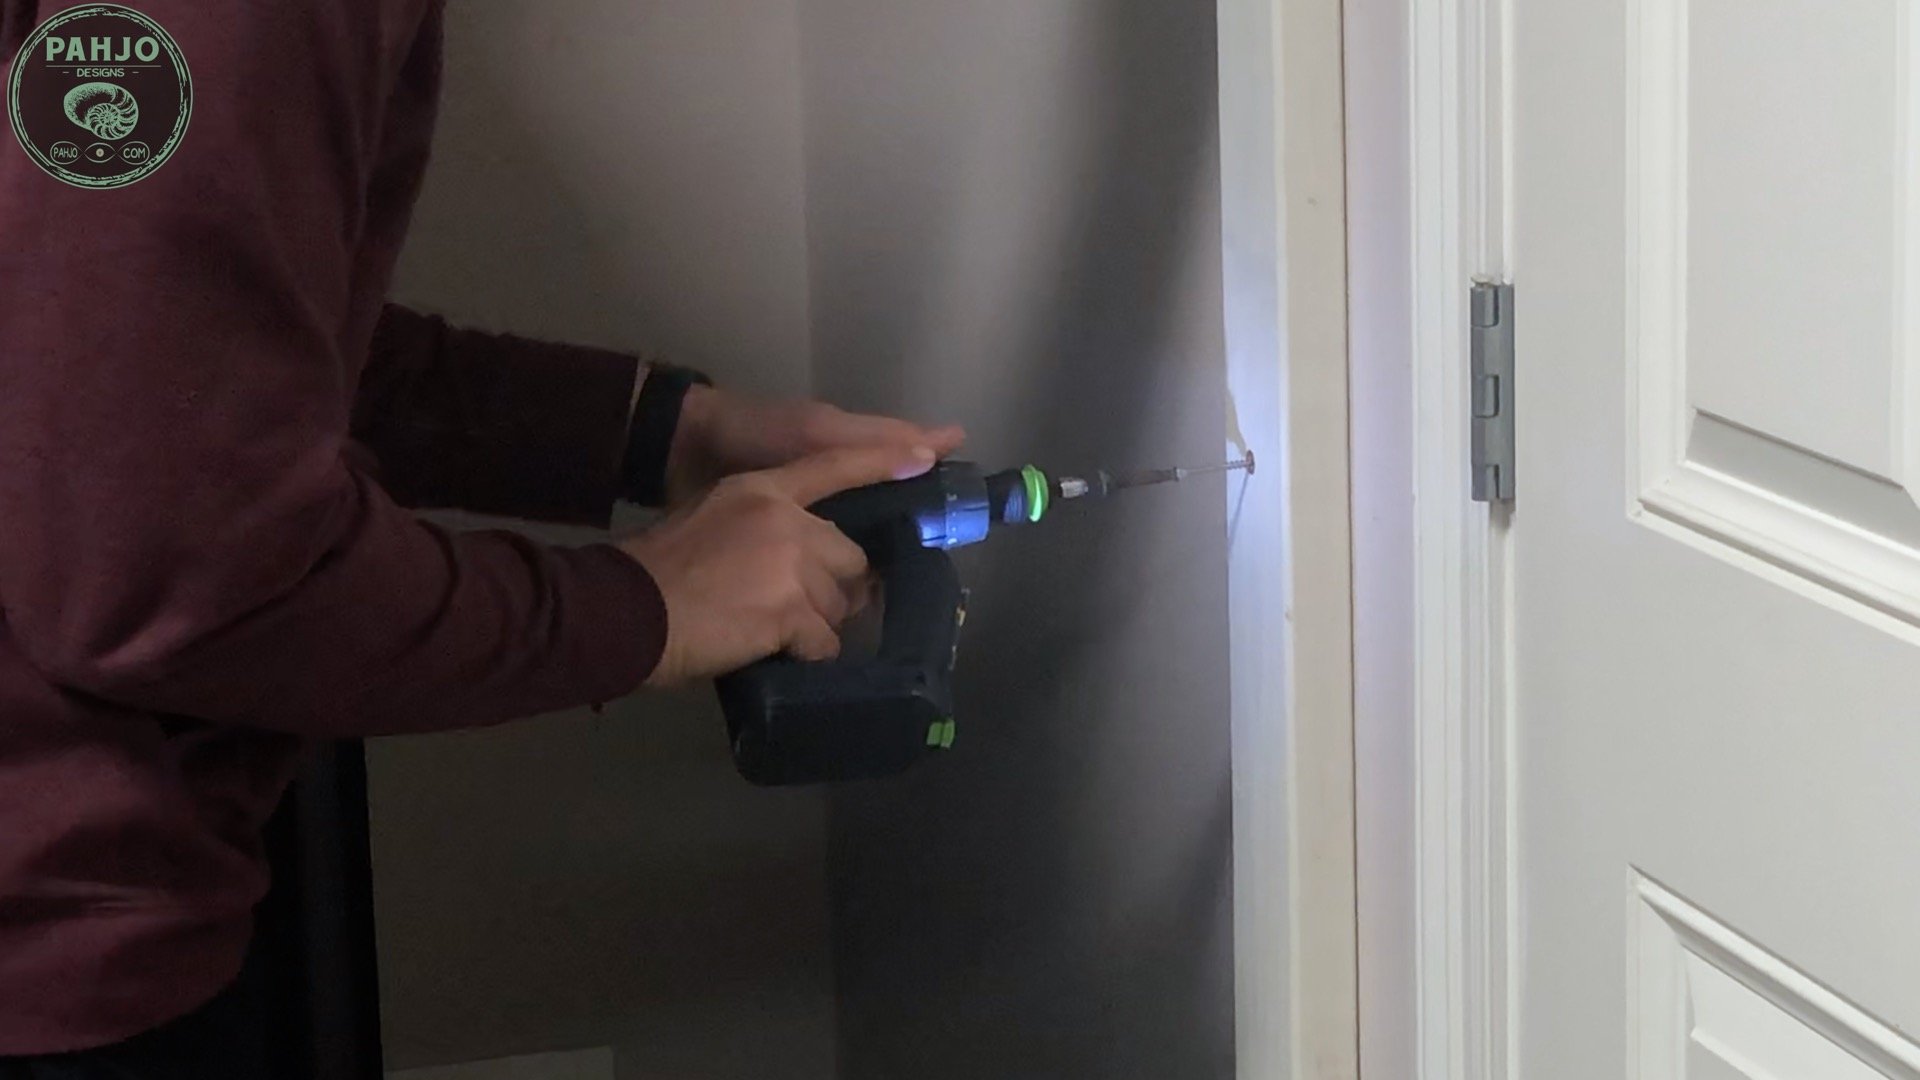
9 – Secure Wall Support 2×4 to Wall Stud
First, place the wall support 2×4 on the line with a leveler on the side to make certain it remains square.
Next, use a 3″ screw to secure the 2×4 to the wall stud.

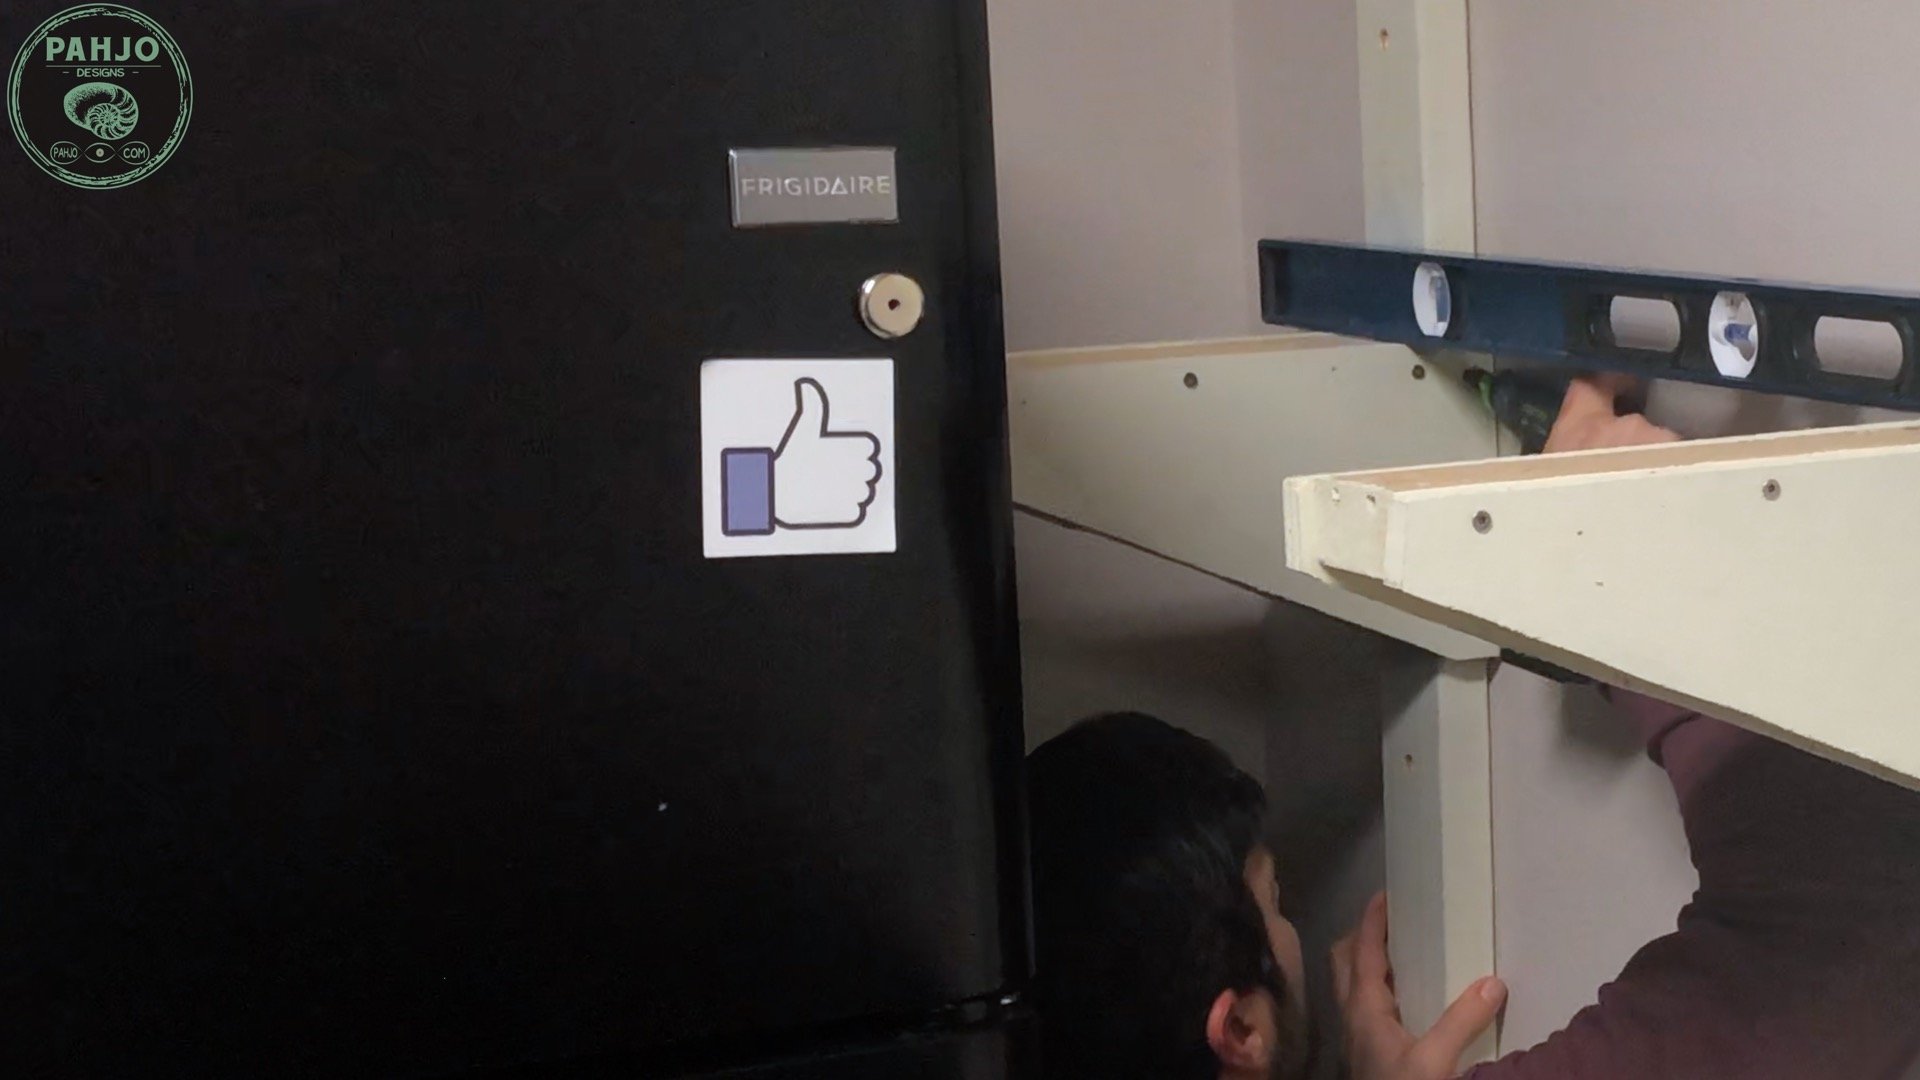
10 – Attach Brackets
After both wall support 2x4s are secured to the wall stud, attach the garage shelf brackets.
First, mark the top of each support bracket according to the drawing below.

Next, place the brackets on the 2x4s.
My brackets had a snug fit, so I didn’t need to use a clamp to secure them.
Then, drive in 2 screws per side on the first bracket.
Place the leveler on top of the bracket you just completed.
Repeat the same process for the other bracket while keeping everything level.
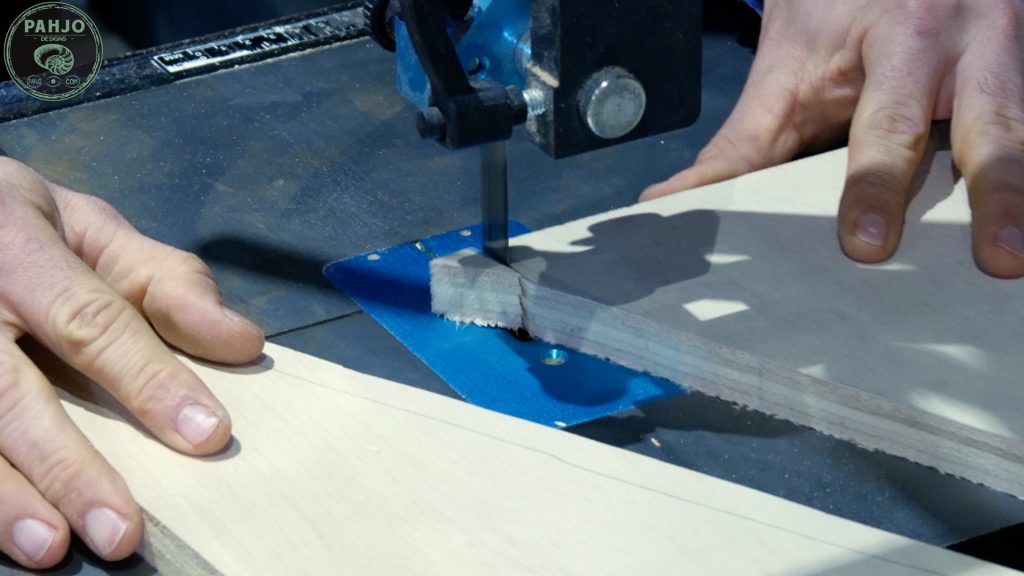
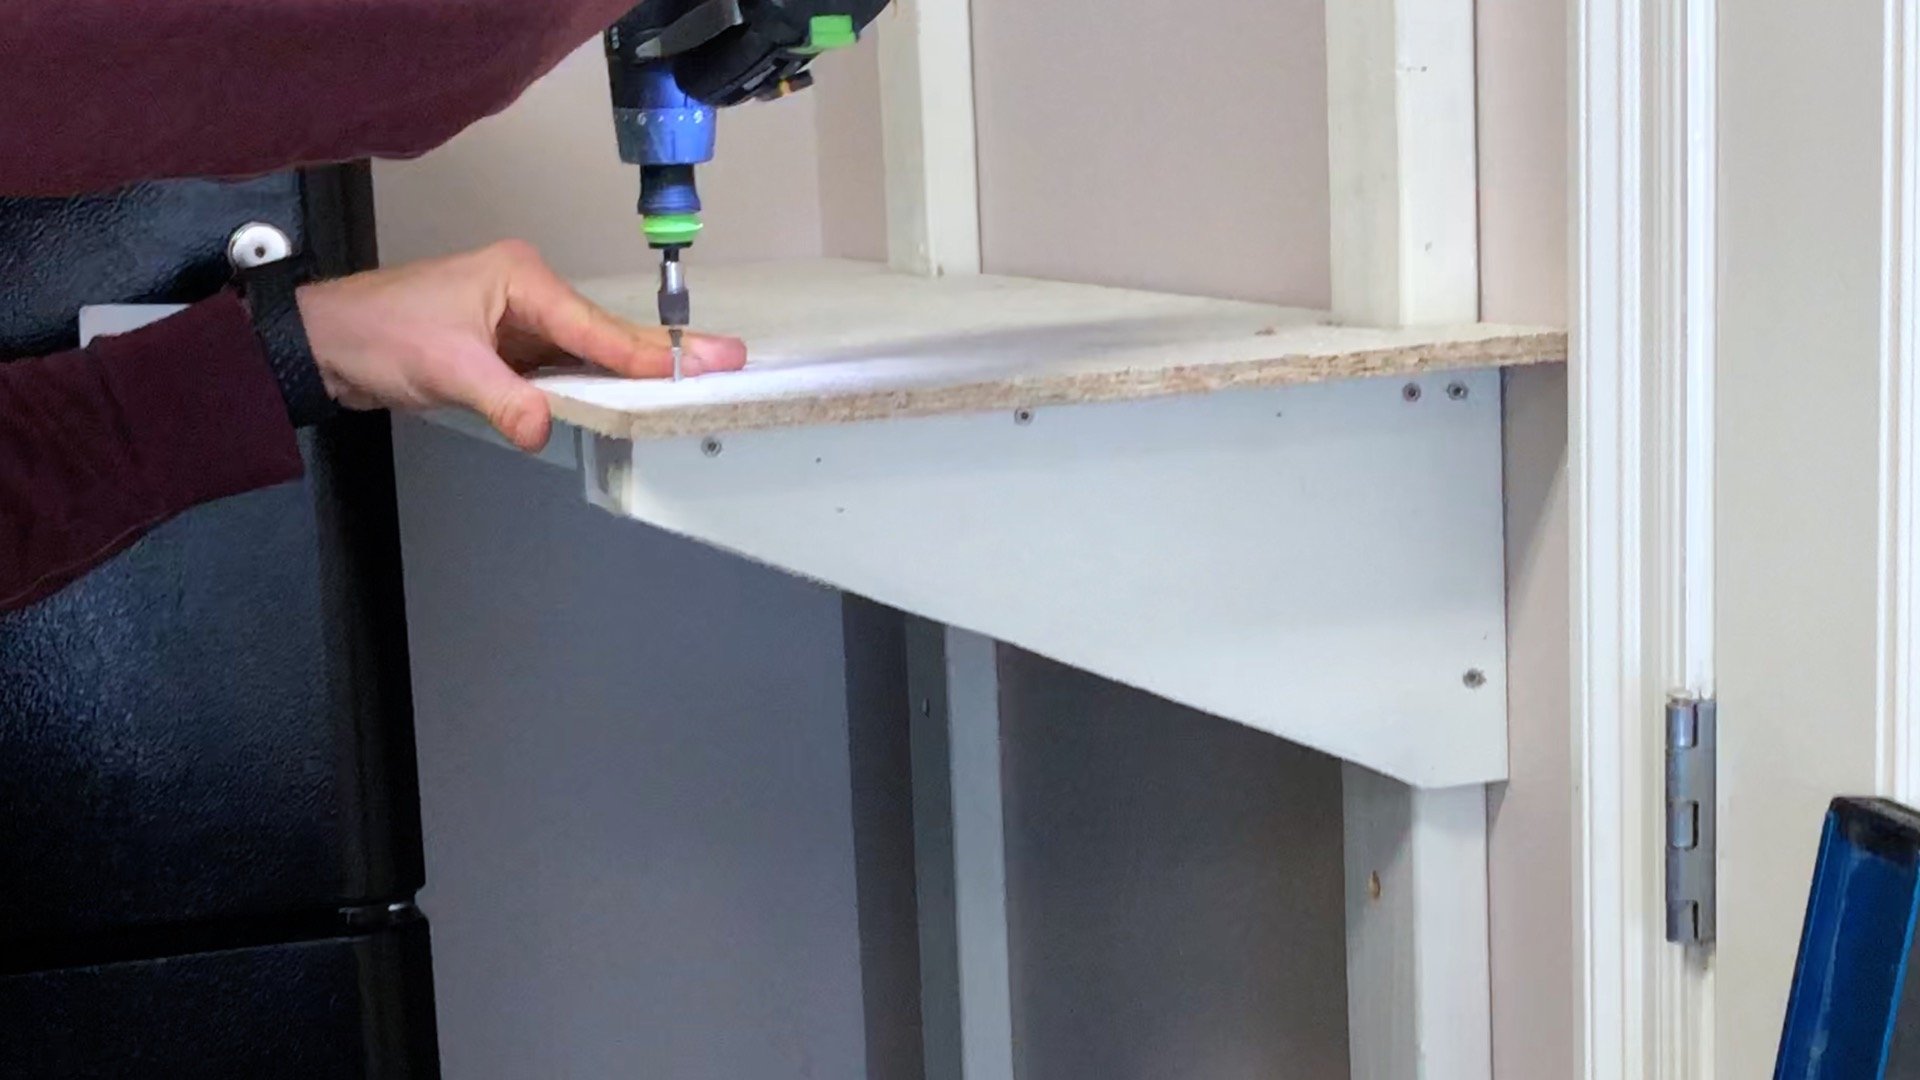
11 – Secure Top Garage Shelf
First, use a bandsaw or jigsaw to cut 2 notches according to the diagram.
The drawing and my DIY plans for this project have 3/4″ plywood as the top shelf.
However, the top of wood doesn’t matter.
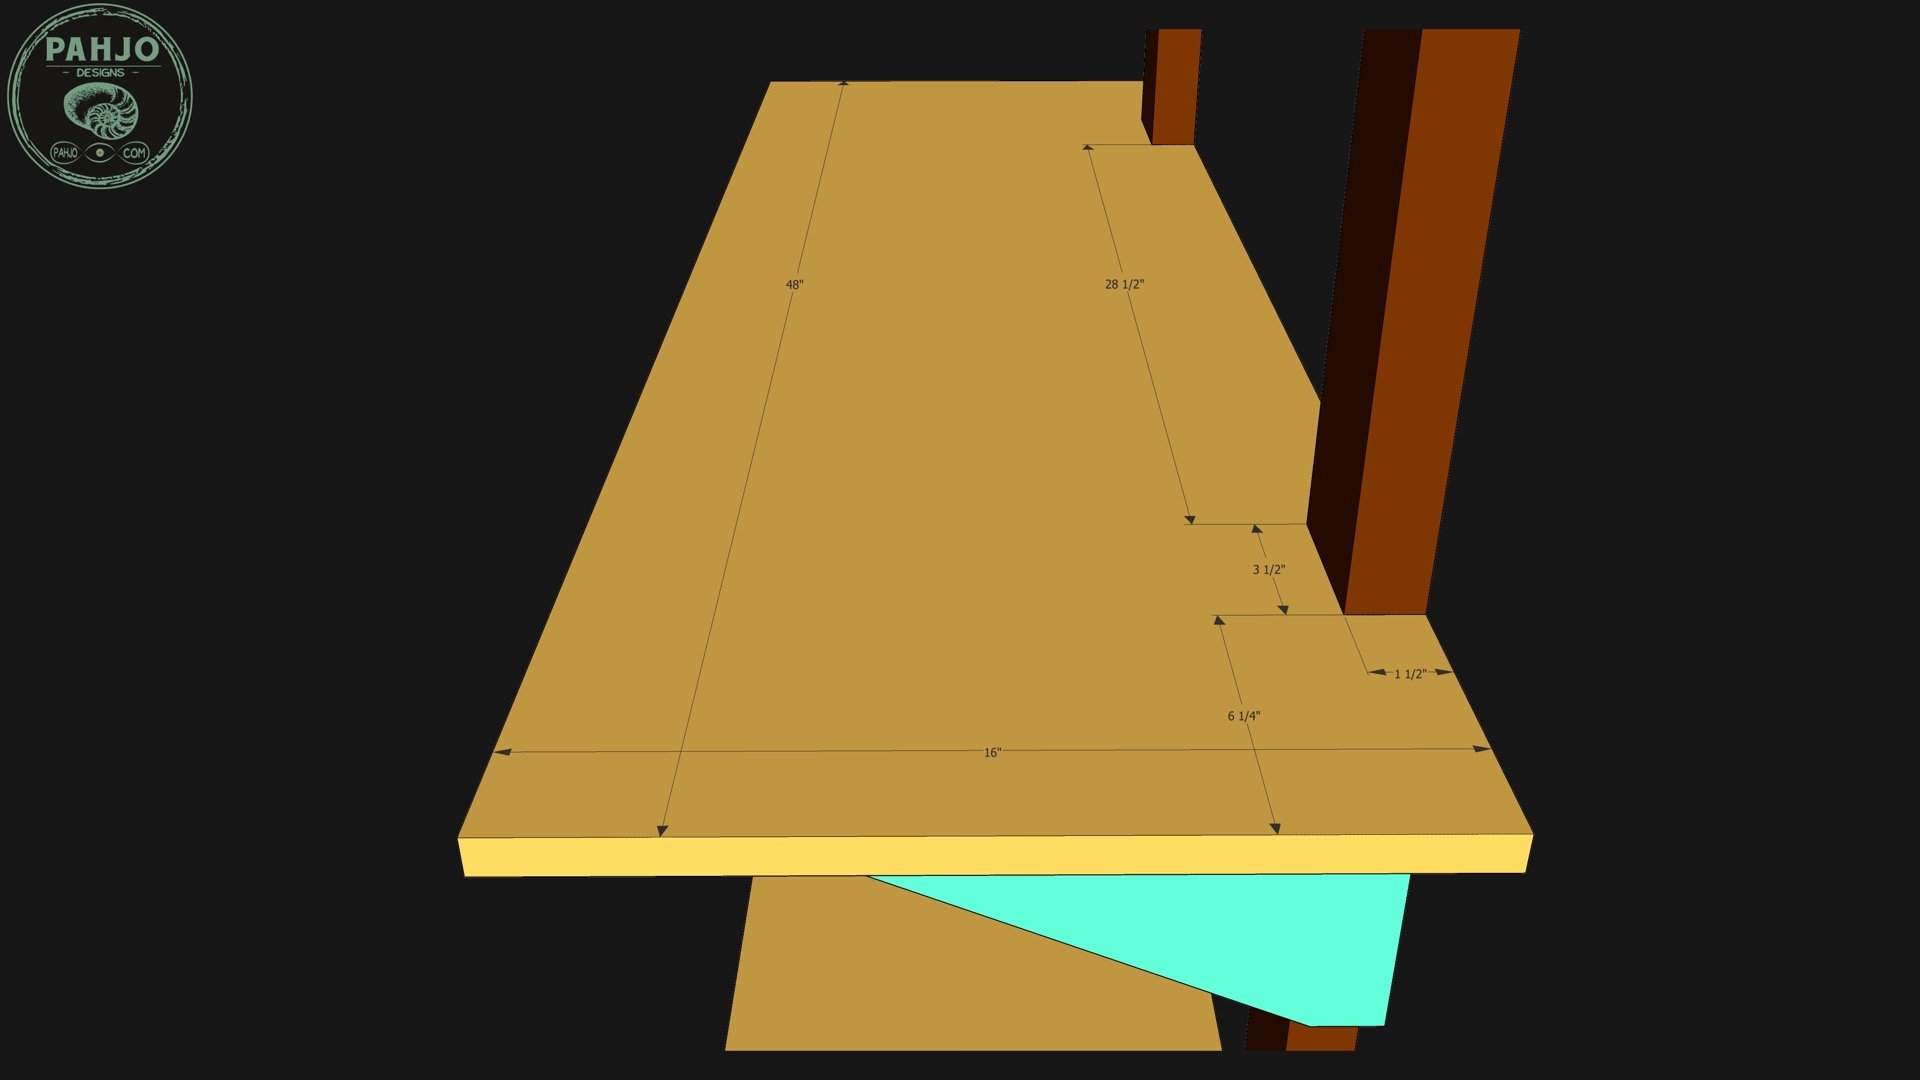
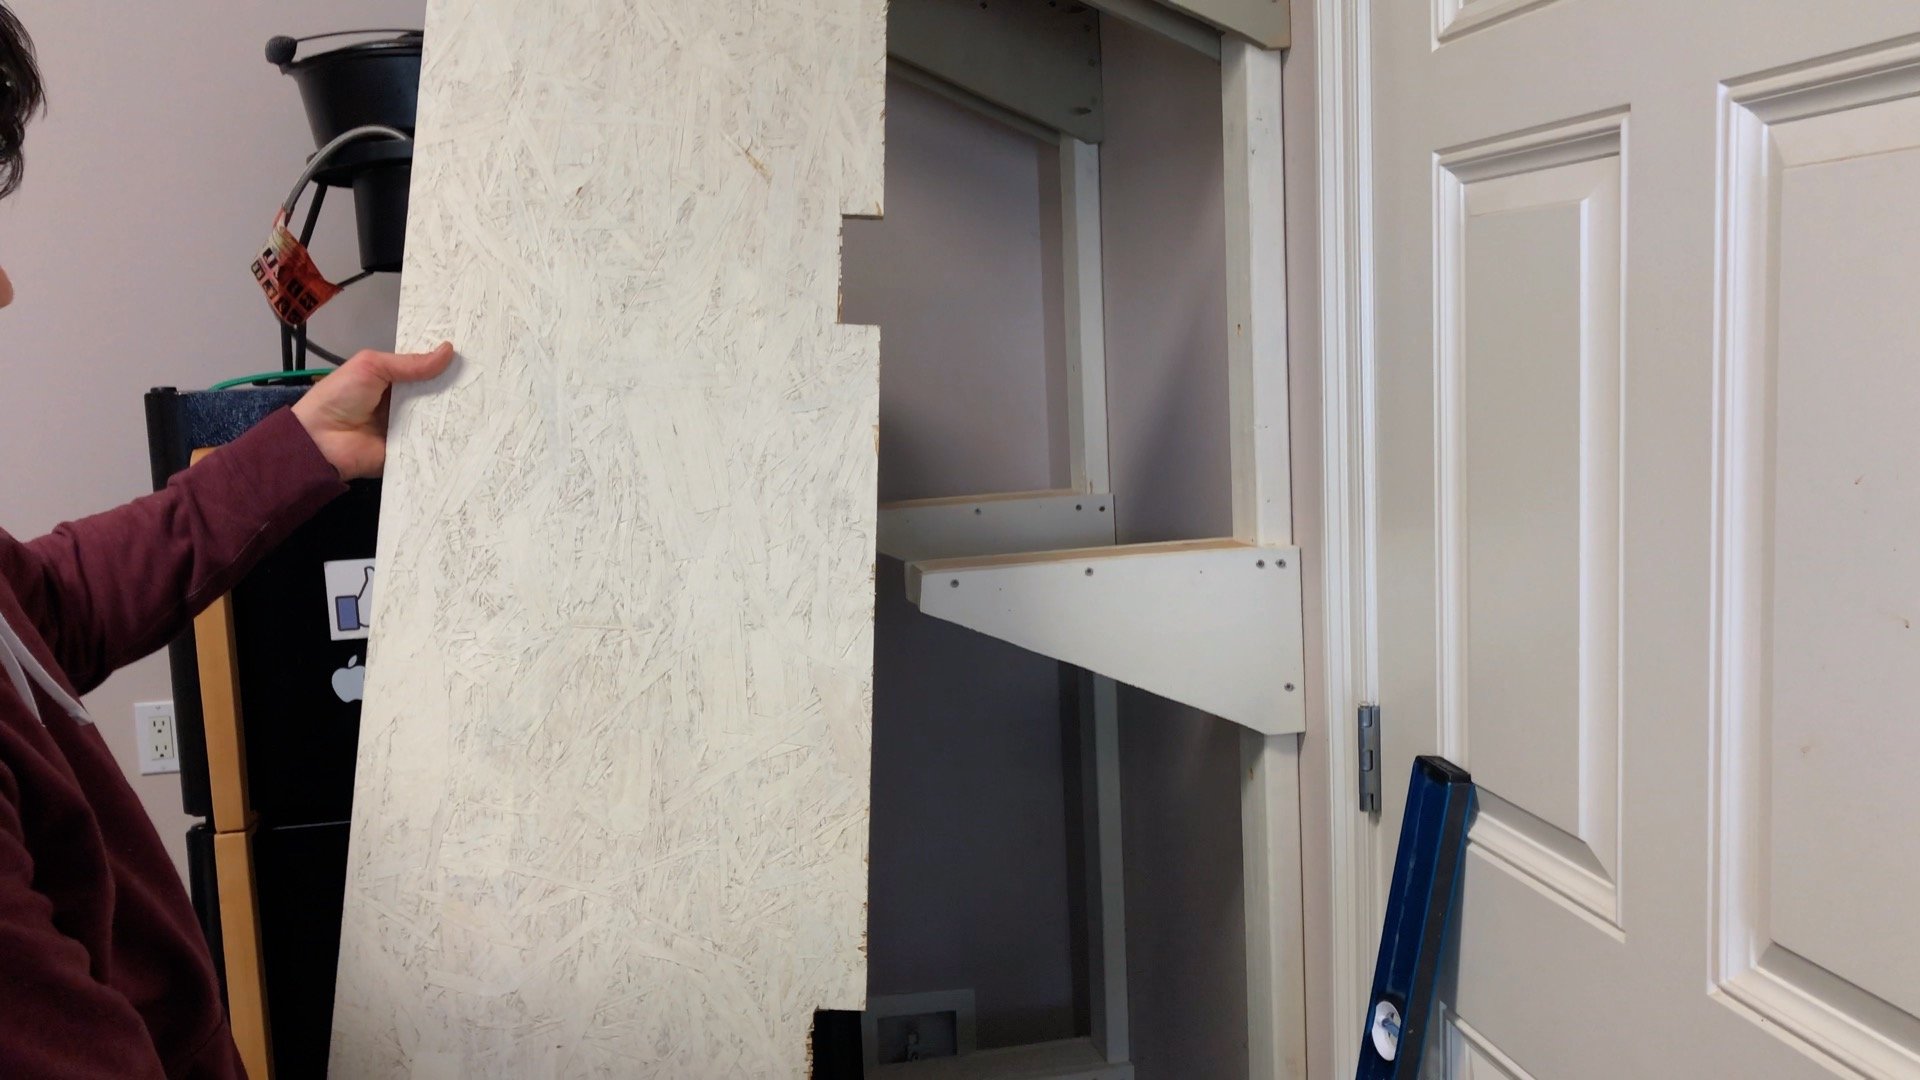
Then, use 2 screws (front and back) to secure the shelf to the middle bracket support.

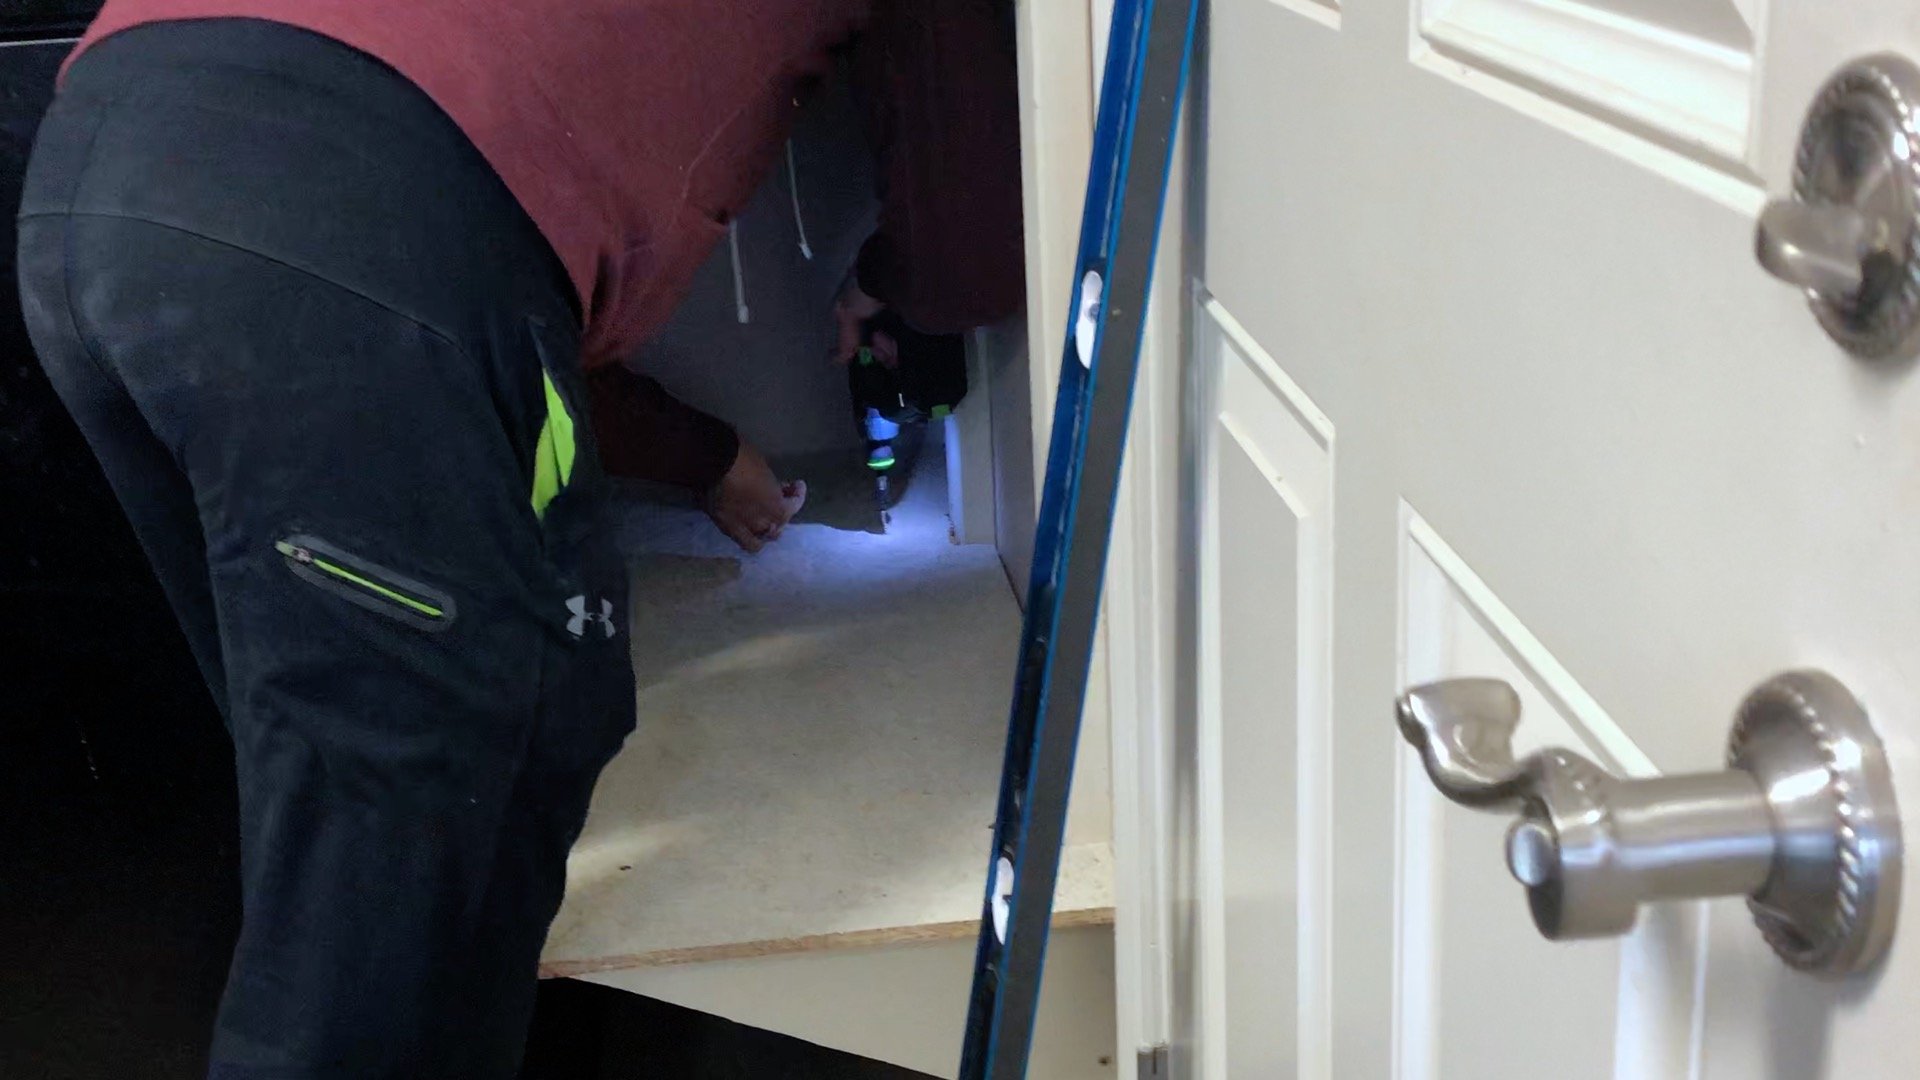
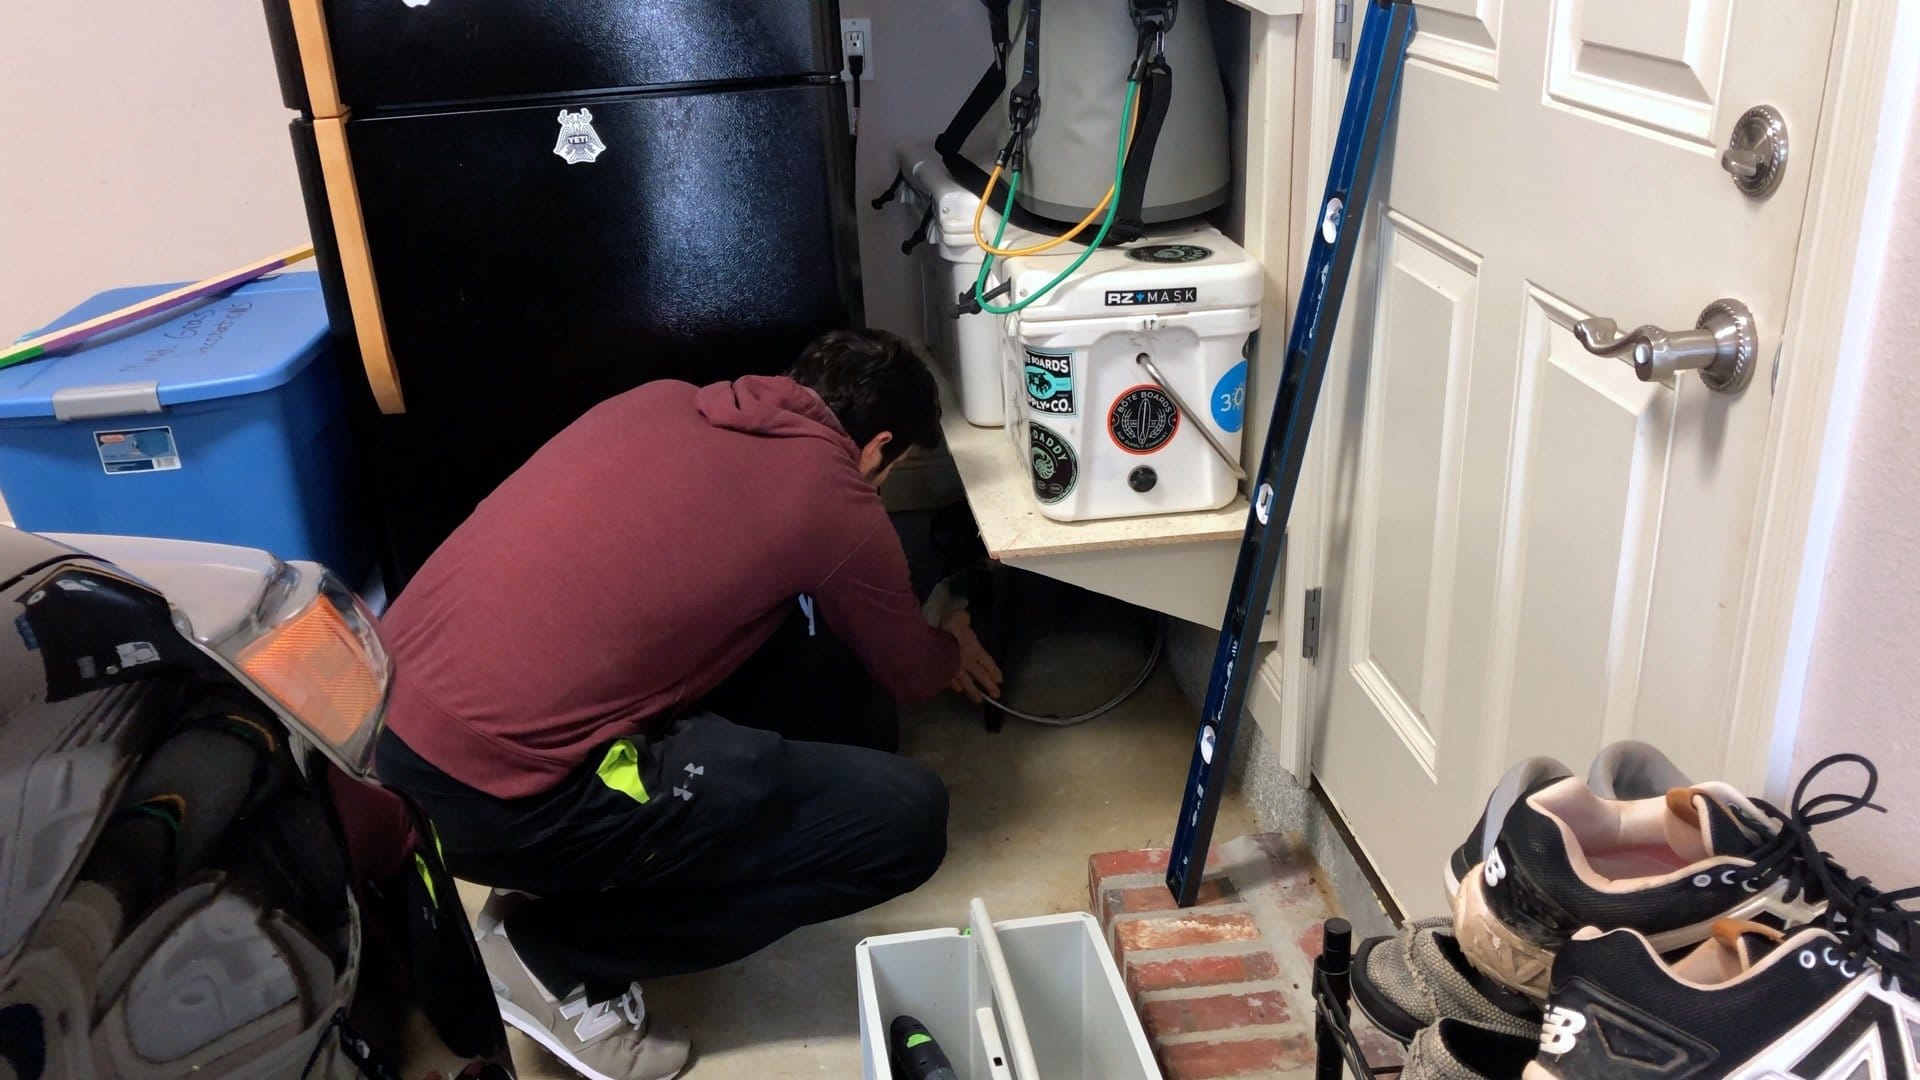
12 – Place Items on Garage Shelves
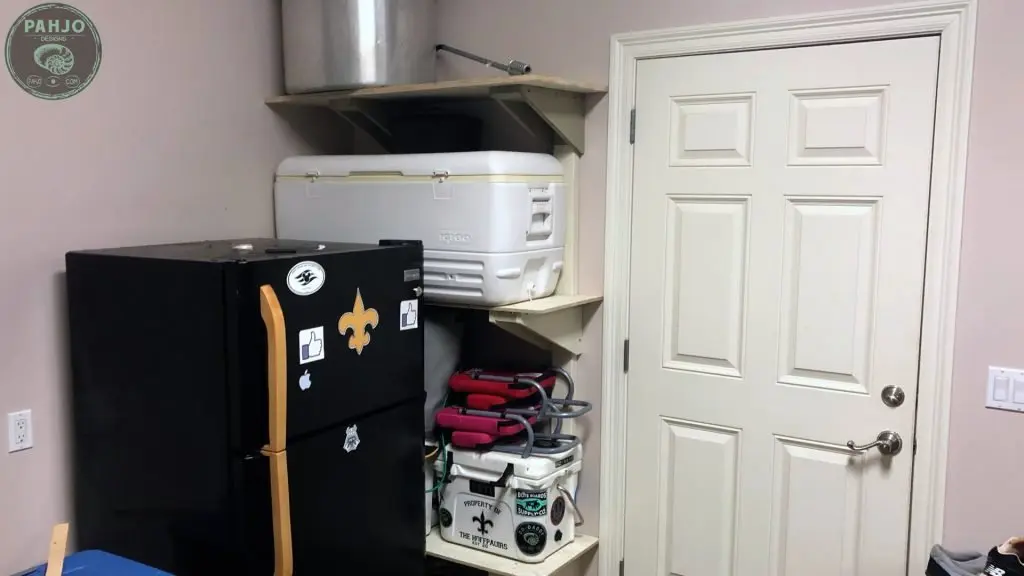
These DIY garage shelves from 2x4s work great.
I store my ice chests and outdoor cooking equipment on them.
Also, this garage storage solution allows me to seamlessly expand the system to other parts of my garage.
In fact, I plan to do just that in the coming months.

Conclusion
In conclusion, I hope you learned how to build sturdy garage shelves from 2x4s.
Download the DIY plans for this project.
This was a very easy DIY project and it turned out great.
Related Posts
- How to install a DIY mini split
- Automate a dust collection system with Alexa
- How to use old fence boards on an interior wall
- 2 Ways to Distress Furniture
It is cheaper to build garage shelves yourself rather than purchase prefabricated shelves.
Plywood, OSB boards, 2x4s, and even scrap wood work great for garage shelves. To improve the look, consider painting the wood.
Plywood for garage shelves should be 1/2″ thick.
Plywood is much better for garage shelves compared to MDF. MDF tends to sag and potentially split under a heavy load.
Wanda
Tuesday 7th of January 2020
Nice job!