
In this tutorial, I show you how to install a DIY folding wall desk along with other woodworking techniques and tips.
Even if you don’t need a folding wall desk, the DIY tips I share can be used on any resin or woodworking project.
Here are some jump links to the main sections of this post.
Video Tutorial
Tools and Materials
Step-By-Step Instructions
Video Tutorial
There are several things which are difficult to fully explain with words and images, so be sure to check out the video tutorial below.
Tools and Material I Used
So, lets dive right in with a list of tools and materials.
- Pro Marine Table Top Epoxy Resin
- Ozeri Pronto Digital Multifunction Scale
- Alcohol Ink
- Dark Blue Pigment Powder
- Light Blue Pigment Powder
- Green Gold Pigment Powder
- Casting’ Craft Transparent Dye
- Blue Sumnacon Sturdy Folding Shelf Brackets
- #8 x 1/2″ Standard Thread Truss Head Screws
- Festool CXS Compact Drill Set
- ZITRIOM Packing Tape Dispenser
- SC Johnson Paste Wax
- Dual-Bevel Sliding Glide Miter Saw
- Bostitch 18GA Brad Nailer Kit
- Dewalt Metal Folding Saw Horses
- Festool RO125 FEQ Rotex Sander
- Polishing Sponge
- Festool 202048 MPA 5010 OR/0.5L Polishing Compound
- Polishing Sheepskin
- Festool CT SYS HEPA Dust Extractor
- Kwik Seal Caulk with 5.5-Ounce Tube
- Dewalt Medium Trigger Clamp 2pk
For your convenience, I’ve compiled a complete list of epoxy resin tools and material I use most often. Click HERE to see the list.
Introduction
So, I decided to build this DIY folding wall desk for a few reasons.
First, my daughter often visits me in my office to do homework or draw on my whiteboard and there is no desk space for her.
Second, my office needs a bit of sprucing up with wood resin beach art.
Since I love the ocean, a bit of ocean art seemed fitting.
Additionally, I want to try different resin art techniques I’ve seen in various projects to create a realistic oceanscape or beach scene.
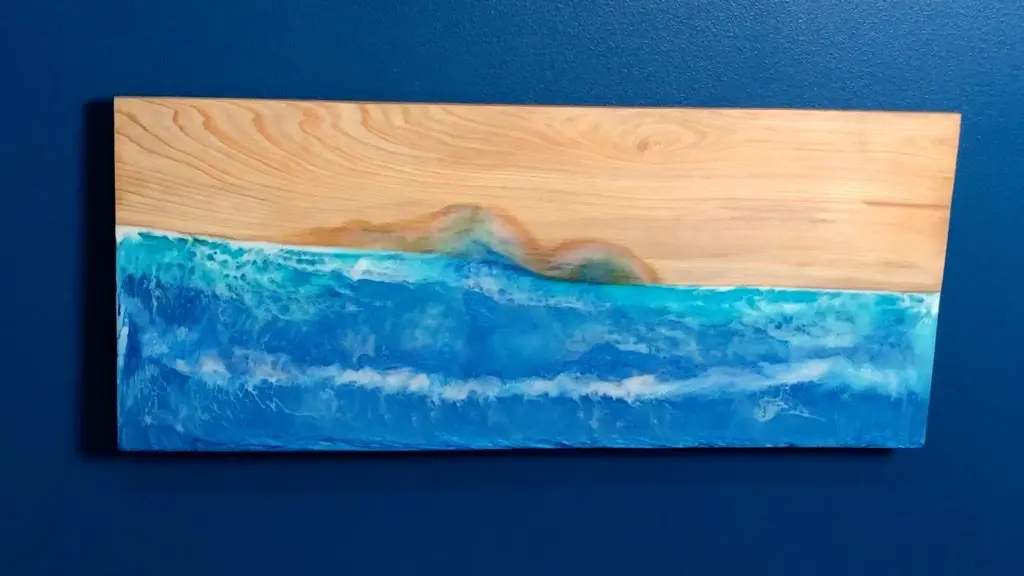
In turn, I decided to build a DIY folding wall desk that is also wood resin beach art when folded down.
Furthermore, I show you how to experiment with different resin art techniques with various resin materials on the same project.
Create Resin Mold Bottom
Ultimately, many options exist for creating a resin mold for resin beach art.
I’ll show you the method I used for this resin beach art project.
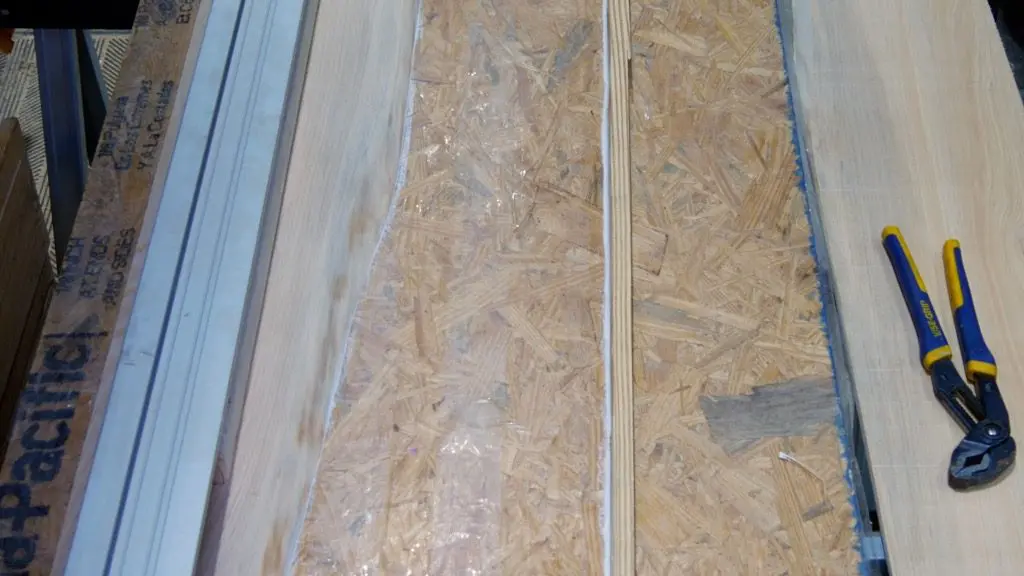
Particle board, plywood, or any other flat surface works well for the bottom of a resin mold.
Next, cover the resin mold with packing tape.


Also, be sure to overlap the tape by 1/4″ and smooth it out after each piece.
I find packing tape works very well and it is much cheaper than Tyvek tape.
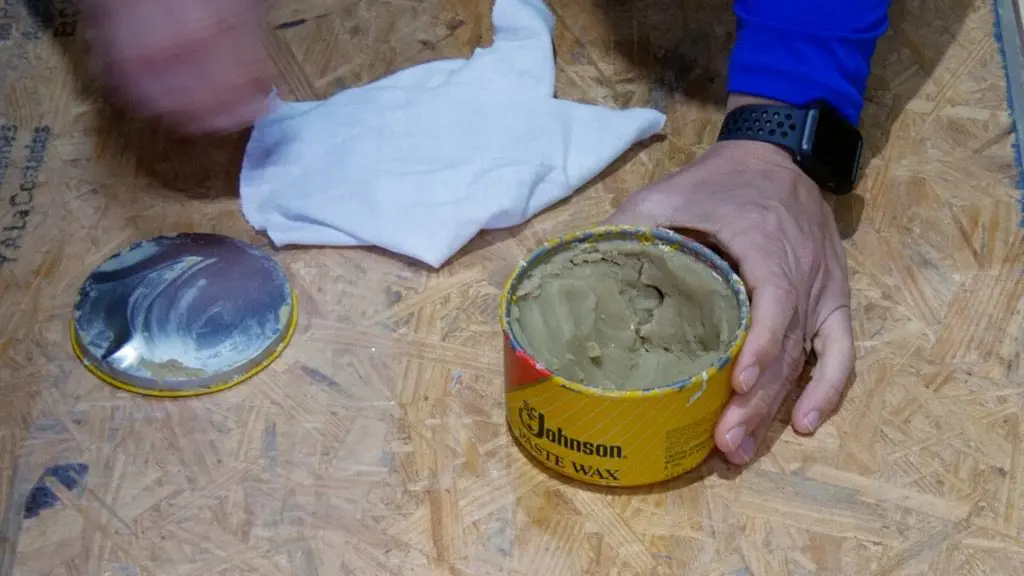
Essentially, furniture wax and vaseline serve as resin mold release agents.
If applied correctly, my wood resin beach art should release easily once the resin completely cures.

Resin Mold Perimeter
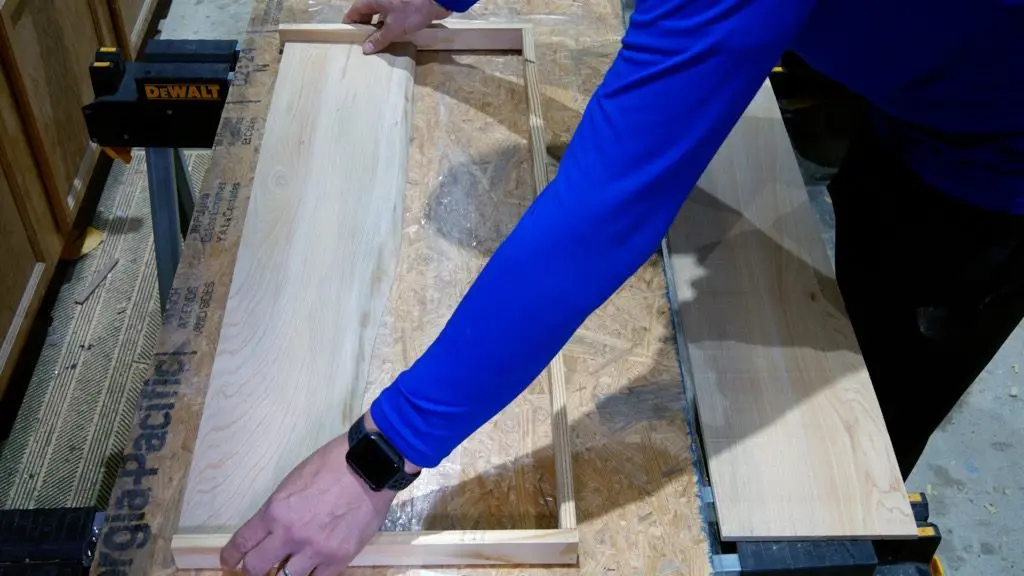
First, I placed a leftover 1.5″ thick piece of cypress on the resin mold.
Next, I used 1×2’s to form a 3 sided box around it. I secured the 1x2s with 1″ brad nails.

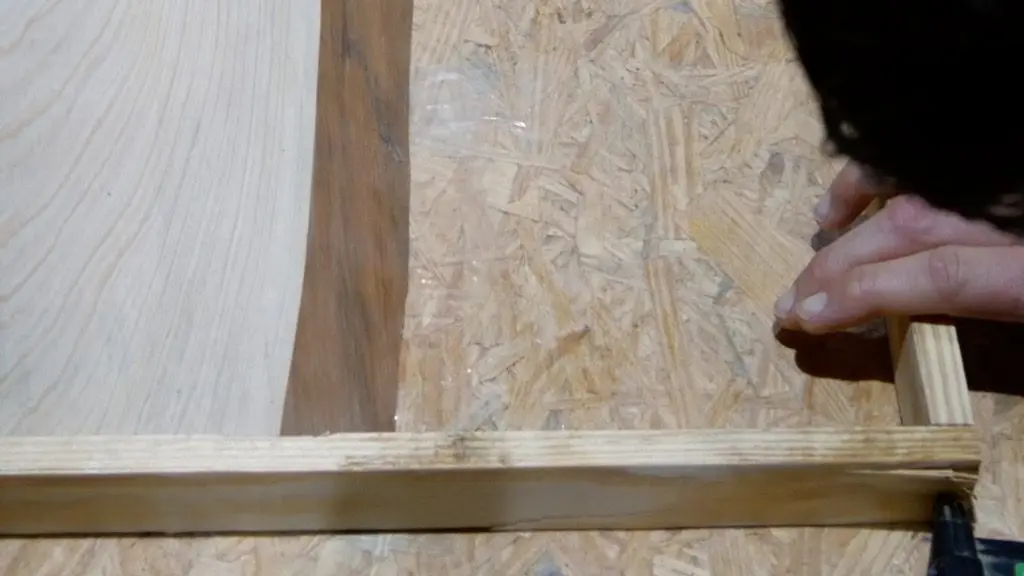

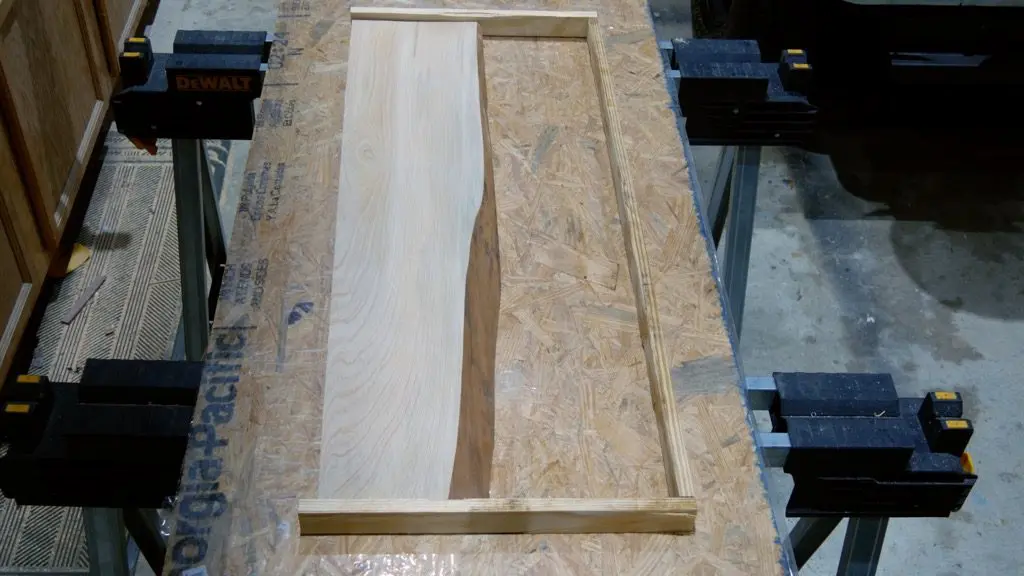
Then, I removed the live edge cypress wood from the mold. I did not secure the resin mold perimeter to the wood just yet.
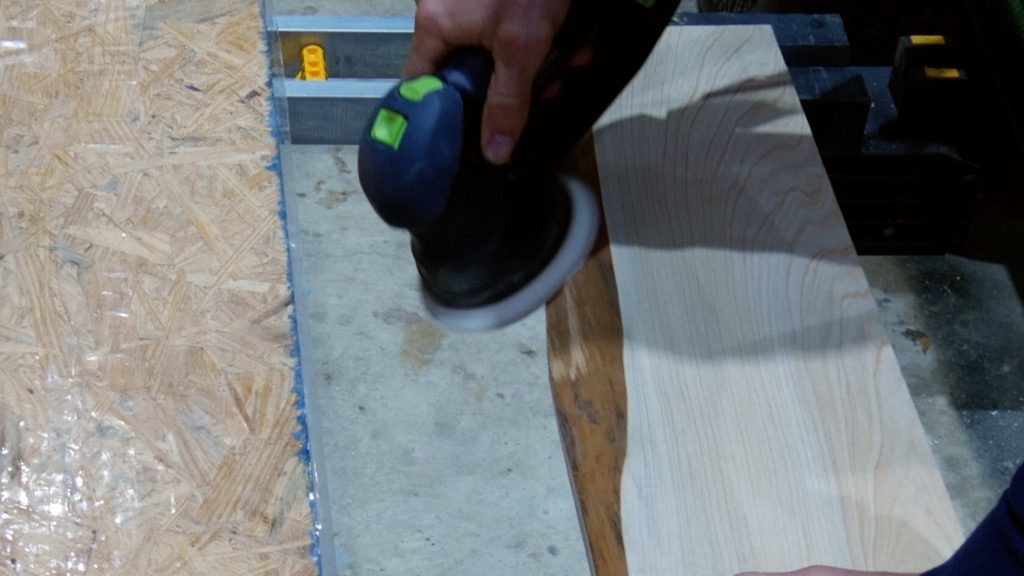
Sand Live Edge Cypress Wood
I rough sanded the top of the cypress wood during a previous project.
So, I only needed to sand the live edge to remove the loose debris.
Essentially, I used 220 grit sandpaper along with my Festool RO125 rotex sander.

Resaw Cypress Wood on Bandsaw
After sanding, I decided to resaw the 1.5″ live edge cypress.
Essentially, I had no particular reason for resawing the wood except for using the unused piece for a different project.

Seal Resin Mold
First, I used silicone caulk to seal on the inside and outside of the resin mold.
Then, I used a scrap 2×4 along with a straight edge and 2 clamps to secure the cypress wood to the resin mold.

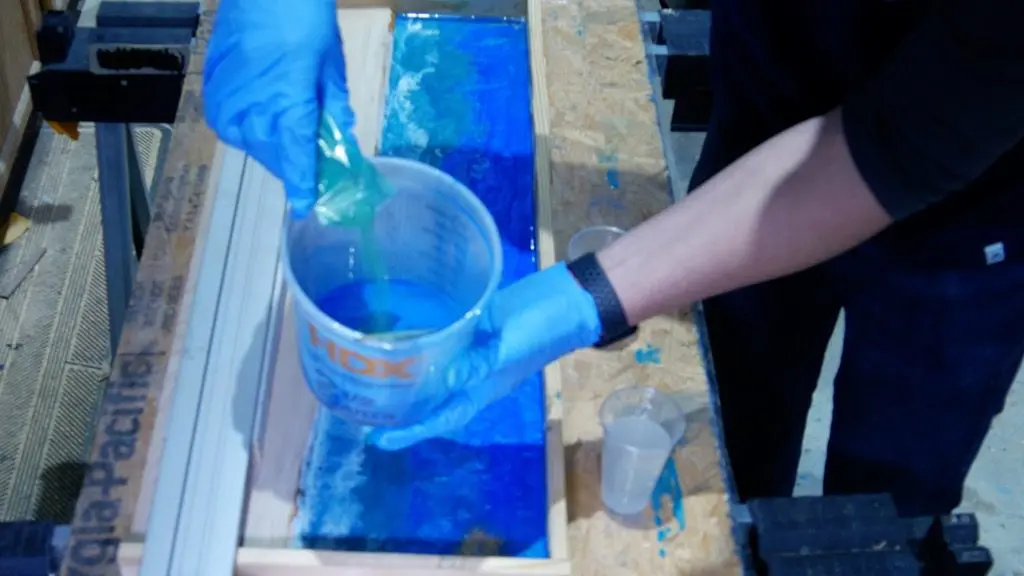
Mix Epoxy Resin
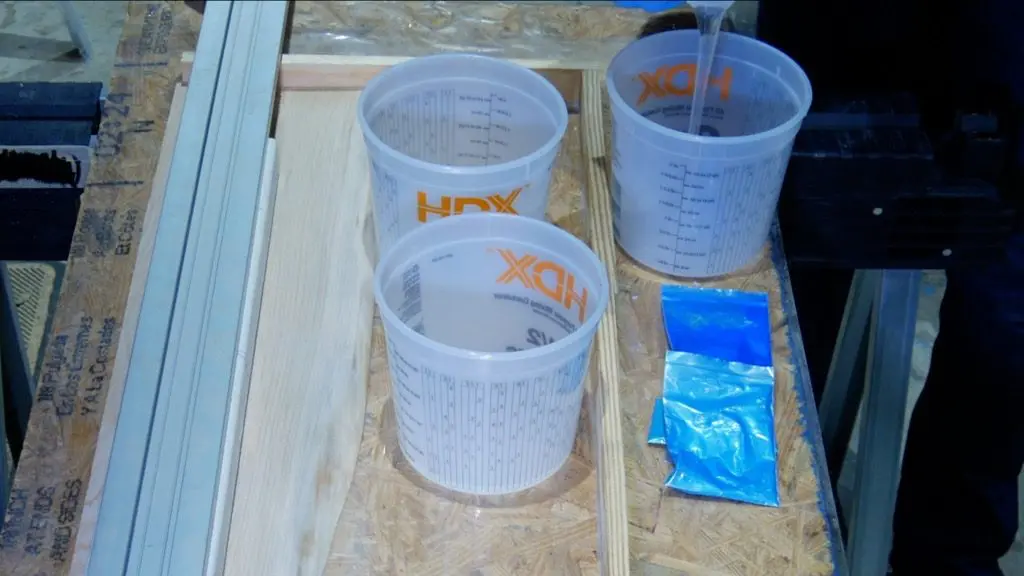
First, I gathered a measuring bucket and epoxy resin (Part A & Part B).
I measured 16 ounces of Part A and 16 ounces of Part B for a total of 32 ounces.
Next, I mixed the resin and split the resin into 3 different containers.
I had 16 ounces in one container and 8 ounces in each of the other ones.

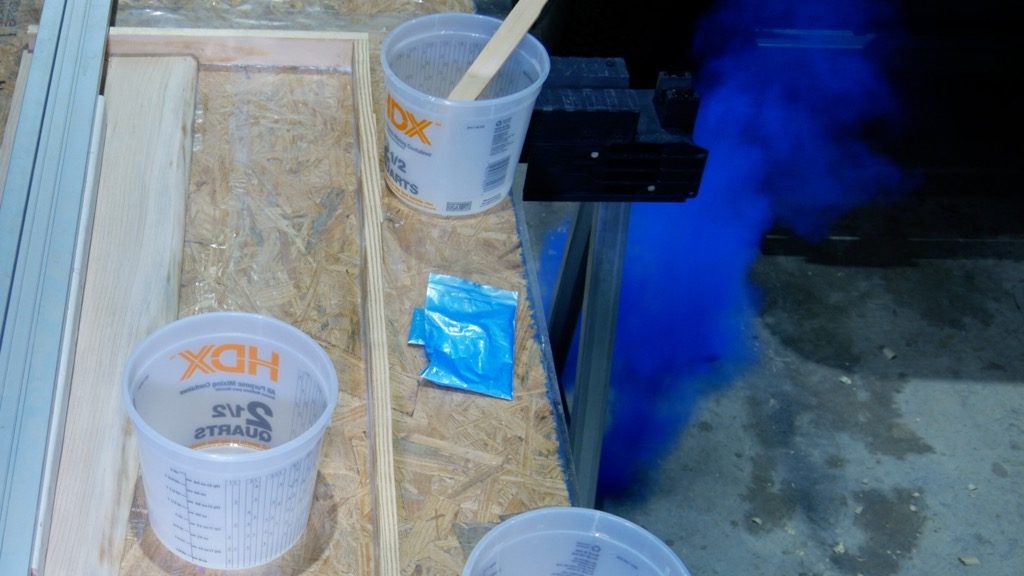
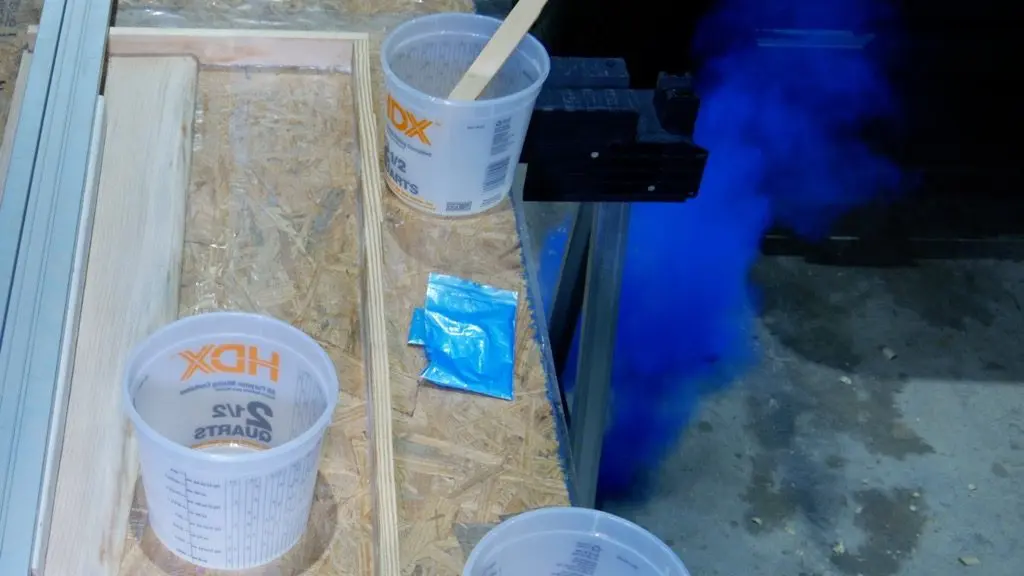
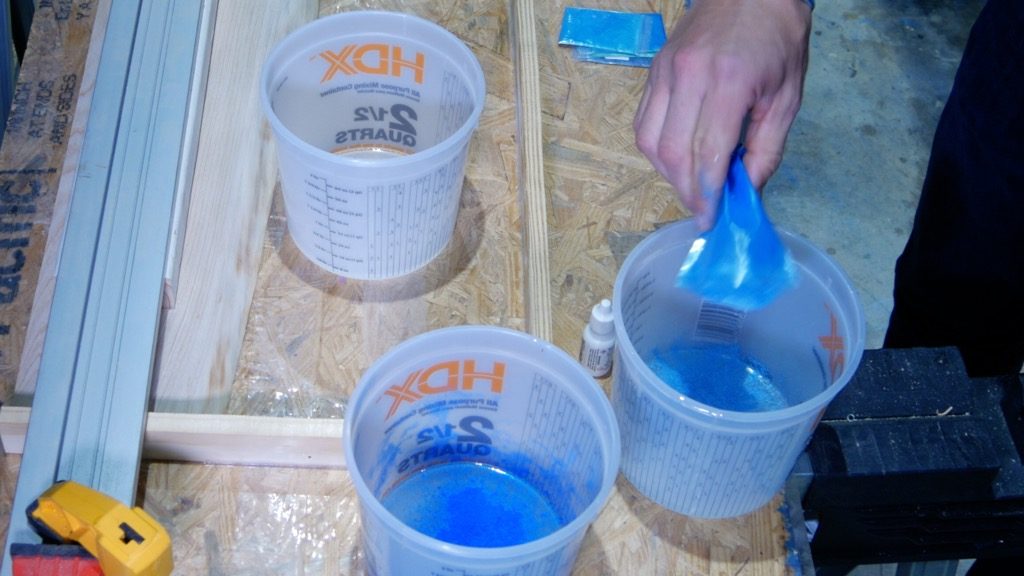
Resin Pigment Powder
First, I poured Cobalt Blue pigment powder in the 16 ounce bucket.
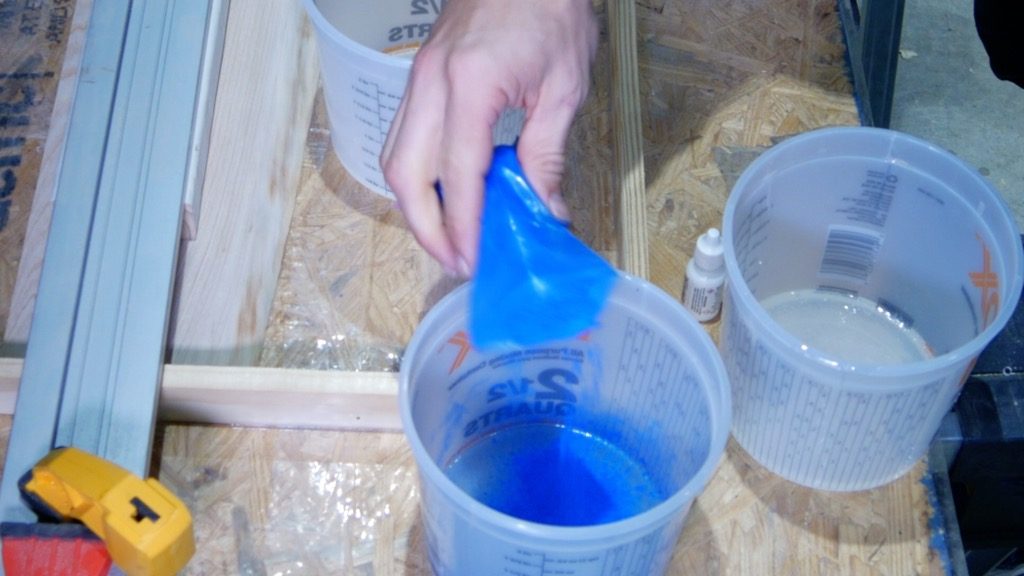

Somehow, I dropped the pigment powder and I thought the Genie from Aladdin was about to appear.


After cleaning up the mess I made, I poured a lighter blue pigment powder into the second container.

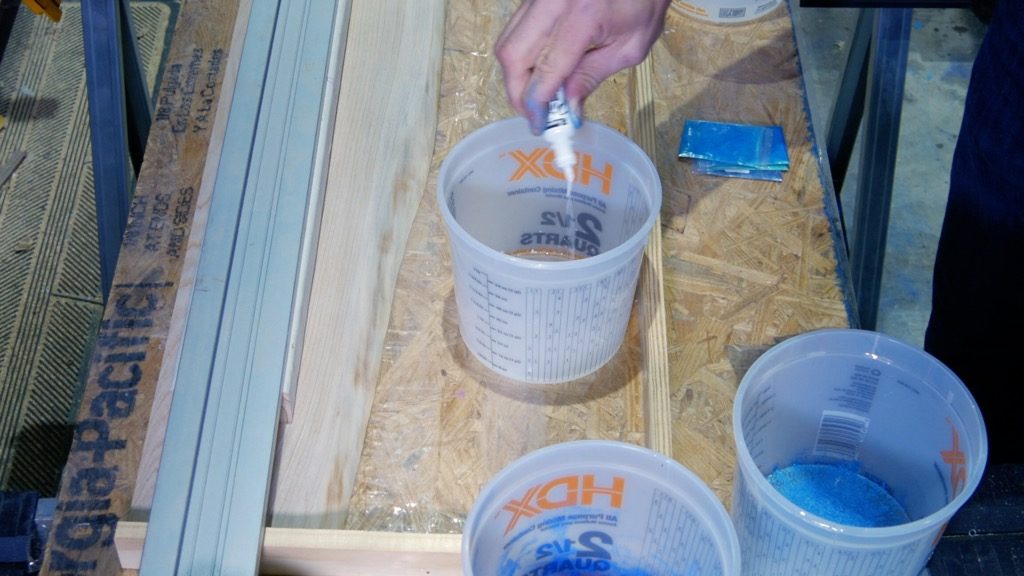
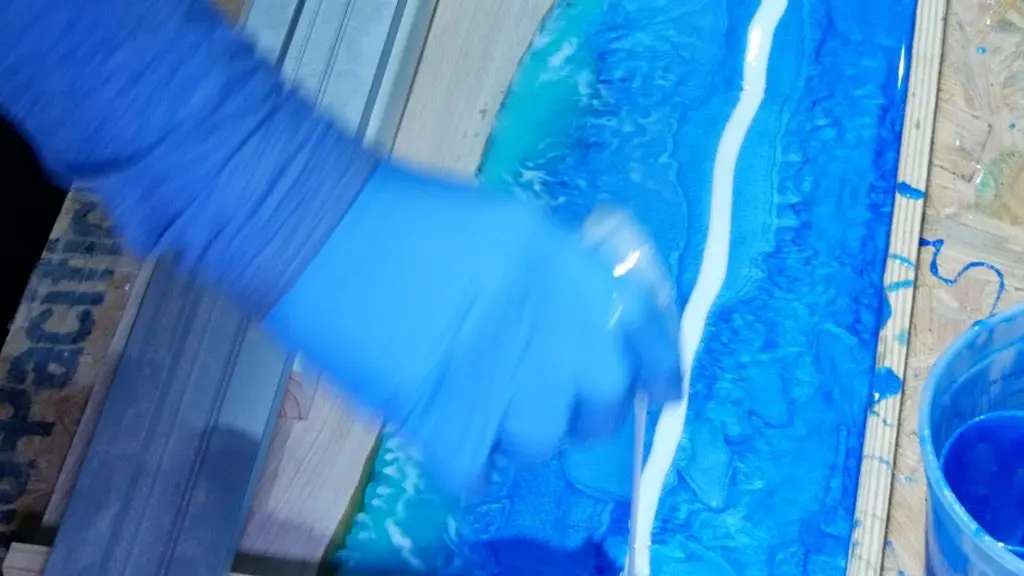
Resin Alcohol Ink
I put roughly 10 drops or white alcohol ink in the third container.
Alcohol ink is a resin dispersion agent, so it creates cool resin effects when added to resin.
Also, I’ll explain more about alcohol ink later in this resin art tutorial.

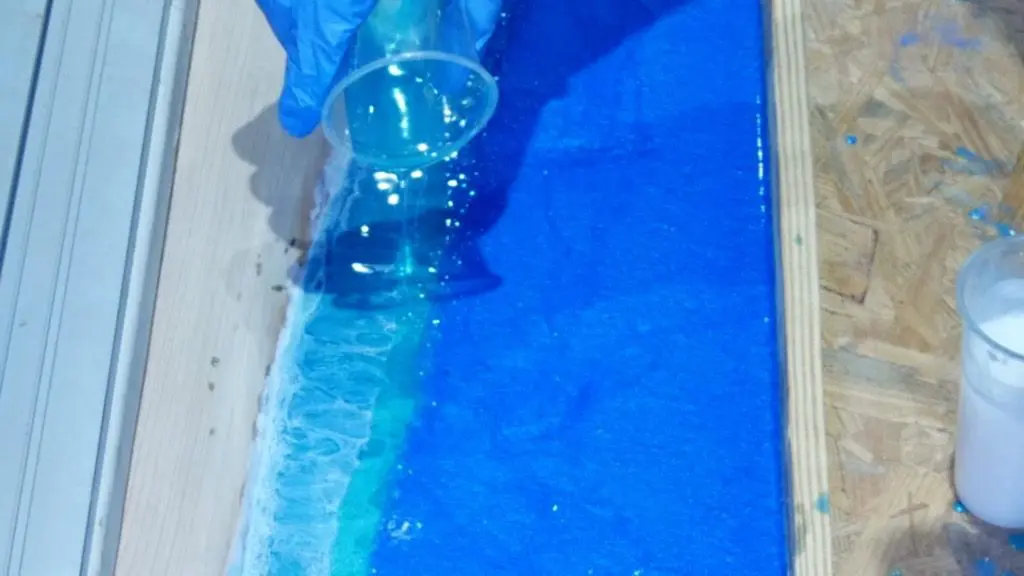
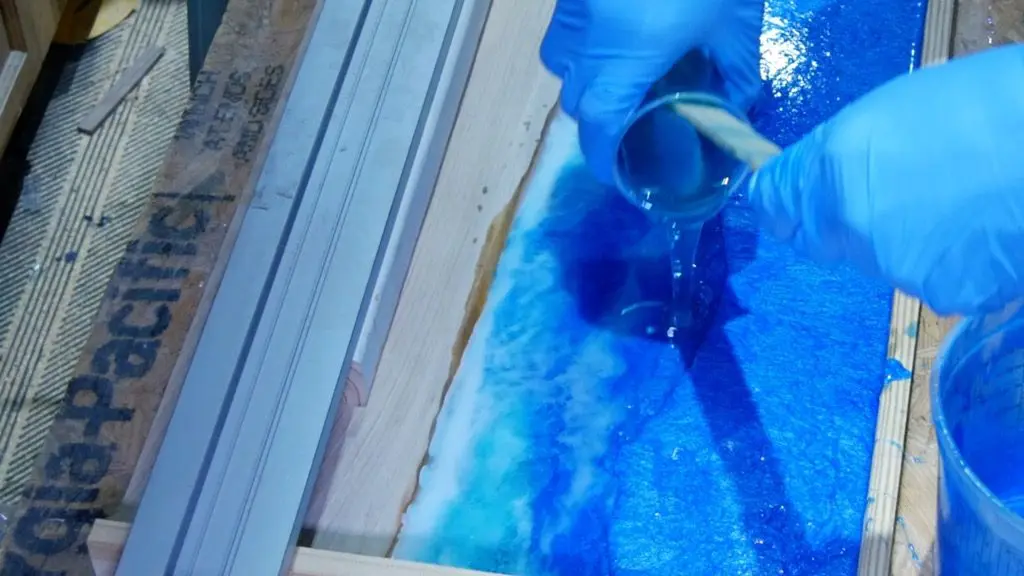
First Resin Pour
I mixed each bucket thoroughly and started pouring.
Also, I knew this amount of resin would be 1/4″ thick and would not be enough resin to reach the top of the wood.
Essentially, this layer would be covered up with additional layers.
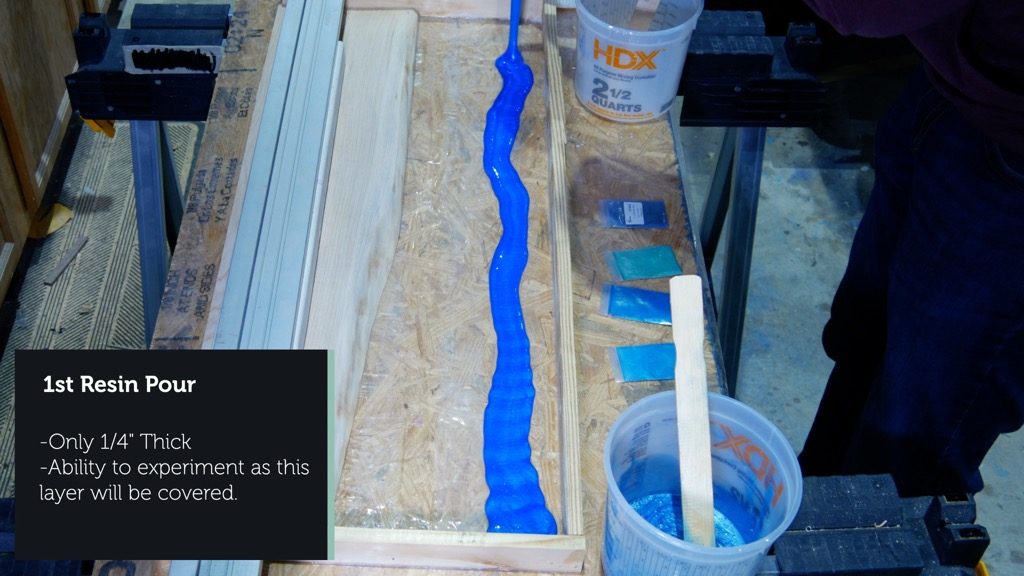


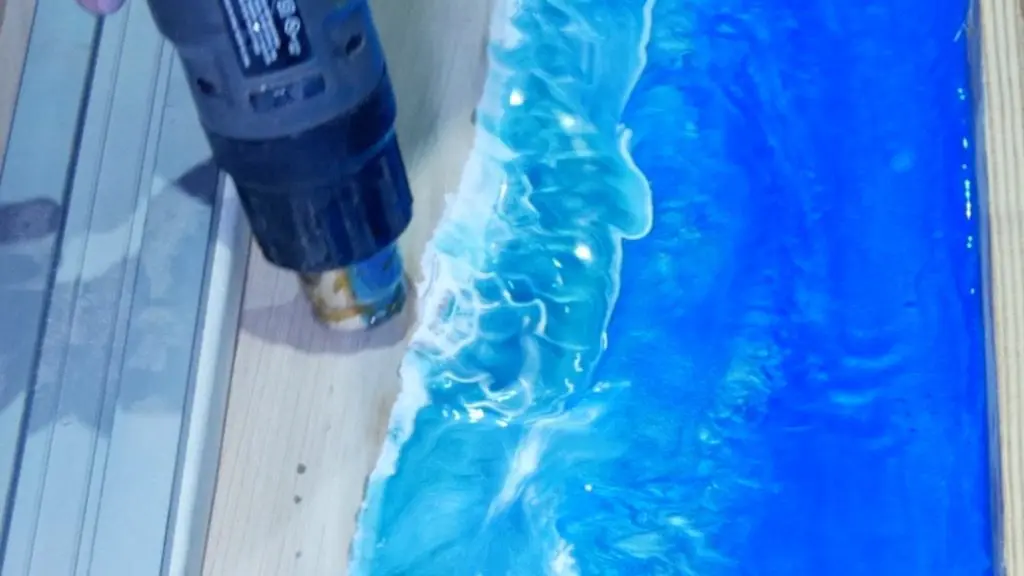
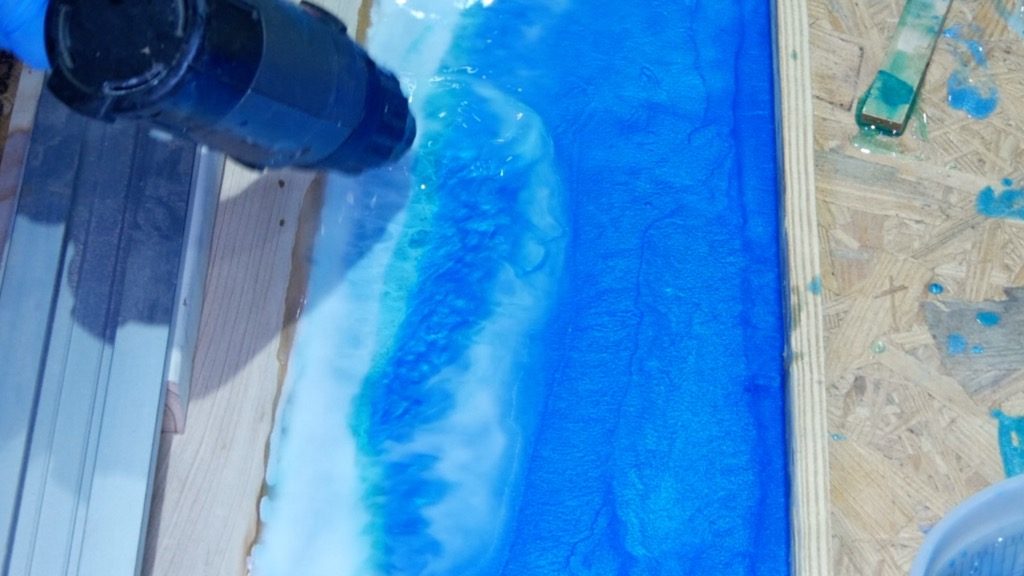
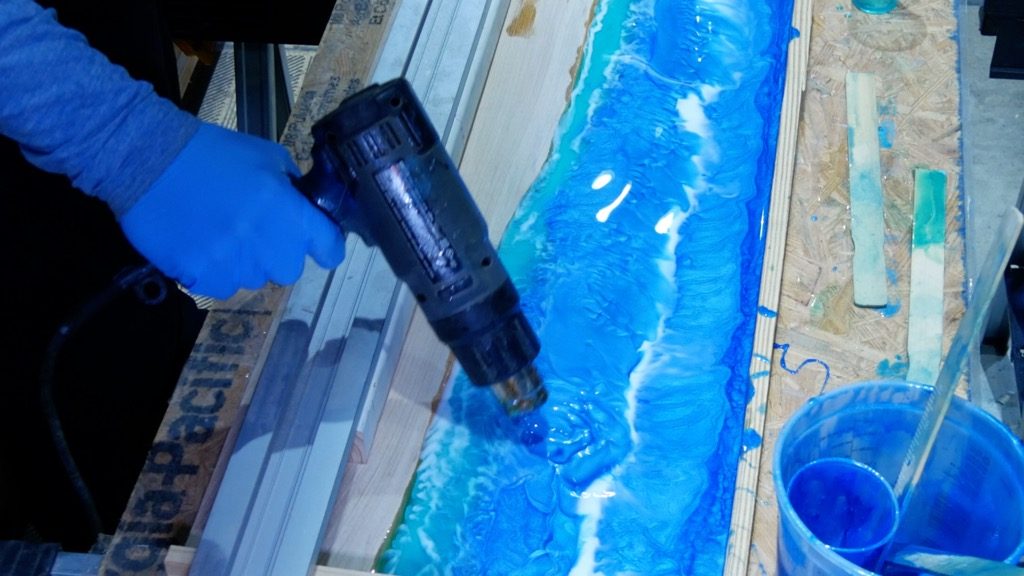
In any resin art project, the magic happens when the resin is moved around either with a heat gun or by tilting the resin mold.
There is no right or wrong way to do this – I simply moved the resin around until I liked the look.

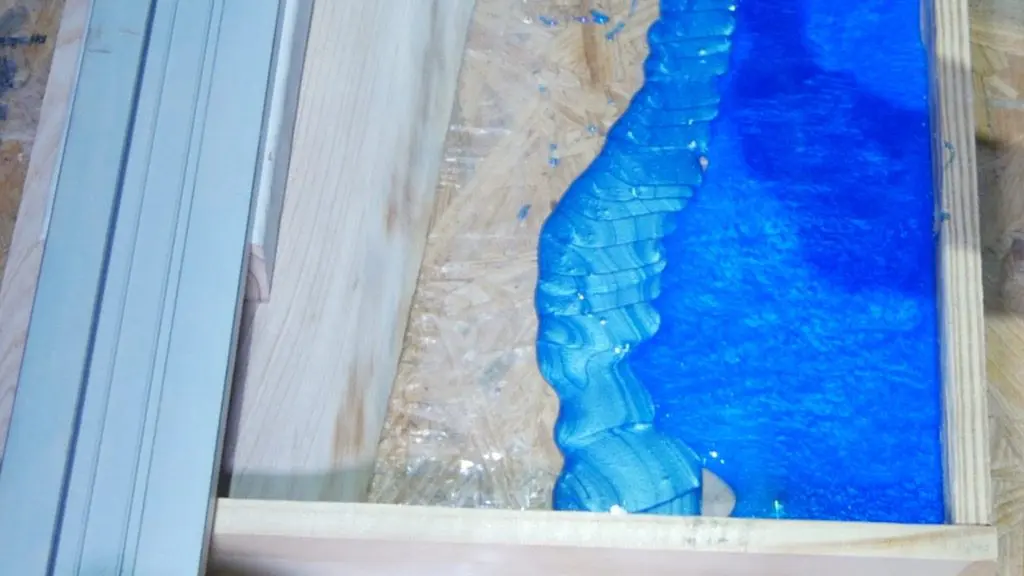
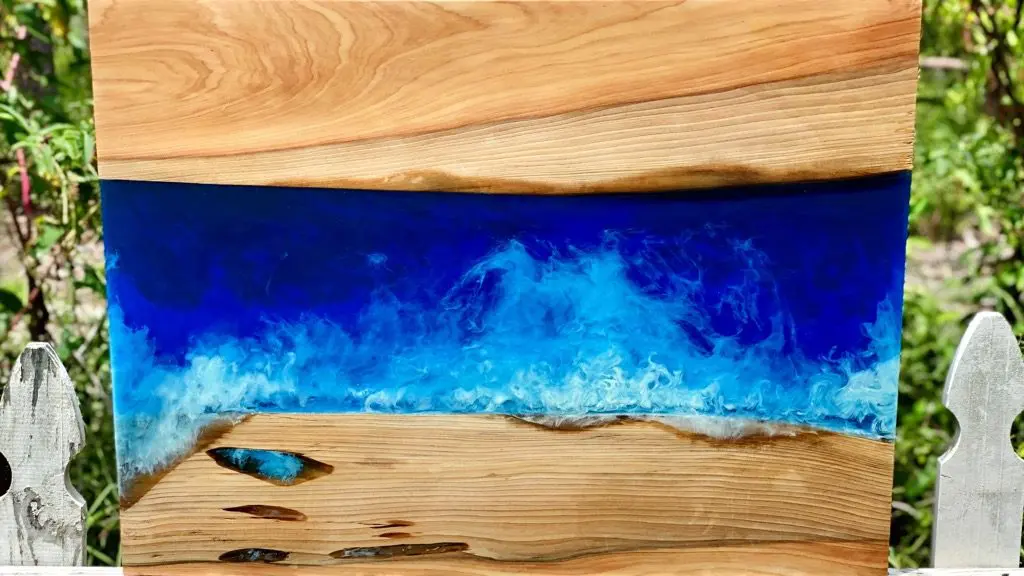
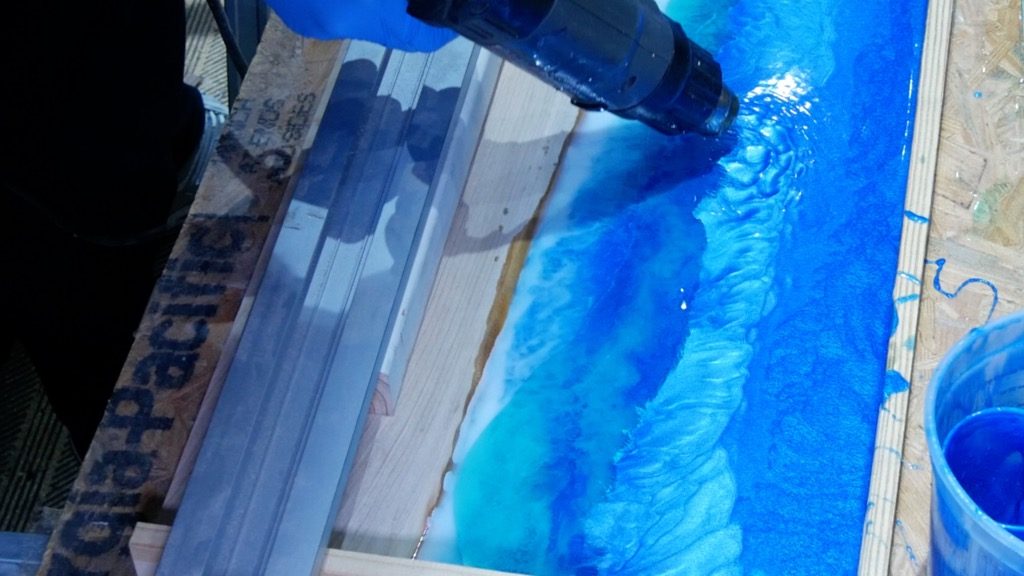
Resin Ocean Waves
Below is a picture of my resin ocean wave art project.
I encourage you to read this tutorial for more detail on how to make resin ocean wave art.

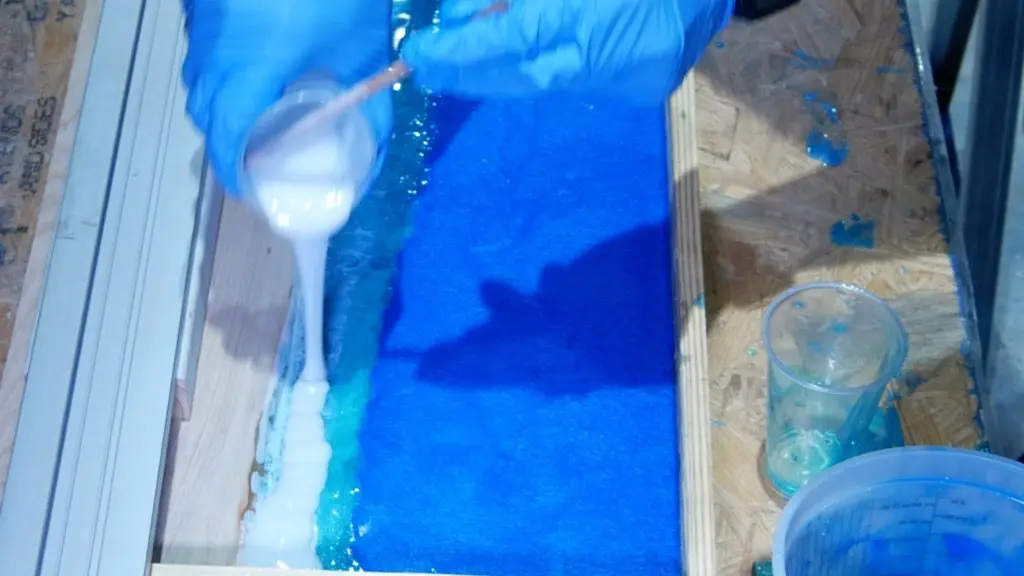
After moving the resin with my heat gun, I decided to add alcohol ink directly to the wood resin ocean art.
In case you don’t know, alcohol is a resin dispersion agent and used quite often to create ocean waves and cool effects such as resin lacing and cells.
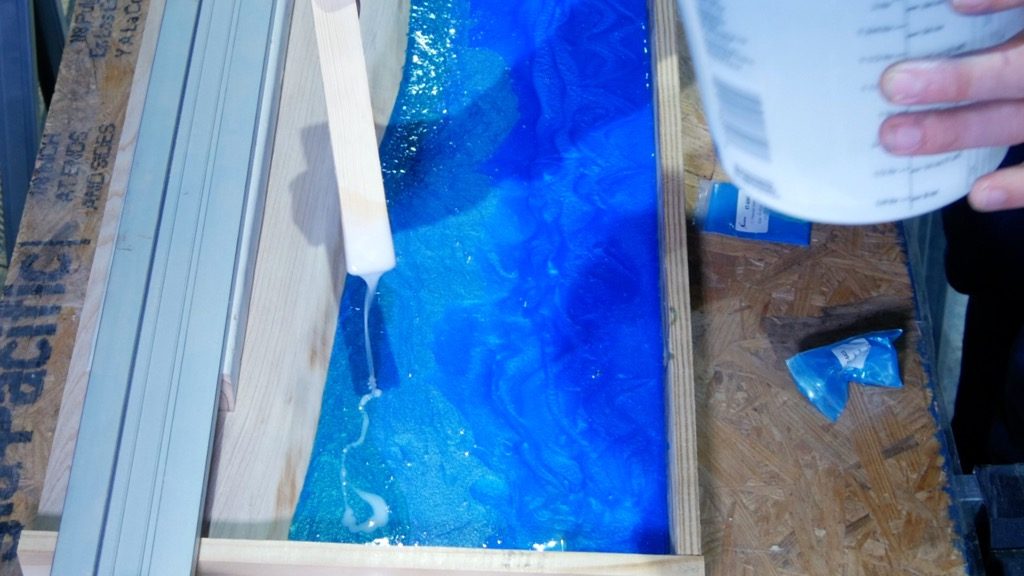
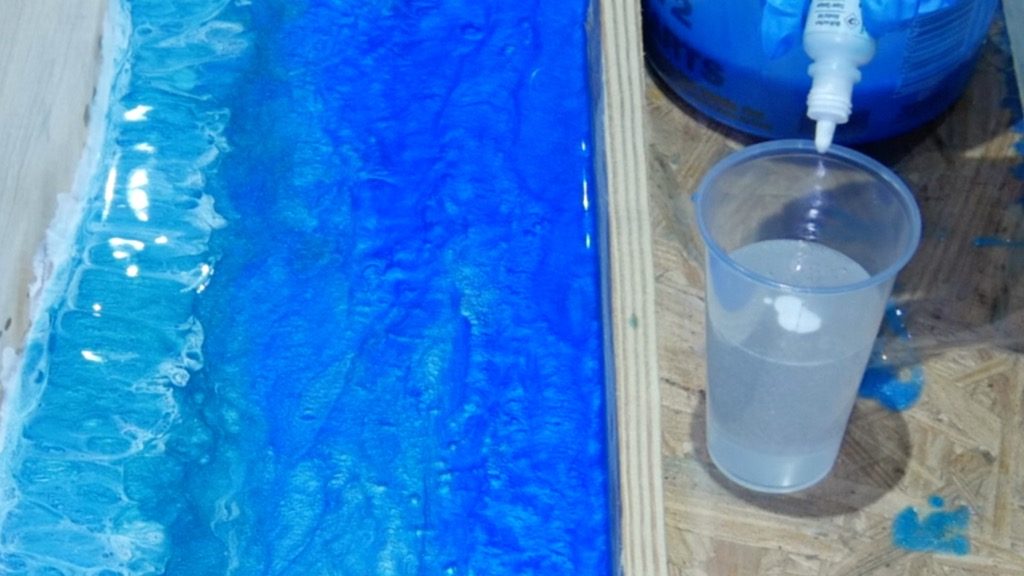
Alcohol ink can be added directly to resin or pre-mixed with clear resin before pouring.
Essentially, each option produces a different type of look.
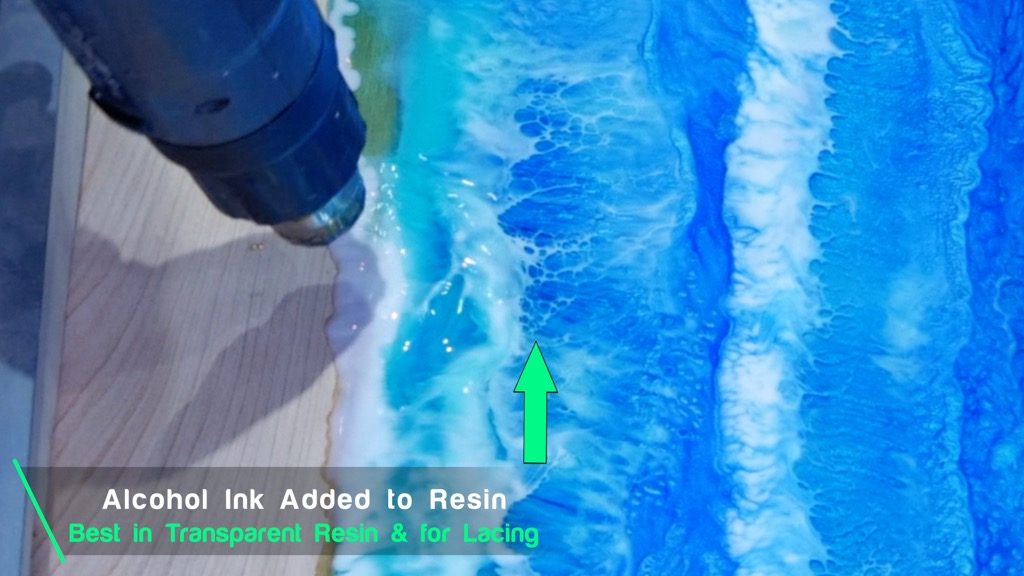
The first picture below depicts alcohol ink mixed with clear resin.
Conversely, the second picture shows alcohol ink dropped directly on the wood resin beach art.
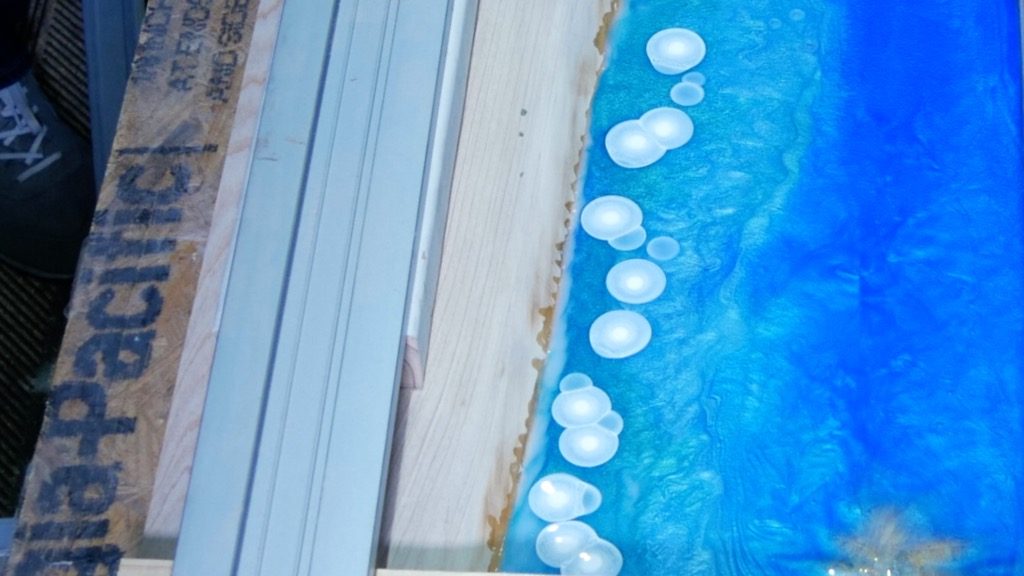

Ultimately, I learned alcohol ink applied directly to resin works best in transparent resin to create depth.
Alcohol ink mixed with resin before pouring works best for creating uniform lines or tinting colors.
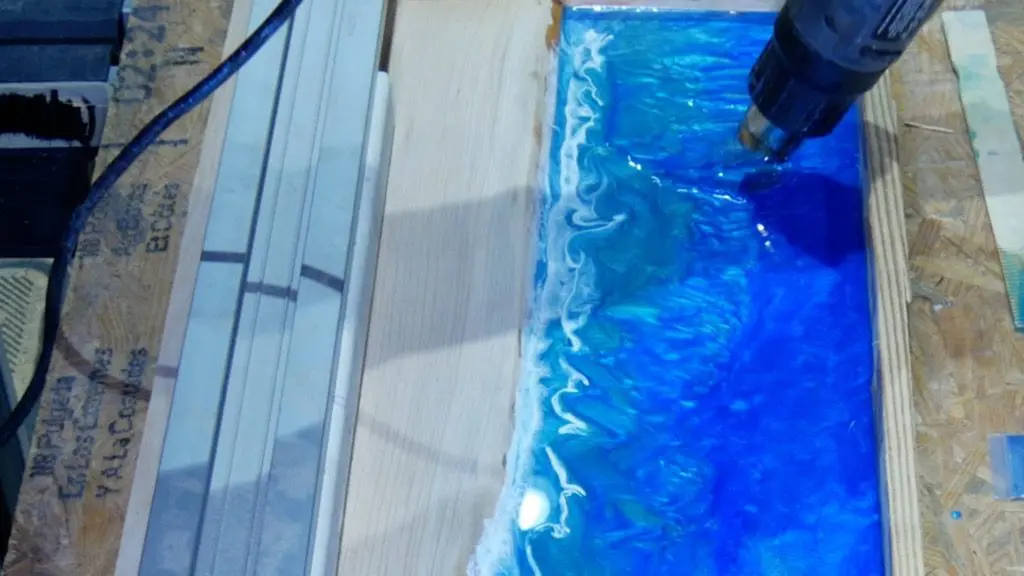
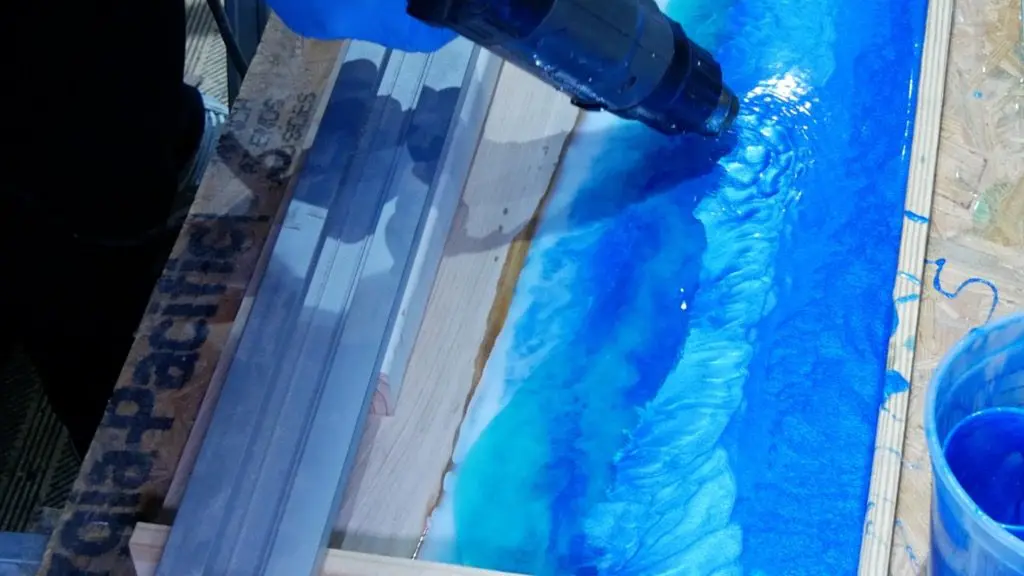
Finally, I moved the resin and alcohol ink with a heat gun.


Second Resin Pour
For the second layer, I repeated the process for the first layer with the same amount of resin for this ocean resin wall art.
First, I mixed blue and a small amount of green pigment powder.

Next, I added alcohol ink to a small amount of resin.

Then, I poured blue/green pigment powder over the first resin layer.

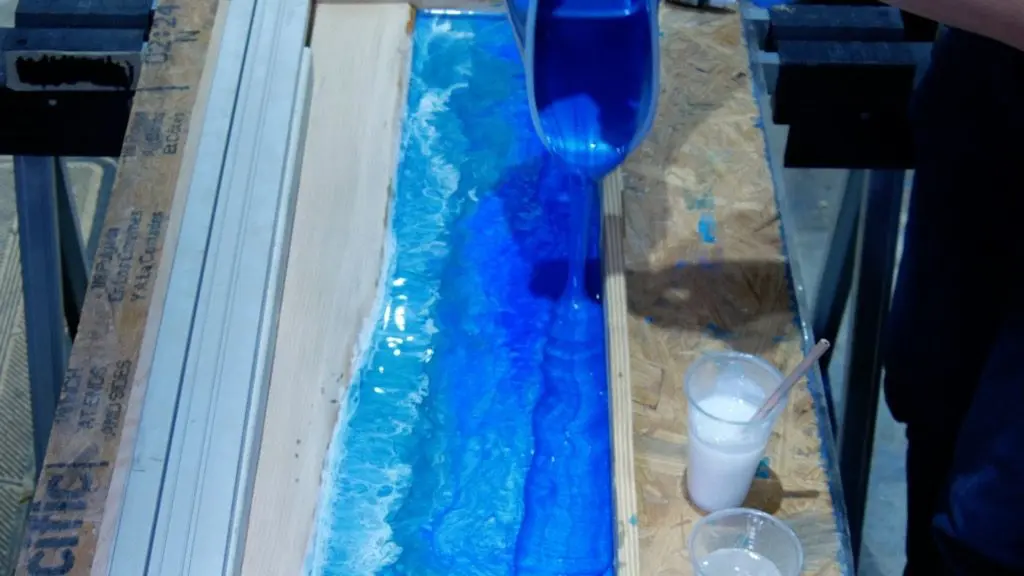
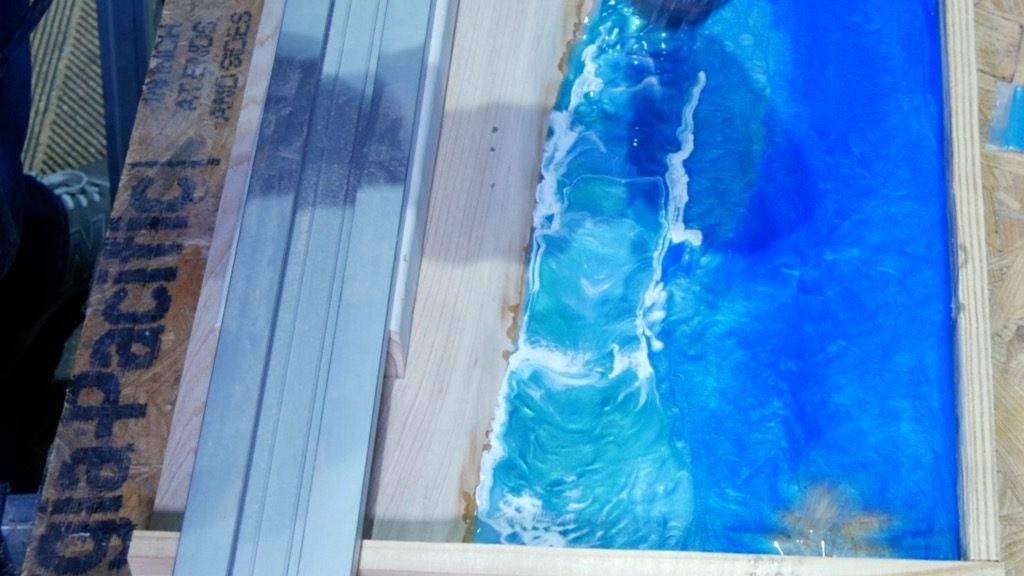
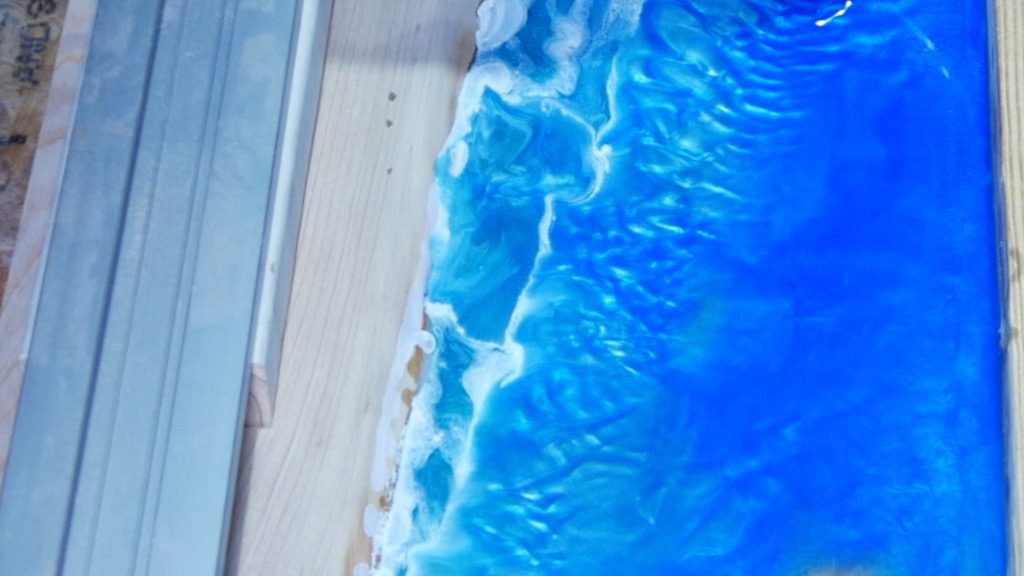
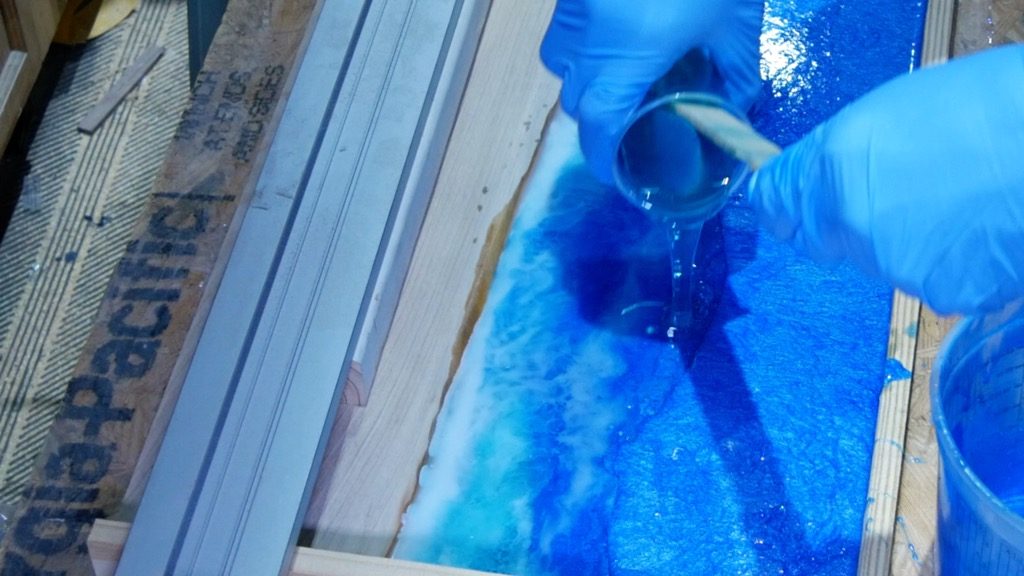
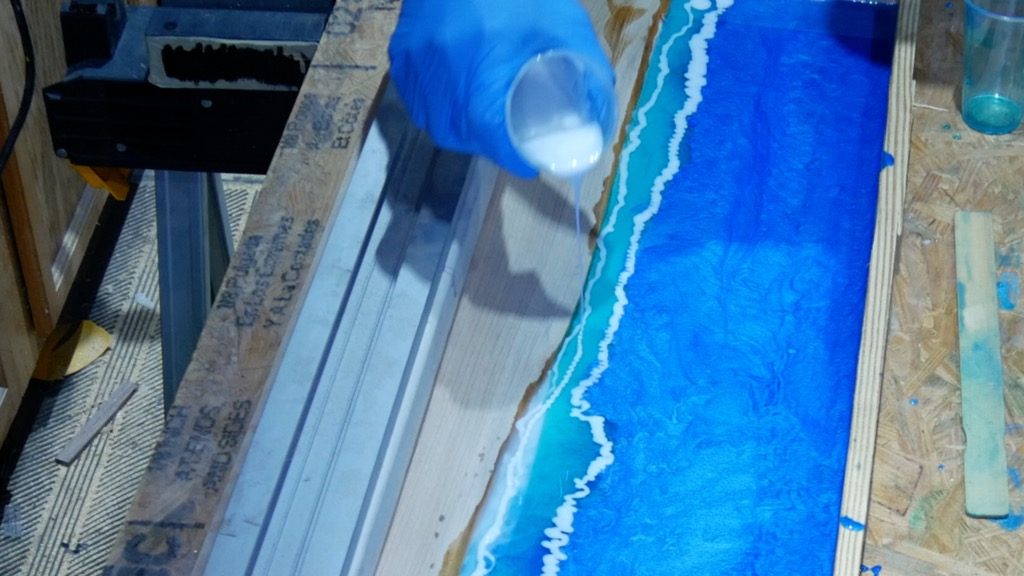
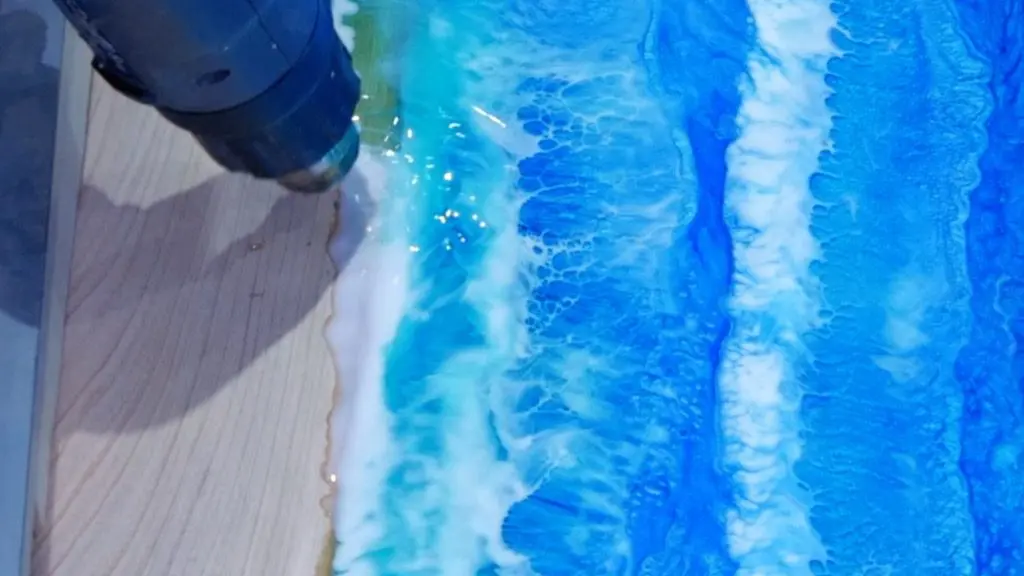
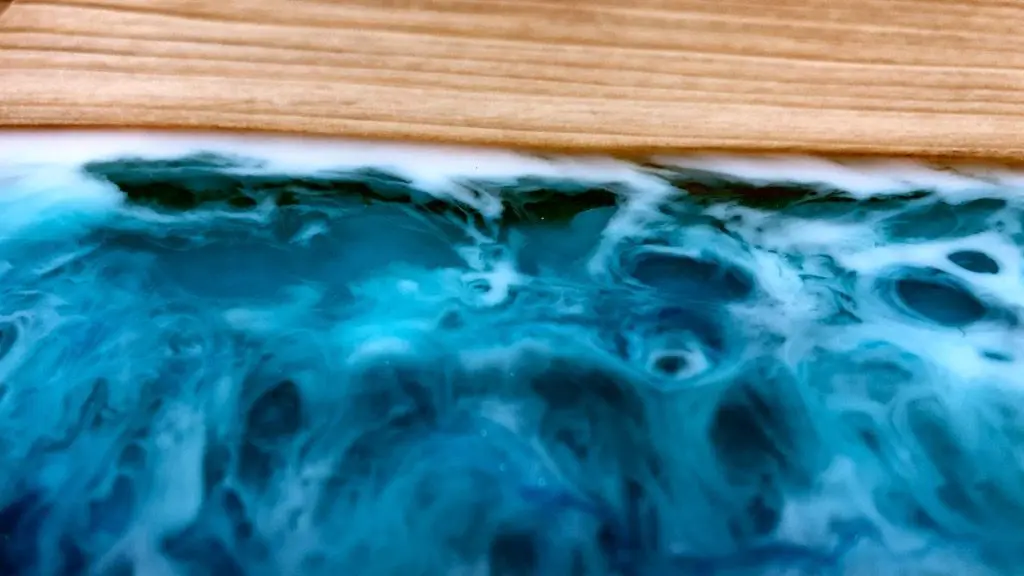
Translucent Blue Resin
So, I decided to use translucent blue dye near the front to simulate shallow water and to create depth.

In addition, alcohol Ink added to transparent blue resin creates a 3D wave effect.
It is sort of similar to the white foam below the surface of the water after a wave crashes.

Additionally, I meant to add the alcohol ink directly to the transparent resin instead of mixing it in clear resin before pouring, but I didn’t.
So, I poured the alcohol ink and resin mix on top of the transparent blue resin.

Thankfully, it still turned out ok.
I used my heat gun to create resin beach art ocean waves.

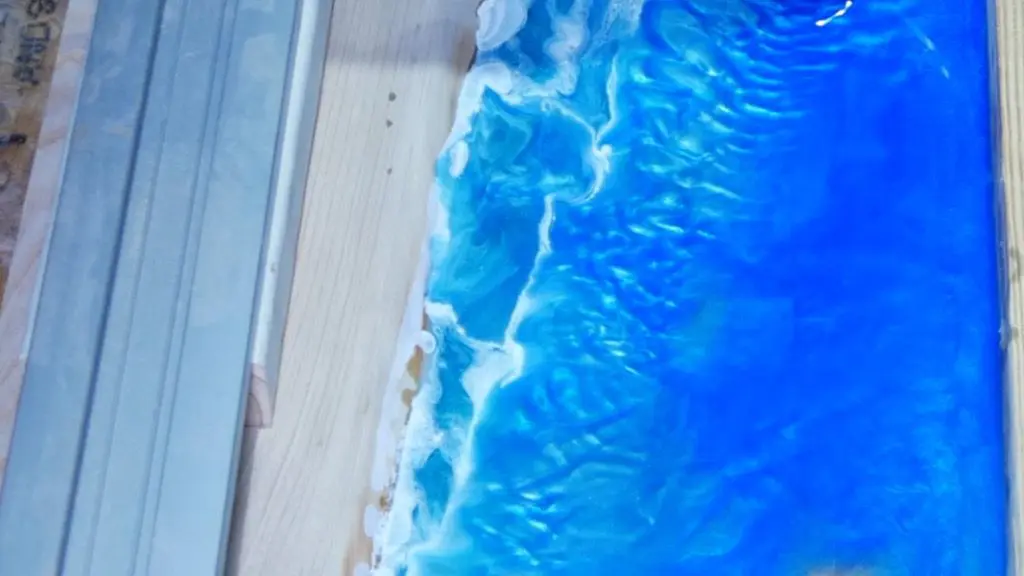
Final Resin Pour
I repeated the same process as the second layer.
Ultimately, I had a good idea of how to achieve the look I was after.
First, I poured blue resin in the deep resin ocean.
Then, I added light blue in the middle and moved the 2 shades of blue resin around.
Next, I poured transparent resin near the live edge cypress.
Then, I poured resin mixed with alcohol ink on top of the transparent resin.


Finally, I used my heat gun to move things around.

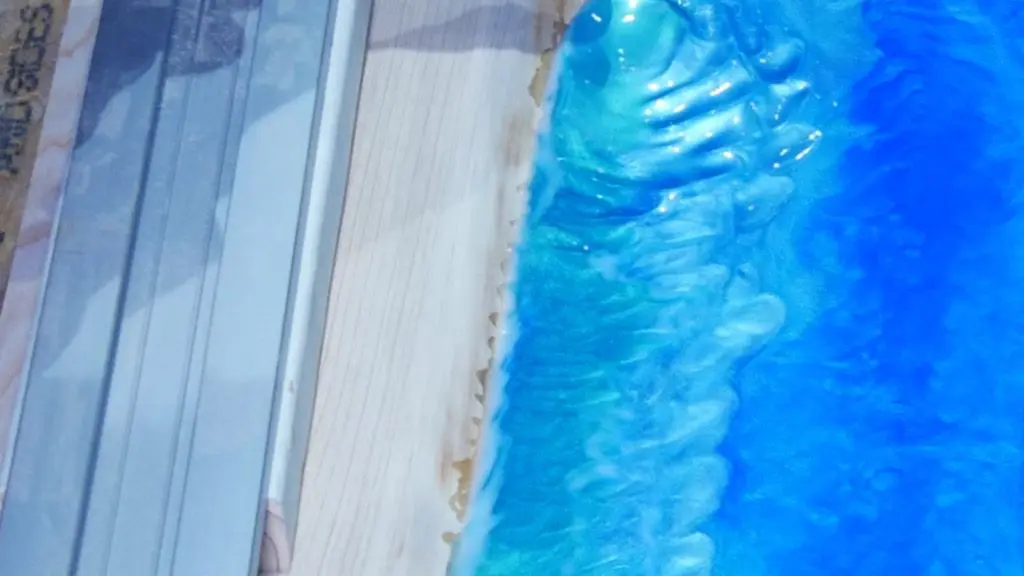
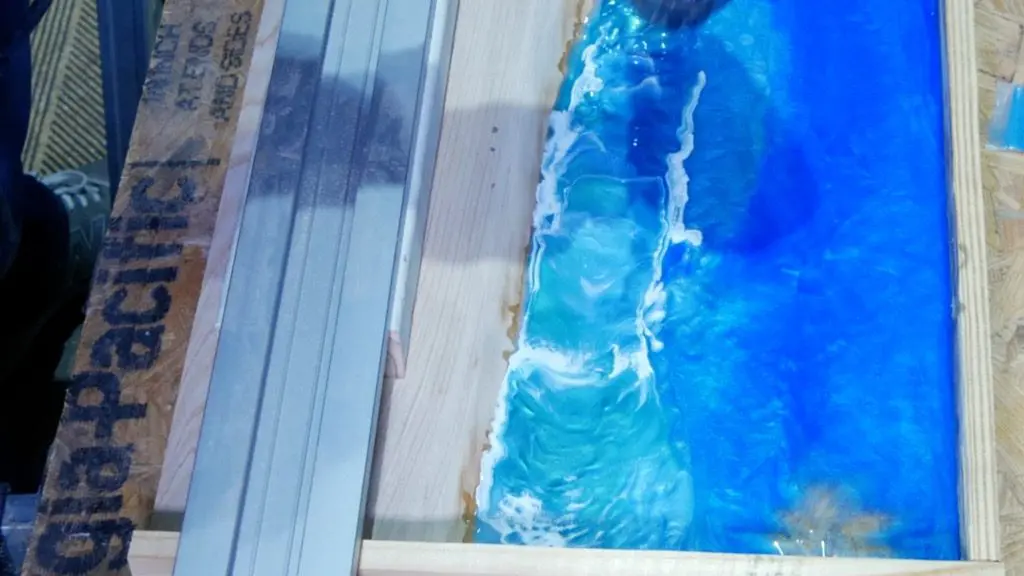
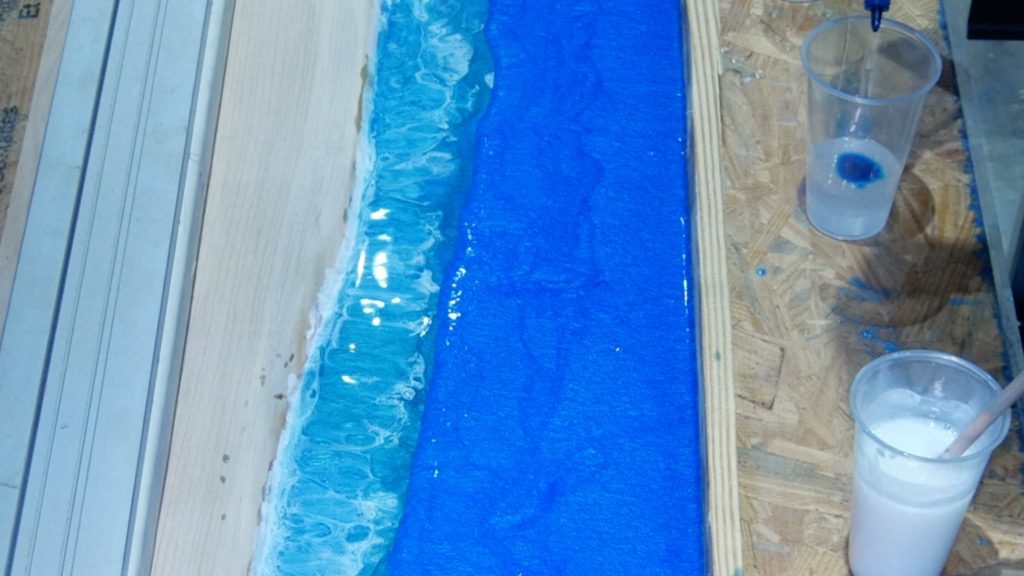
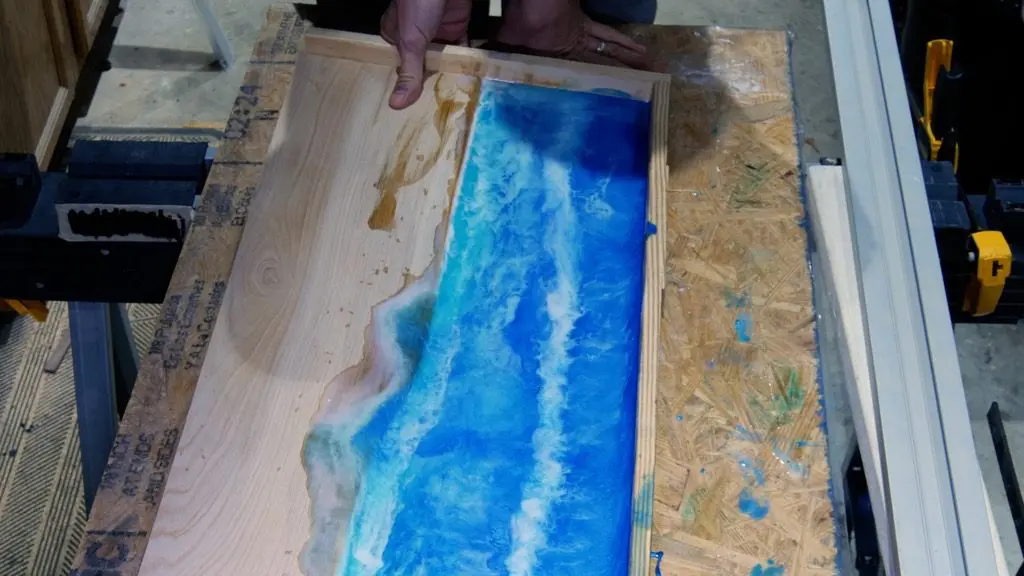
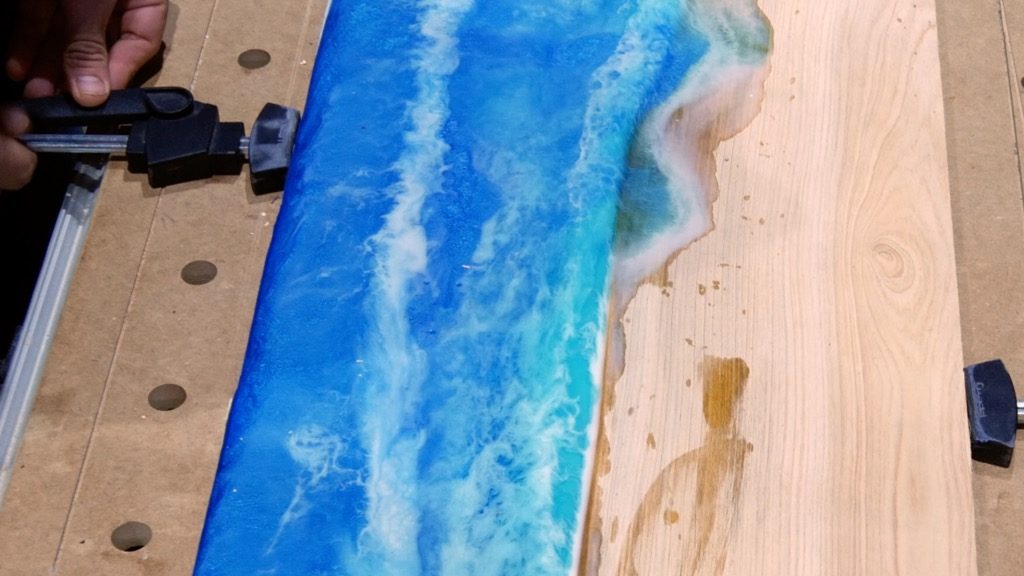
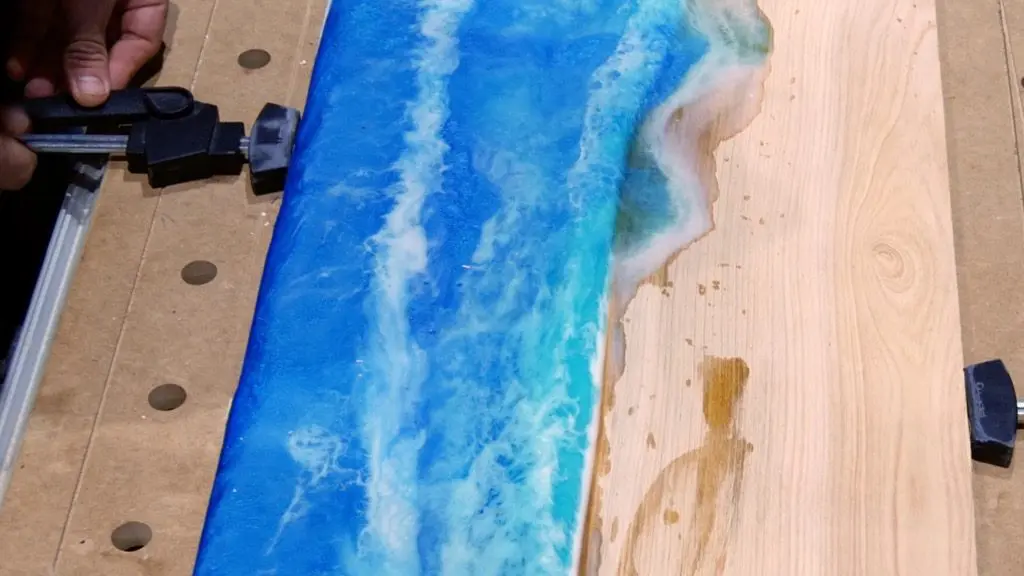
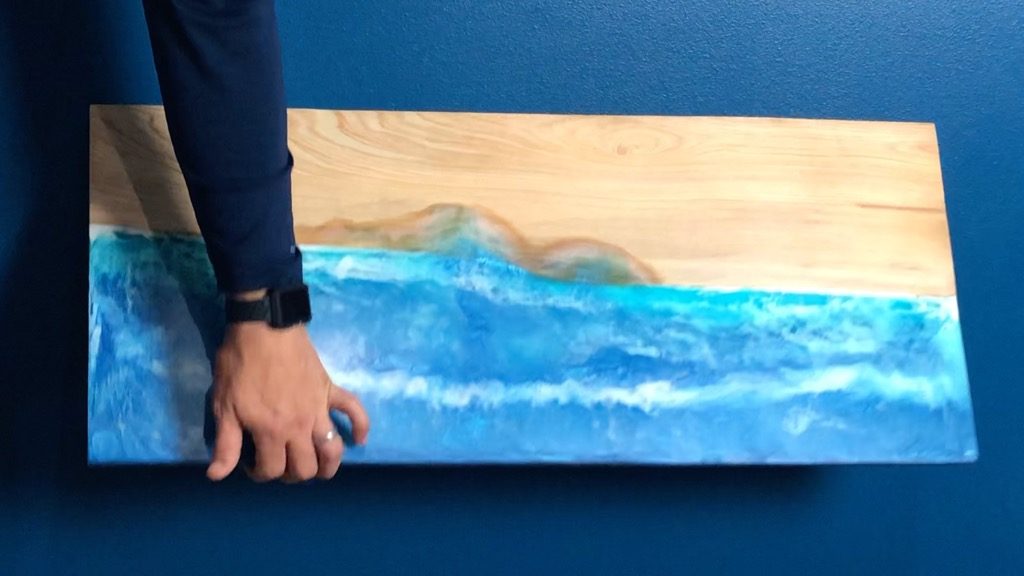
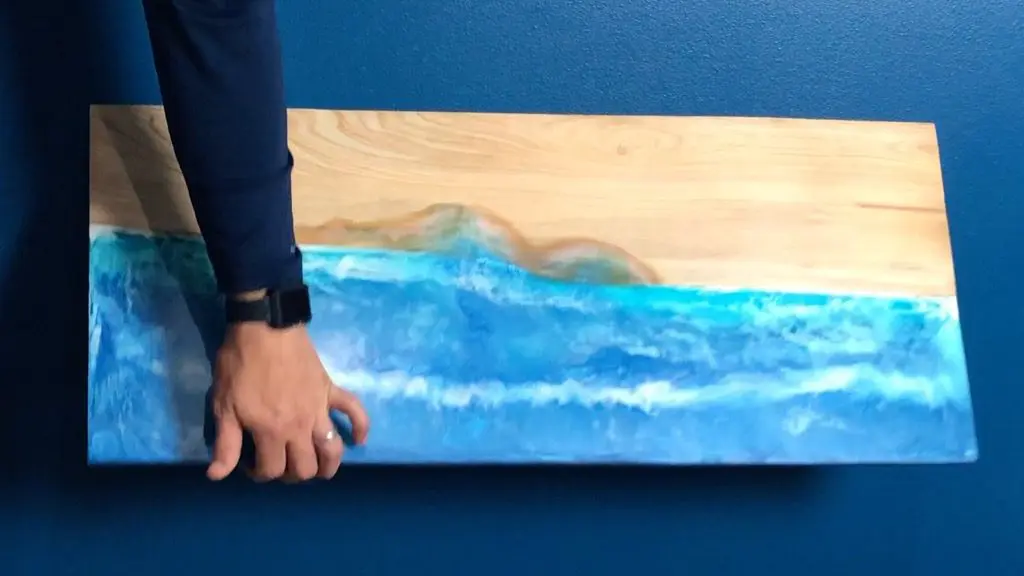
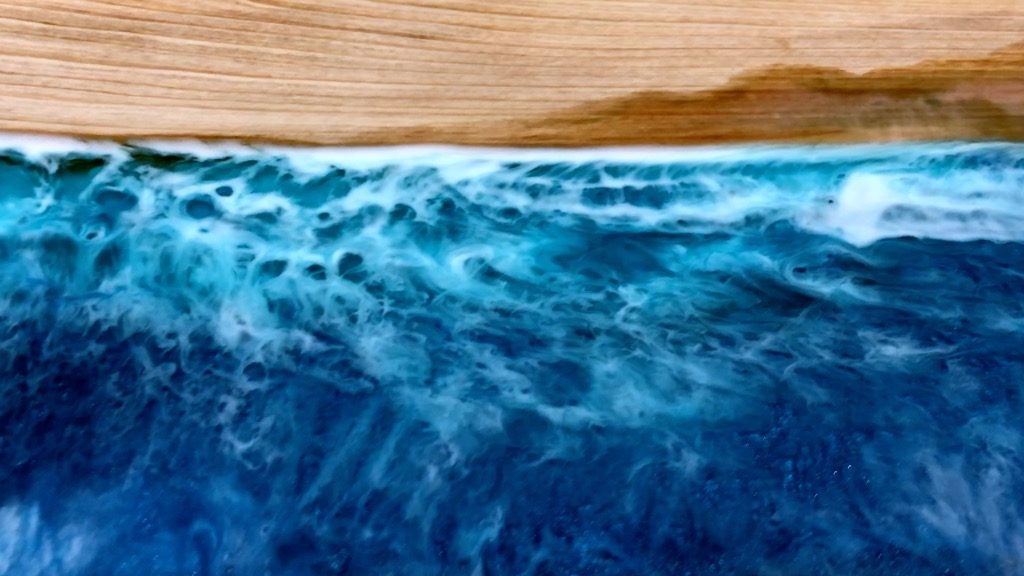
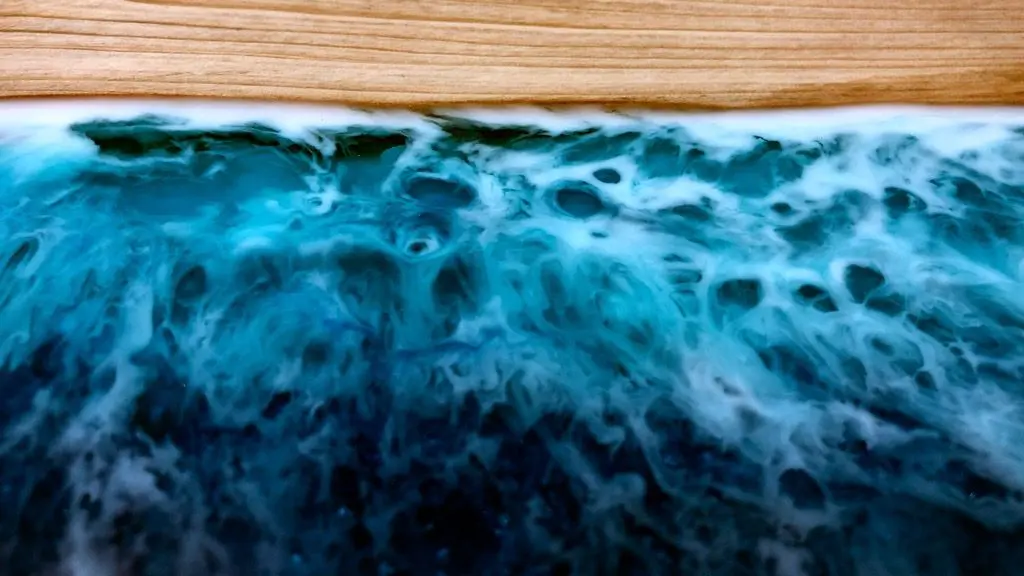
Transparent Resin Ocean Waves
In this article, I talked a lot about transparent resin, alcohol ink, and ocean waves.
The pictures below show a close-up of how alcohol ink blends with transparent resin for a 3D depth effect.


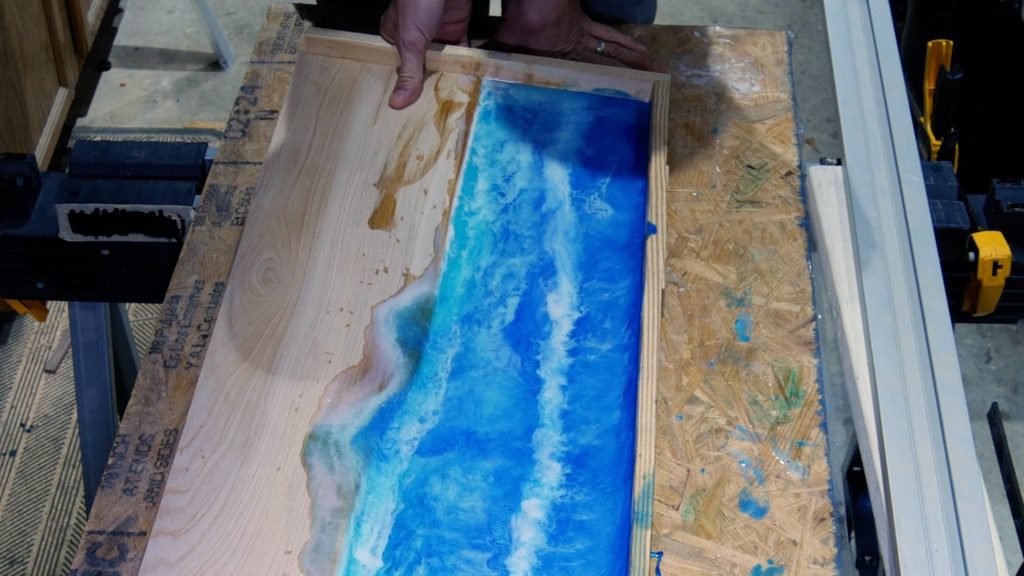
Remove Resin Mold
First, I lifted the DIY folding wall table from the resin mold bottom.
The packing tape and furniture wax really makes the resin easy to release from the mold.
Next, I realized I completely forgot to cover the resin mold perimeter with packing tape.
In turn, I used my rubber mallet to knock each of the 3 sides away from the resin.

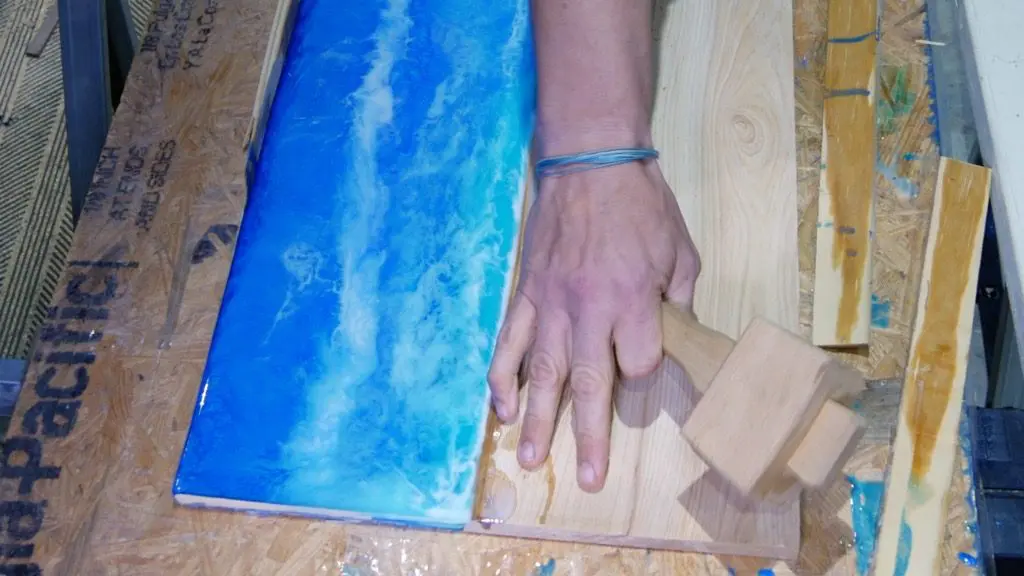

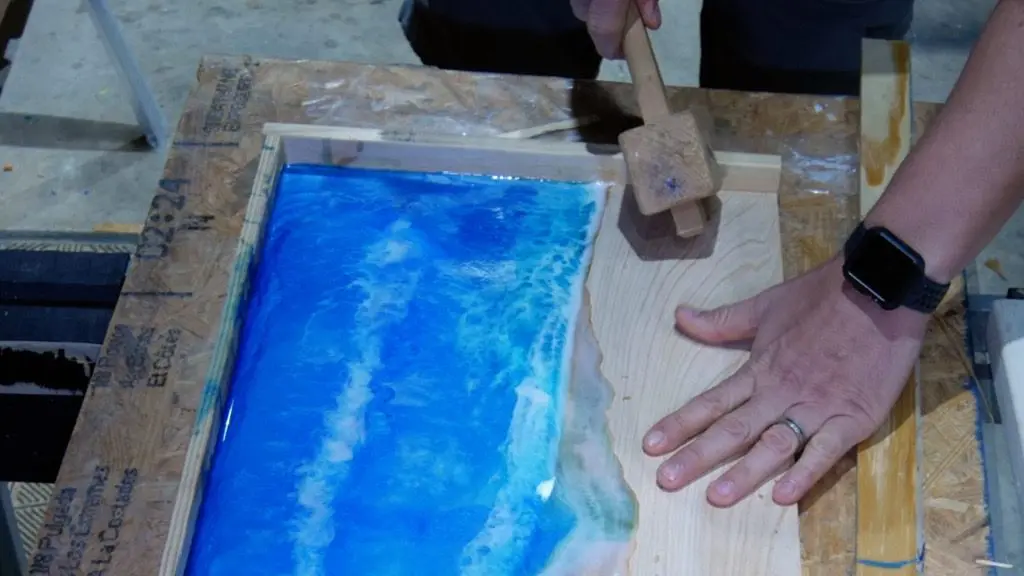

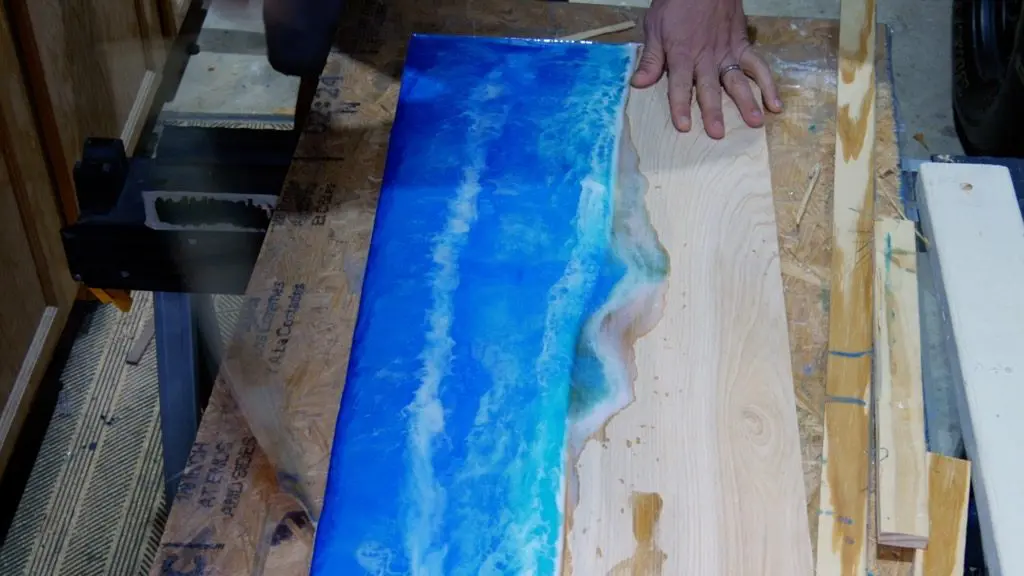
Luckily, this worked! I only had a small amount of wood stuck to the front of the wood resin beach art.


Sanding Resin Technique
After many sanders and different techniques, I’ve finally found a sander and technique that works best for me.
I outlined my resin sanding technique in a previous post.
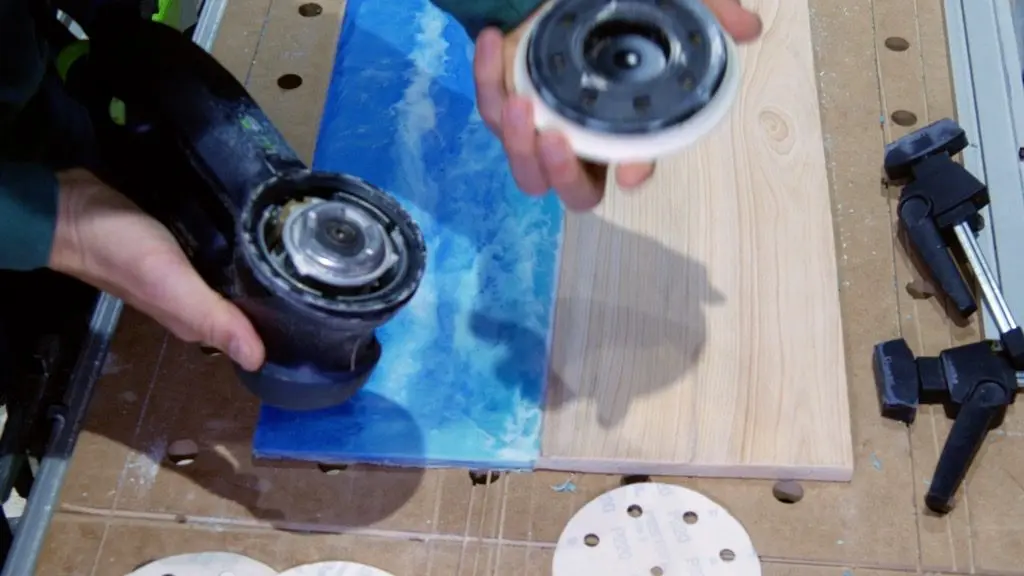
First, my festool RO125 rotex sander improved my projects dramatically.
This sander is expensive, but it is worth every penny.

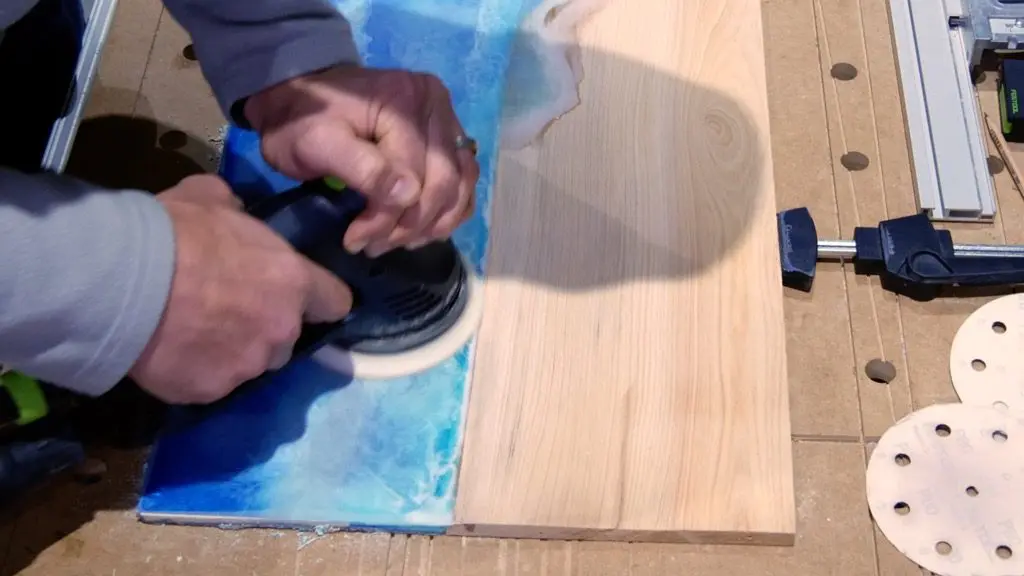
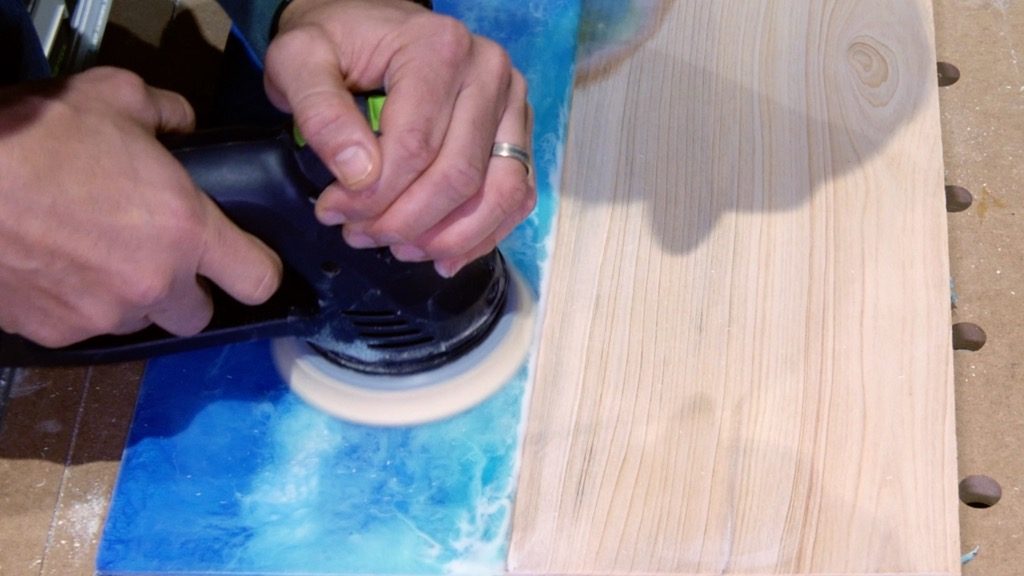
I secured the DIY folding wall desk while sanding.
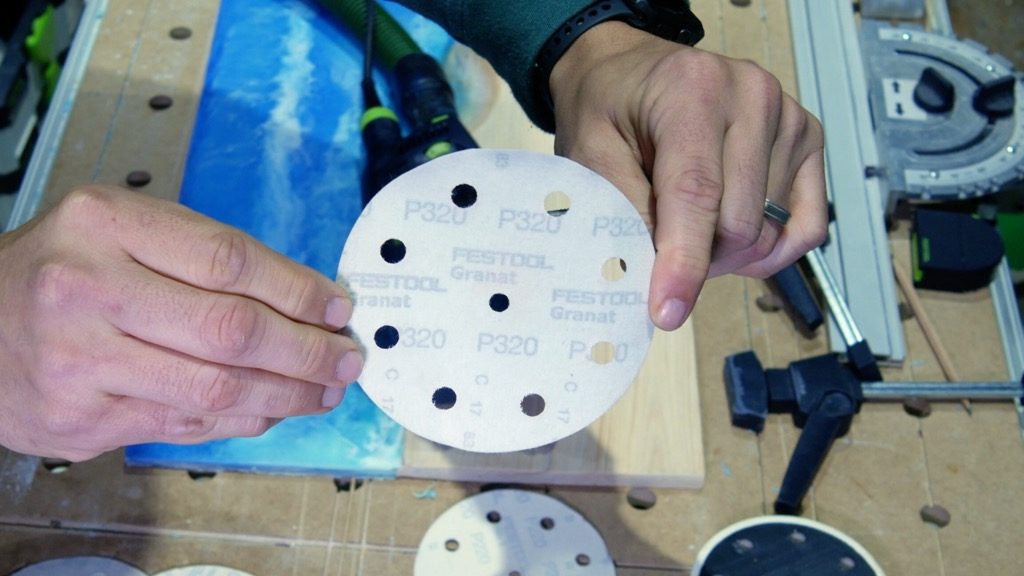
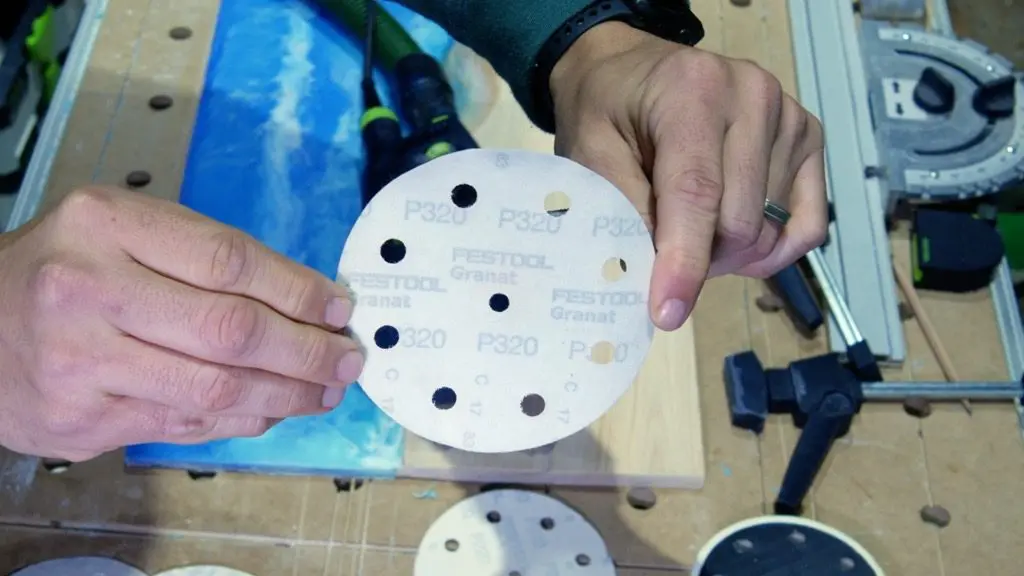
Also, I use a soft sanding pad with 320 grit sandpaper.
The festool ro125 makes it easy to change sanding pads for higher grit sandpaper.


Epoxy Resin Polishing Compound
I don’t care for the glossy finish look for my wood and resin projects.
Instead, I prefer a resin matte finish while keeping the resin colors vibrant.
So, I used one of my favorite epoxy resin finishes – a polishing compound.
Festool has a wide array of polishing compounds along with matching polishing pads.
I chose the medium compound with the matching pad (Orange to Orange).
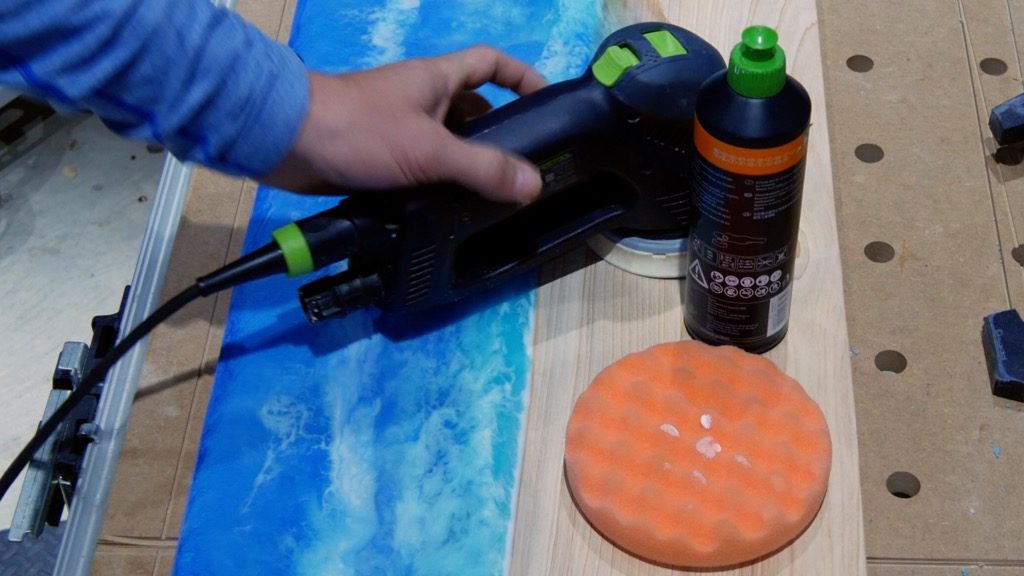

First, I attached my soft sanding pad directly to the polishing pad.
Next, I put a line of compound across the table and wiped it with the pad before turning on my sander.
Ultimately, this prevents the compound from squirting everywhere.
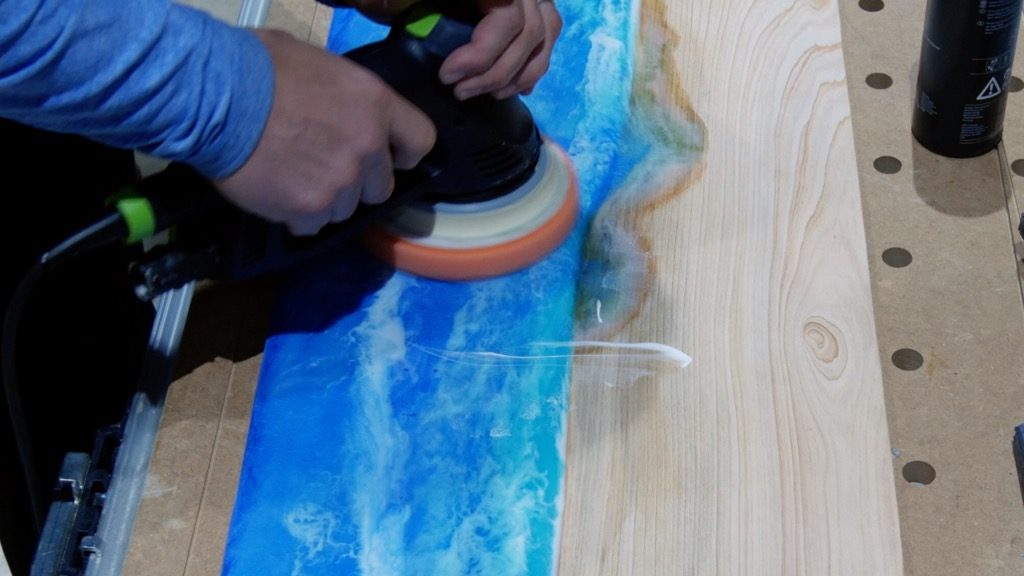
Once the compound was spread, I turned on my sander in rotary mode and sanded the entire wood resin beach art.

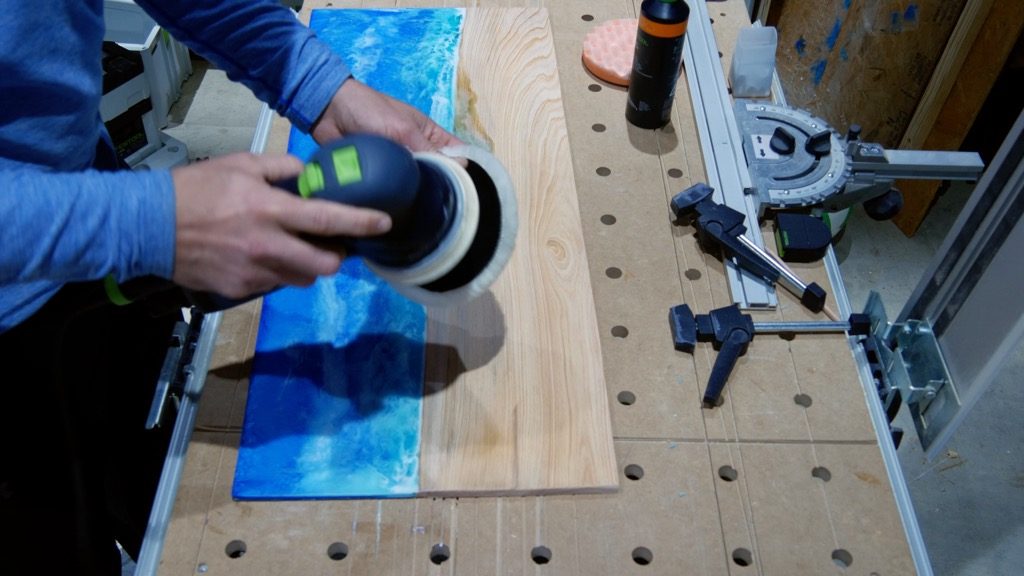
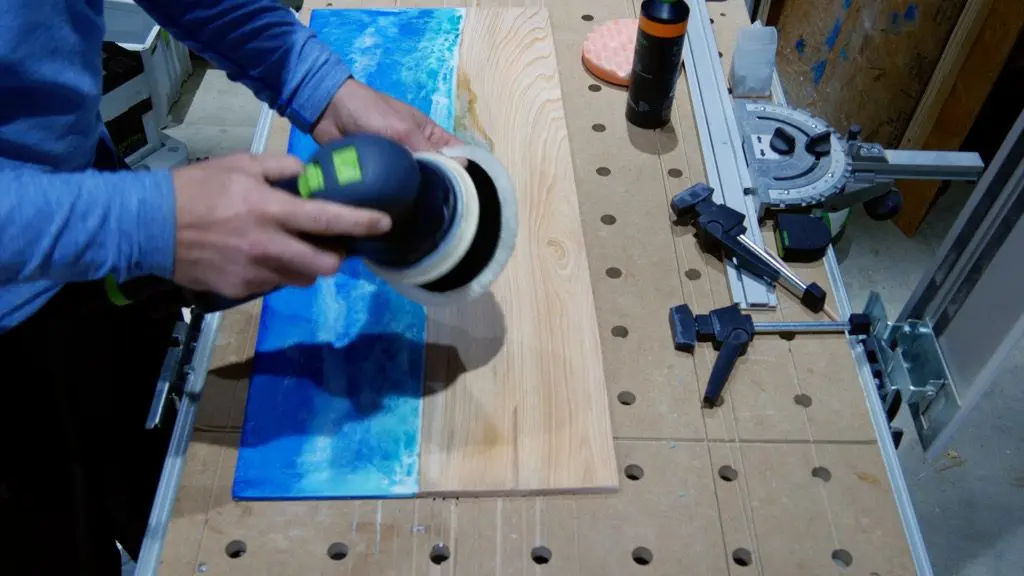
Then, I used my sheepskin polishing pad to remove the excess compound.
This also attaches to my soft sanding pad.
DIY Folding Wall Desk Hinges
Although this wood resin beach art looks fine on the wall alone, I decided to make it a DIY folding wall desk below my white board.
Also, Multi-purpose furniture reduces clutter and simply makes things more efficient.
First, I used folding wall desk or table hinges for the DIY folding wall desk.
I determined the ideal height and made a mental note.


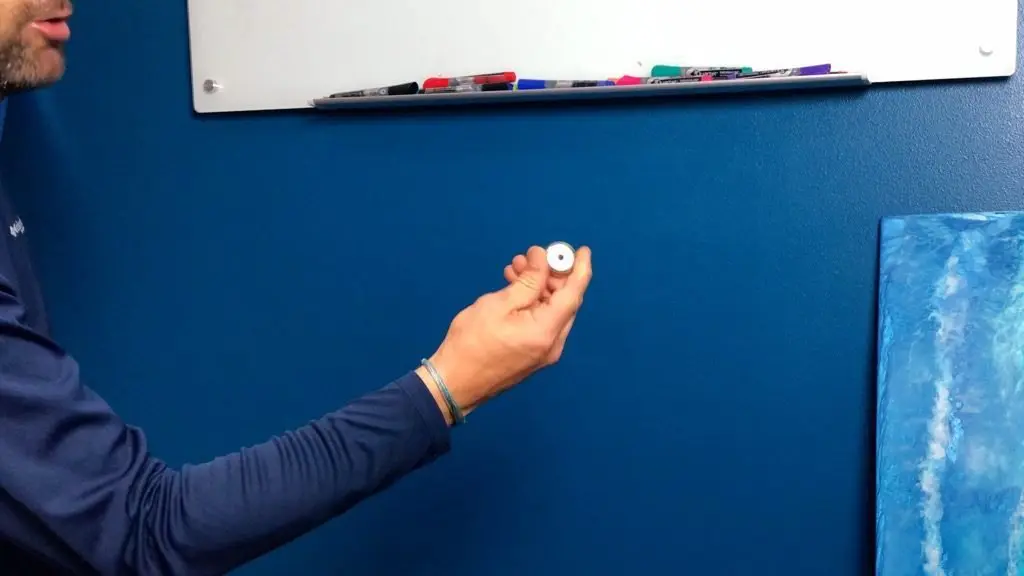
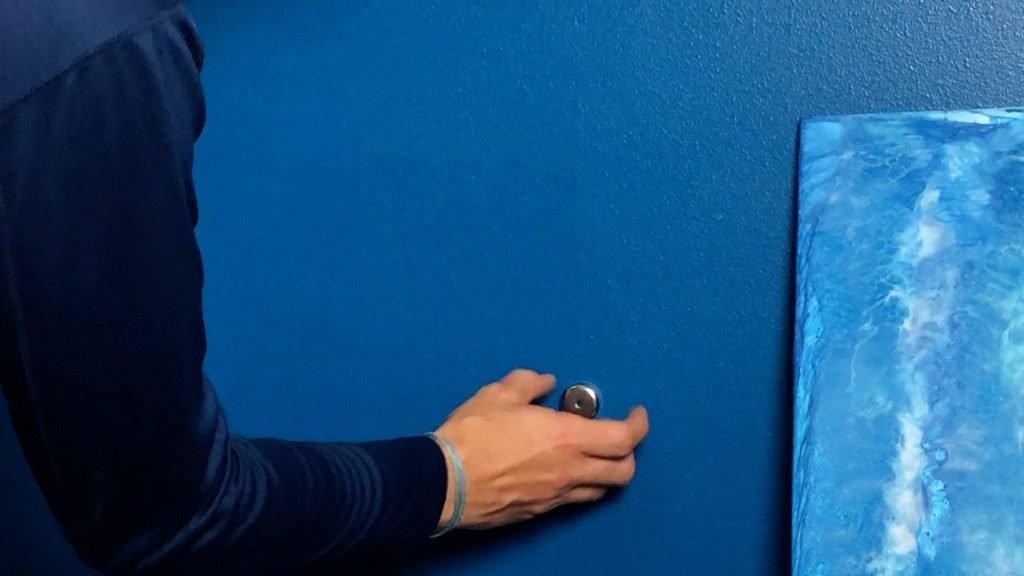
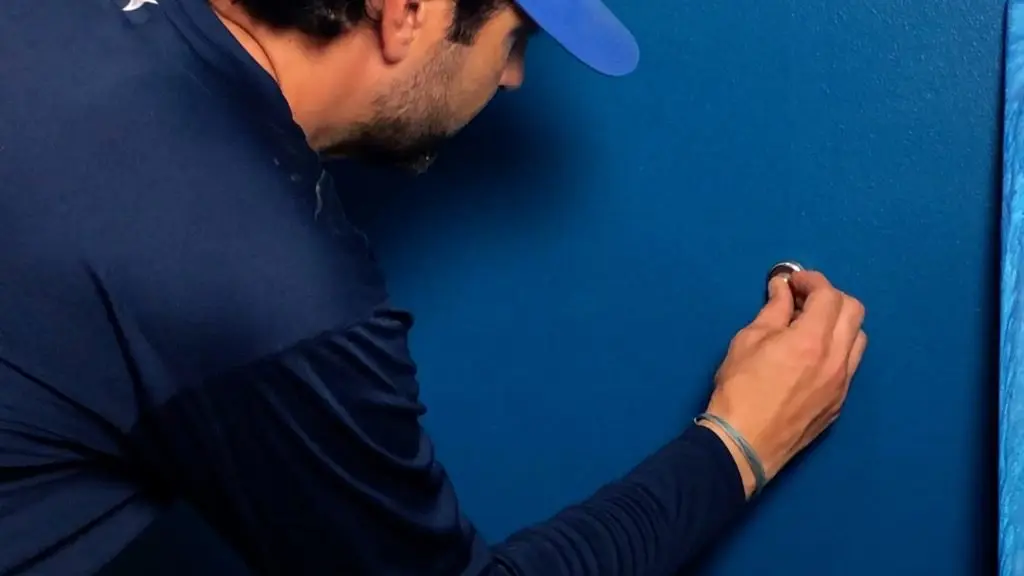
Locate Wall Studs
To locate the wall studs, I used a magnet.
I find this more efficient than a stud finder.
Studs are normally 16″ apart.
So, this should be fine for this DIY folding wall desk which is 48″ wide.
I own a cheap stud finder, but it is inaccurate.
As a result, I use a neodymium magnet with a center hole.
Essentially, this magnet locates the sheetrock screws which hold the sheetrock to the wall.


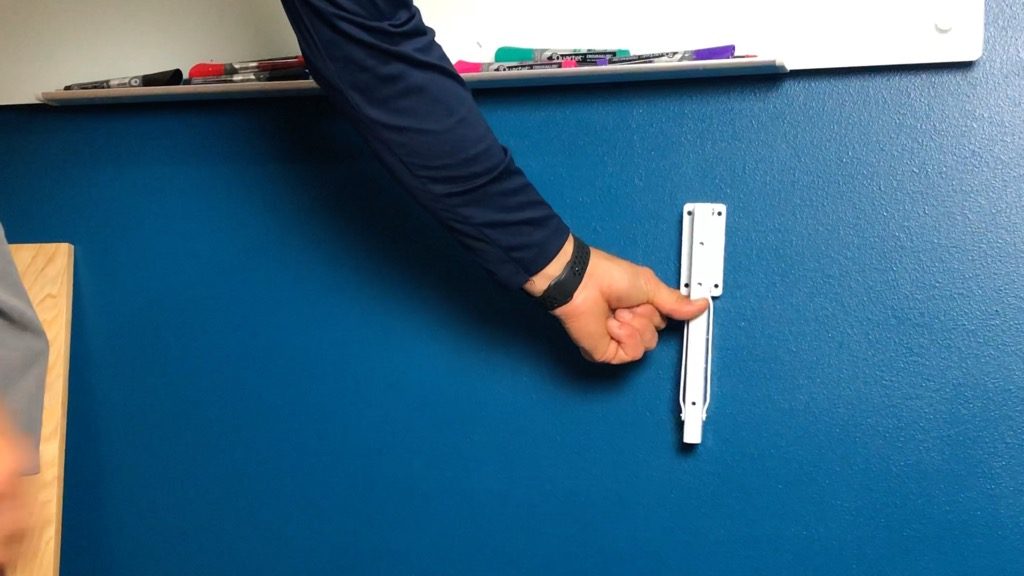
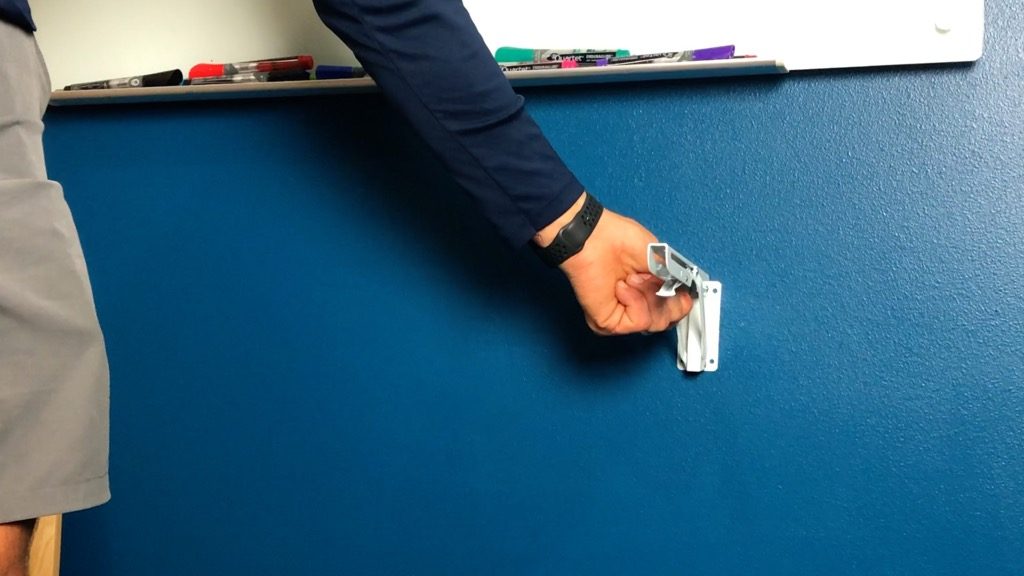
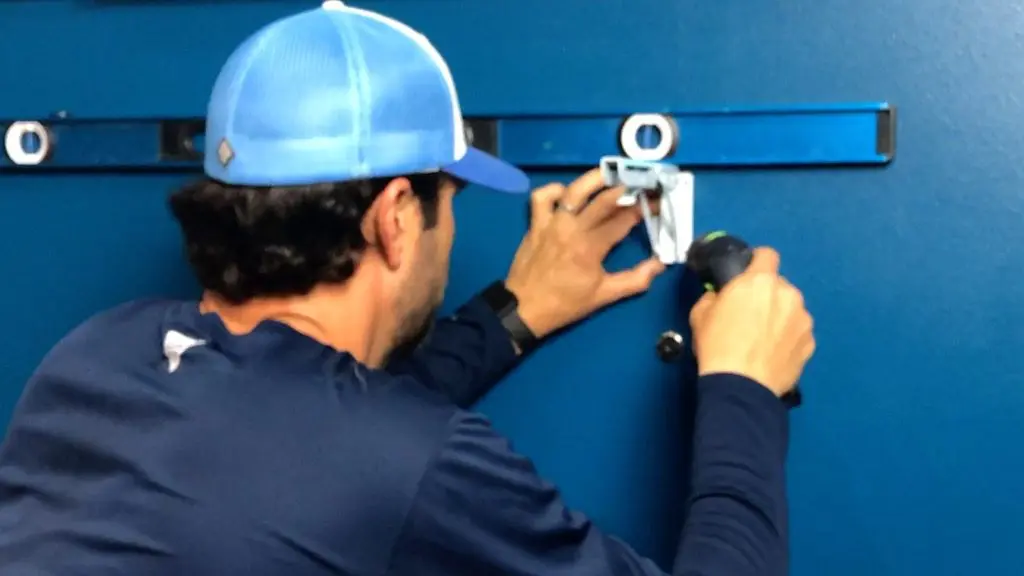
Secure Folding Hinges to Studs
First, I mounted the left bracket to the stud using 1.75″ screws and a level to keep the hinge vertical.
Next, I placed a large level on top of the left hinge to ensure the right hinge was level.
Then, I installed the right folding hinge.

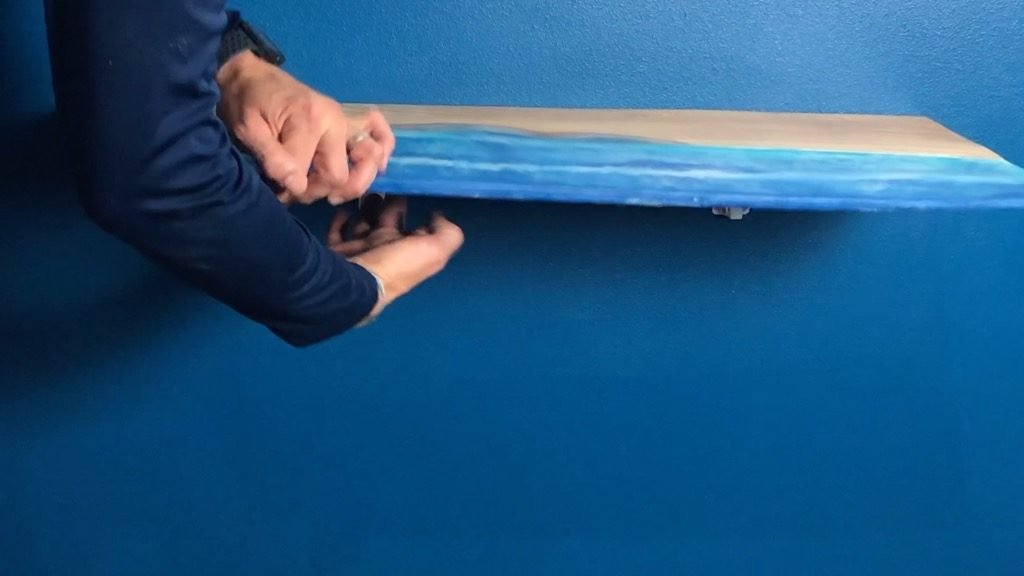
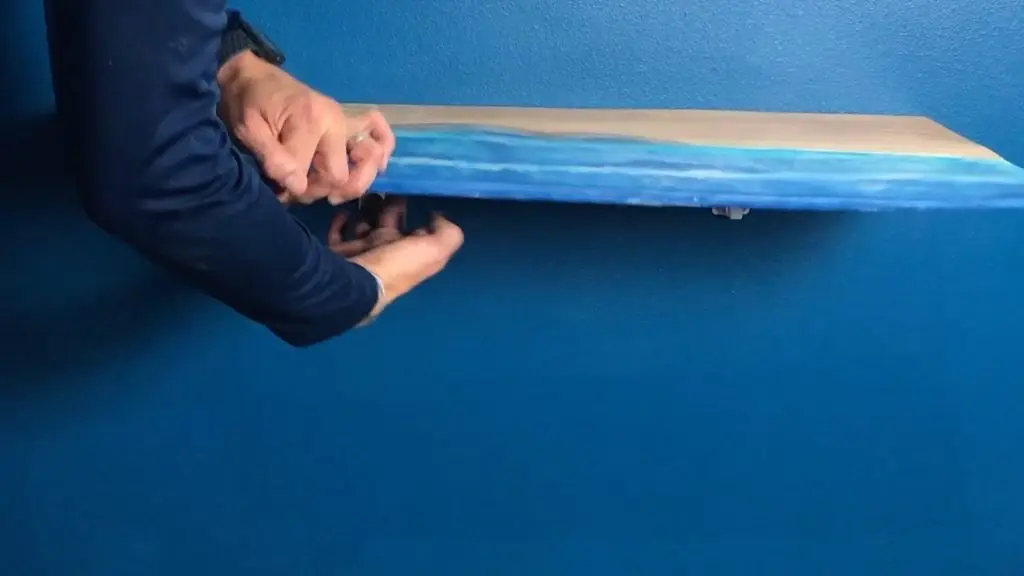
DIY Folding Wall Desk Installation
After I mounted each hinge for the DIY folding wall desk, I extended them and centered the wood resin beach art on top.
Instead of drilling into the resin, I located 2 screw holes on each hinge which were under the wood.

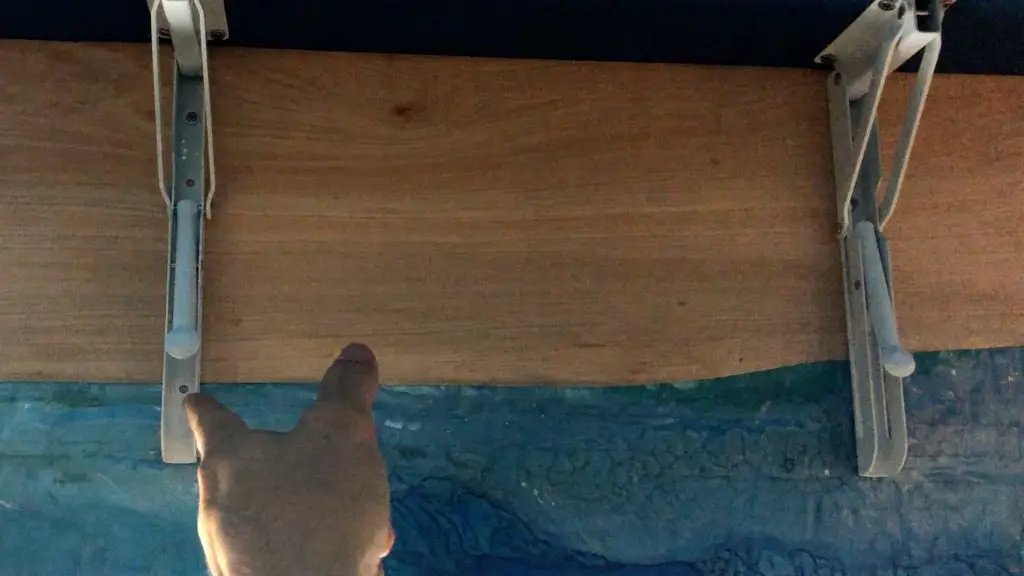

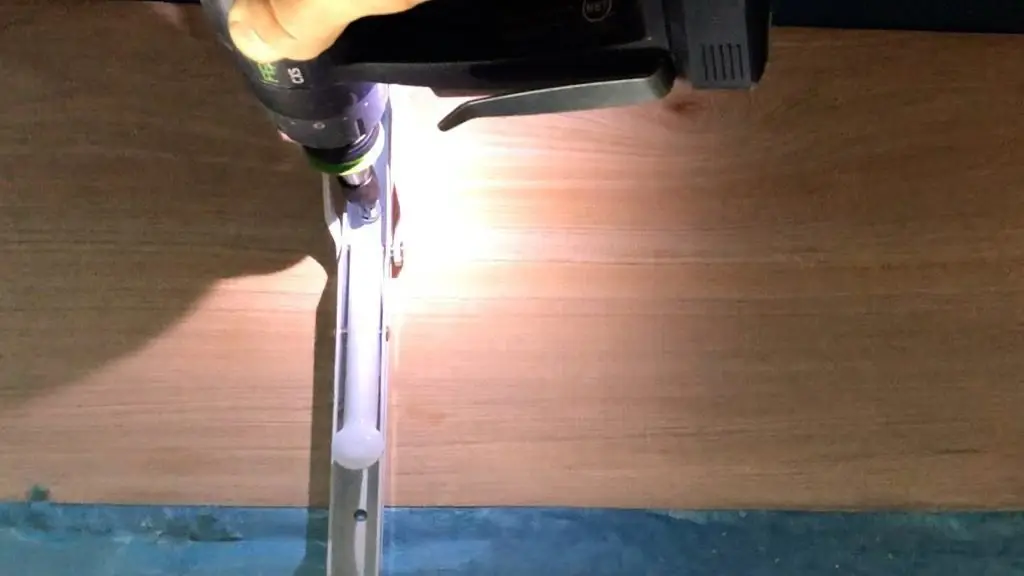
The folding wall desk worked perfectly.
Conclusion
In conclusion, I hope this multi-purpose DIY folding wall desk or wood resin beach art provided you with value.
Hopefully, my daughter uses this table next school year for her homework.
Related Posts:


Ali
Monday 23rd of September 2019
Great job!
Veronica Jones
Monday 23rd of September 2019
That is stunning!! How beautiful!
Eve
Monday 23rd of September 2019
Just love the whole thing (of course) but the touches of where the 'sea' leaves traces on the 'beach' and the tumble of the 'waves' is sheer magic and exquisite artistry. Superb.
Deb
Friday 21st of June 2019
Beautiful! Well done????